Cheese boards are perfect for any holiday party or gathering, they come together quickly, and they’re completely customizable! Today, I’m sharing all my tips and tricks for creating a delicious, stunning cheese board!


Wowowow I LOVE cheese boards. Give me a heaping full cheese board any day for breakfast, lunch, and dinner. Okay, maybe not breakfast. Cheese boards are basically super dressed up lunchables for adults. I mean, there’s crackers, meat, cheese, and maybe a little sweet treat. Did I just ruin this whole thing for you? I hope not, hehe.


Let’s talk about picking all the different items that will go on your cheese board! (This post is not sponsored by any of the brands or stores mentioned.)
Picking your Cheeses

Let’s start with the cheese – obviously. Get a mix of flavors + textures! Here’s what I like to go with:
- A soft Fromage (Trader Joe’s has an amazing one!) that’s creamy and spreadable)
- Garlic + Herb Stuffed Brie – Another soft cheese that has an extra flavor boost from the garlic and herbs!
- Sharp Cheddar – simple and classic! A safe choice that most people will enjoy
- Gouda – Another classic
- Smoked Cheddar – Something a little different but not too wild
- Fig Goat Cheese Log – A little more unique and adventurous!
So, I’ve got 2 soft cheeses, three pretty classic options, and one more adventurous option! This way, there’s bound to be something for everyone.
Picking your Meats

On to meat! I don’t get quite as much meat as I do cheese, and I like to keep the options pretty basic here! I think 3-4 types of meat is plenty!
- Summer Sausage – If you’re from Wisconsin, you know that Usinger’s Summer Sausage is an absolute MUST for any sort of cheese plate. The Johnsonville one is pretty good too, if you can’t find Usinger’s at your local grocery store.
- Dry Salami – A cheese board staple!
- Prosciutto – Another staple! I think there are different types but I just get a traditional, basic one
Picking your Crackers
Next, our crackers! Again, I think 3-4 options is plenty here! I recommend getting 1 super plain cracker, and then picking something with a little cheese flavor, and something with an herb flavor.
- Pita Bite Crackers – Super basic and they go with everything!
- Rosemary Italian Style Crackers – these are a little bumped up in the flavor department
- Roasted Gorgonzola Crackers – A little cheesy, and very addictive!

Picking your “Fillers”
Now that we’ve got our staples of meat, cheese, and crackers, we get to fill in the rest of the board with fun stuff! The options are pretty much endless here – you can go the sweet route with candy canes, chocolate covered pretzels (I linked my recipe here!), and chocolate stars.

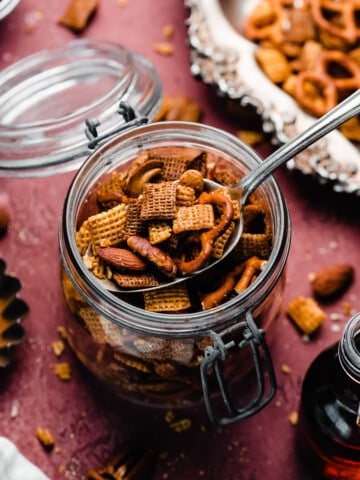
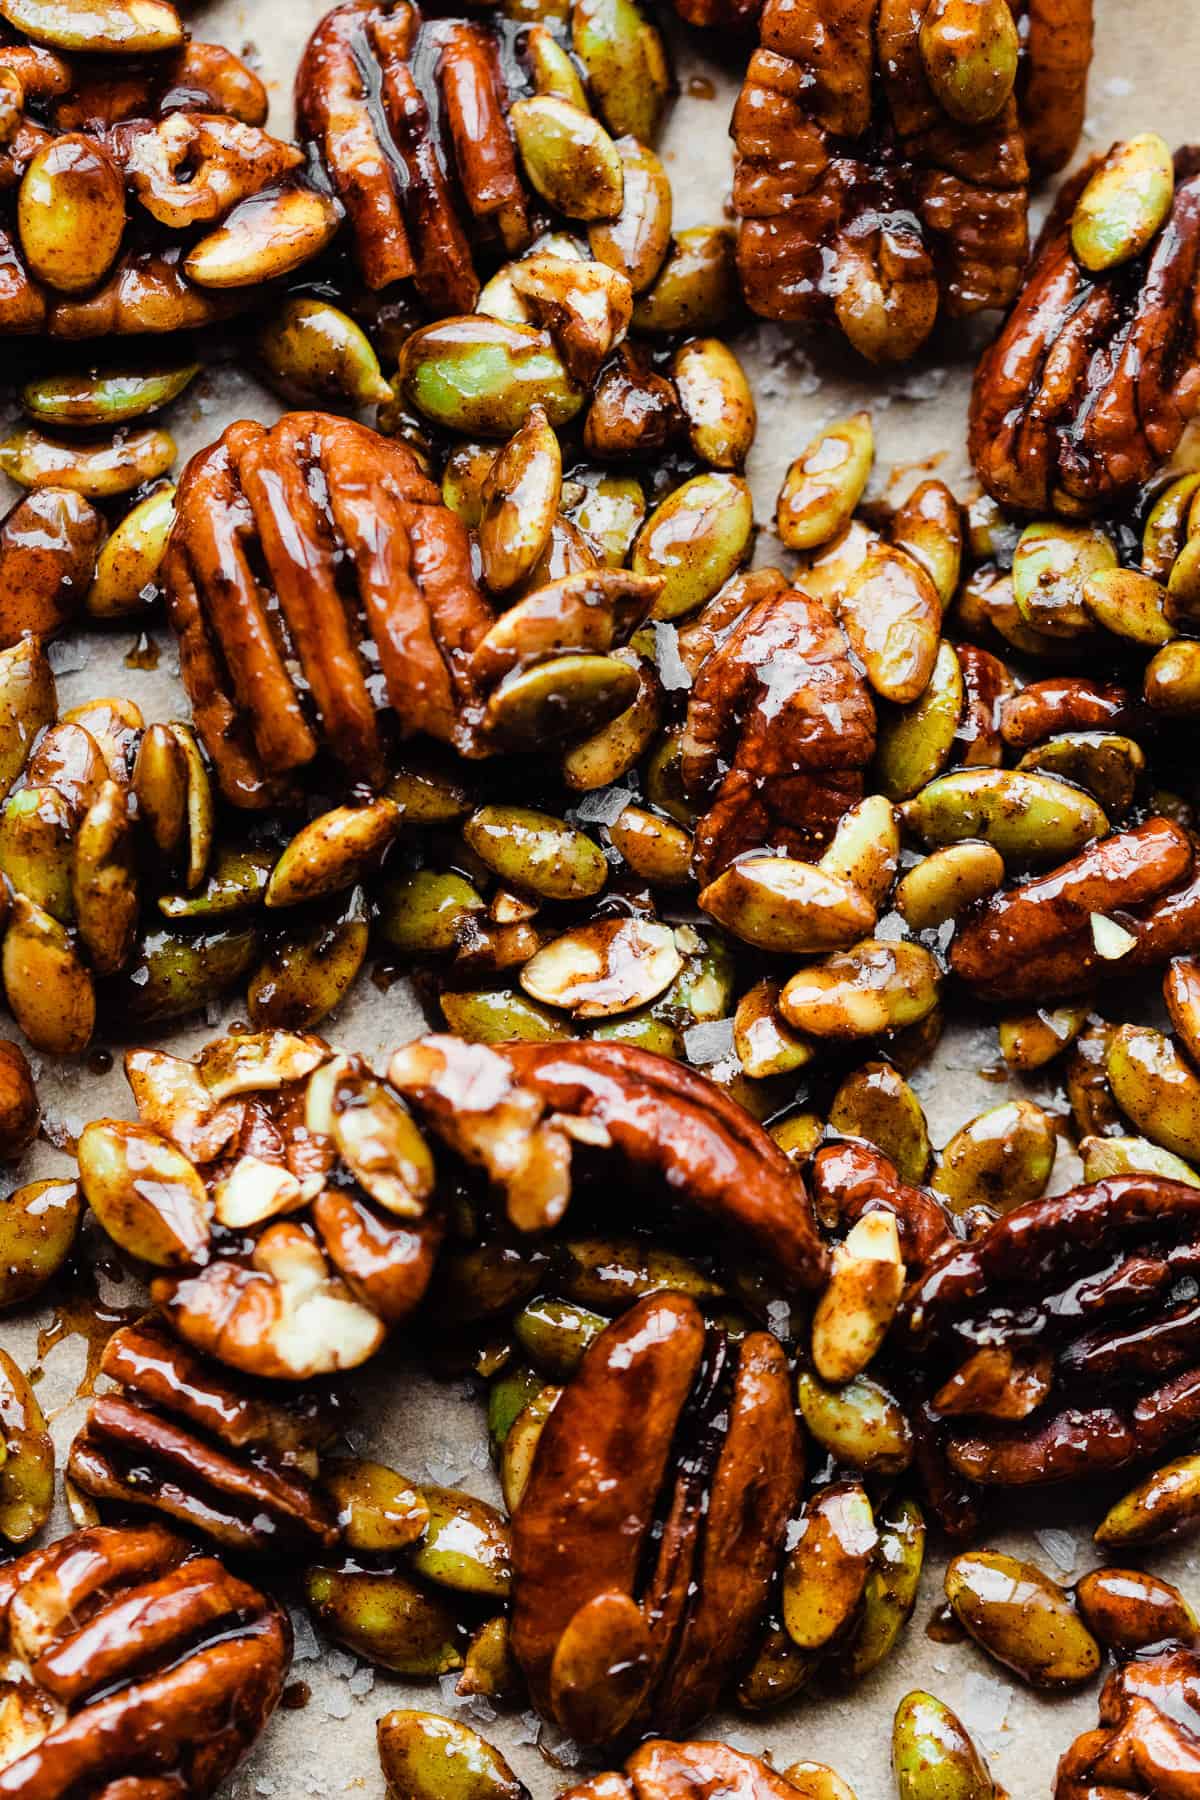
Dried fruits and nuts are simple and work well too! I used almonds, cashews, and dried cranberries. Candied pecans would be a delicious addition, too! You can learn how I make them here. Fresh fruit is another option – grapes, figs, pears, and oranges would all work well!

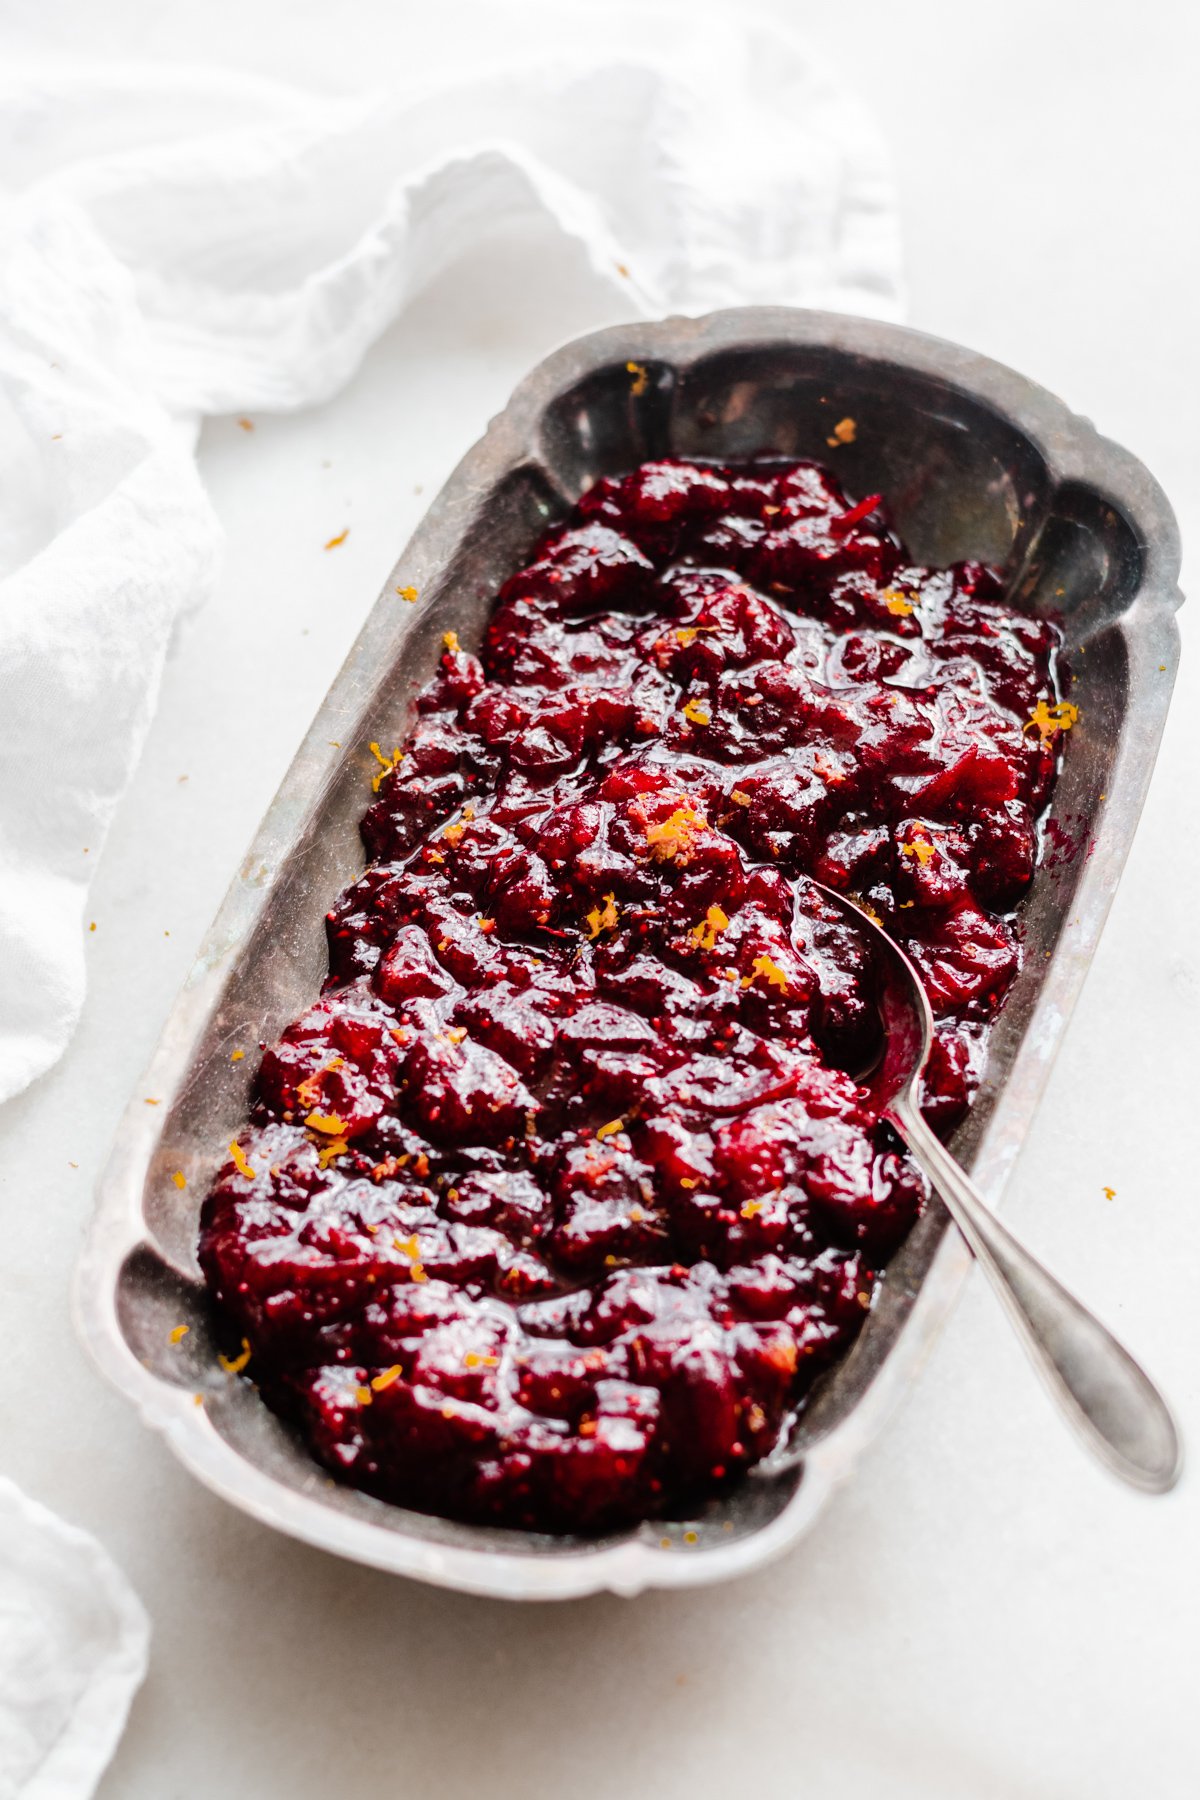
Last but certainly not least, add some fruit spreads, jams, or chutneys! They pair well with the crackers and cheese! I like to use Cranberry Chutney and Fig Preserves.

Now, if you’re thinking “I’m not skilled with making food look super decorative and pretty” – I’m here to tell you that it doesn’t matter! You can still make a drop-dead gorgeous cheese board. Here’s how I do it.
How to Assemble Your Cheese Board + Make it look Super Fancy
Once you’ve got all your items picked out, let’s assemble this thing! Choose a sturdy wooden cutting board or a dedicated cheese board. Mine is a slate board that I got from World Market a while back (I think they still carry it!). Just make sure the board or platter you use is food-safe.
Start with your cheeses – place them around the board with plenty of space in between. Keep the soft, spreadable cheeses whole, and slice some of the regular cheese. I put the gouda on in a whole block to give more visual interest. I neglected to put my cheese knives in this photo, but you can stick a cheese knife in any whole blocks of cheese to make it easy for people to serve themselves.
Next, add your meats. Place them near the cheeses. Next, add your crackers, placing them near the meats and cheeses. Fill in the remaining holes with all your extras – jams, fruit, nuts, and candy. Finish it off with a few tiny ornaments for an extra festive feel, and some sugared cranberries and rosemary (learn how to make them here!)
If you’re having people over that have dietary restrictions, you can set up a few small platters of a “deconstructed” cheese board to ensure everyone will be able to enjoy this!. Have meats on one plate, cheese on one, crackers on one, fruit and candy on one, and nuts in a small bowl.

A Note About Yield
It’s hard to estimate how many people you can feed with a cheese board – you can never predict exactly how much each person will eat :). The board I used (pictured here) is 12 x 18 and I think you could feed about 5-7 people with the amount of food I used, keeping in mind that everything won’t fit on the board at once, and you will need to refill it as it gets emptied.
If using a bigger board, or two boards, you can put more food out at once and feed more people, with less refilling needed.

Make-Ahead Tip
This doesn’t work super well as a make-ahead type of thing, because the crackers and candy will get soggy in the fridge, and the meat + cheese obviously can’t be left out. You can half-assemble it a day ahead though, by placing your cheese, meats, and small bowls of jam on the board. Cover tightly with plastic wrap and store in the fridge. Add the other items just before serving!
Did you make this recipe? Snap a photo!
Be sure to follow bluebowlrecipes on instagram and tag #bluebowlrecipes with your photo! You can also post a photo of your recipe to the bluebowlrecipes Facebook page. I’d love to see what you make!


Order my new book:

Marissa says
Yum! This cheese board looks great. I’m going to use this idea for an at-home wine & cheese date night with my husband!
Stephanie Simmons says
Love that idea!! ❤️
Denise Hendrick says
Gorgeous! I’ve noticed that the better my cheese boards look, the more people demolish them during a party. Thanks for the tips on how to make them even better.
Taylor says
This is such a great article. I always look at cheese board pictures and try to guess what is being used. Thank you for providing a step by step guide! Your board is freaking gorgeous.
Stephanie Simmons says
Thanks so much Taylor!
Chantal says
First of all, let me just say that these photos are BEAUTIFUL. Second of all, I love the originality in these cheese board. It’s not often you see charcuterie boards with different foods.
Stephanie Simmons says
Thank you Chantal! ❤️
Jenny says
This looks perfect. We are hosting New Years Eve this year and this is my plan. Love it.
Stephanie Simmons says
Glad to hear it! I’d love to see a photo of the board you make – tag me on social media if you do get a photo! 🙂
Rebecca says
OMG I never thought to put chocolate covered pretzels, or any other sweets for that matter, on a cheese board! Love this. Thanks for the awesome ideas!
Stephanie Simmons says
Thanks Rebecca!