This post contains affiliate links. Please see our disclosure policy.
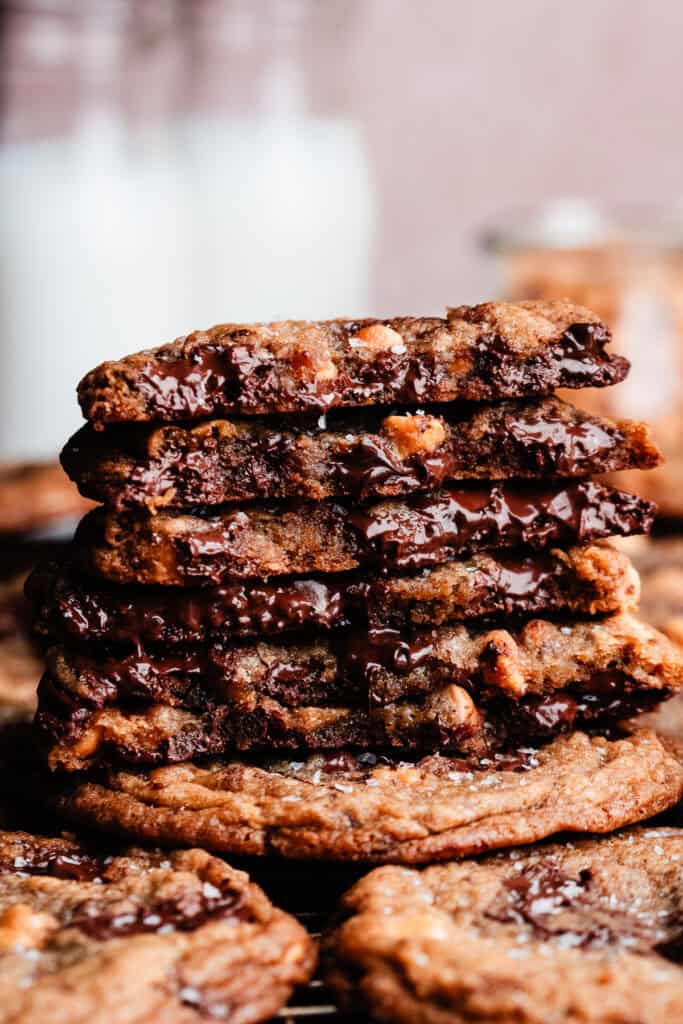
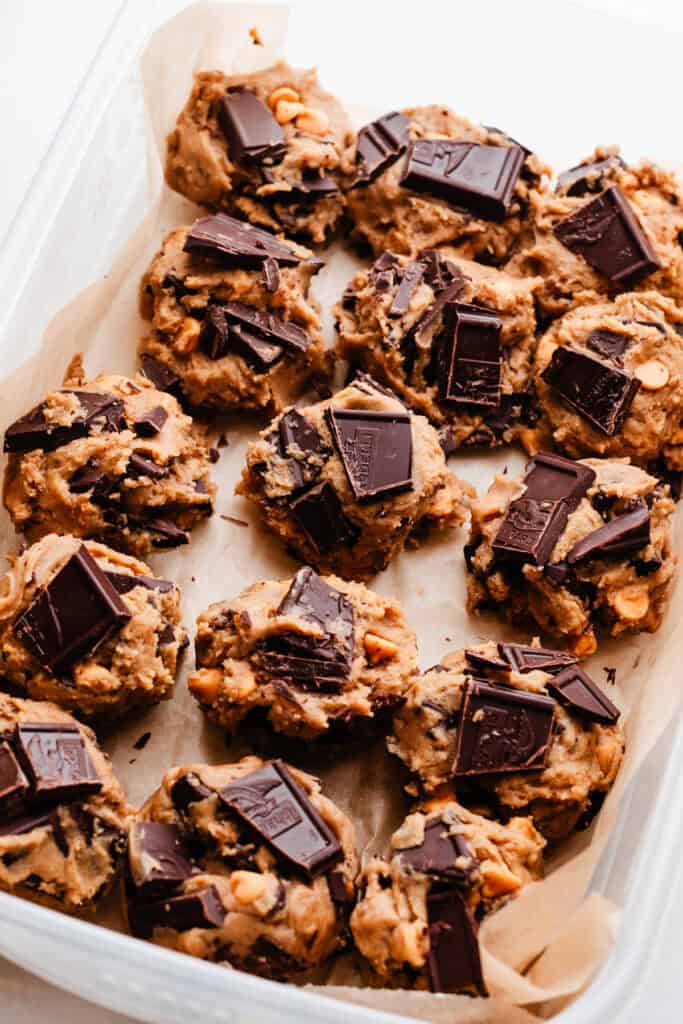
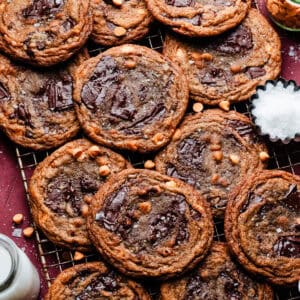
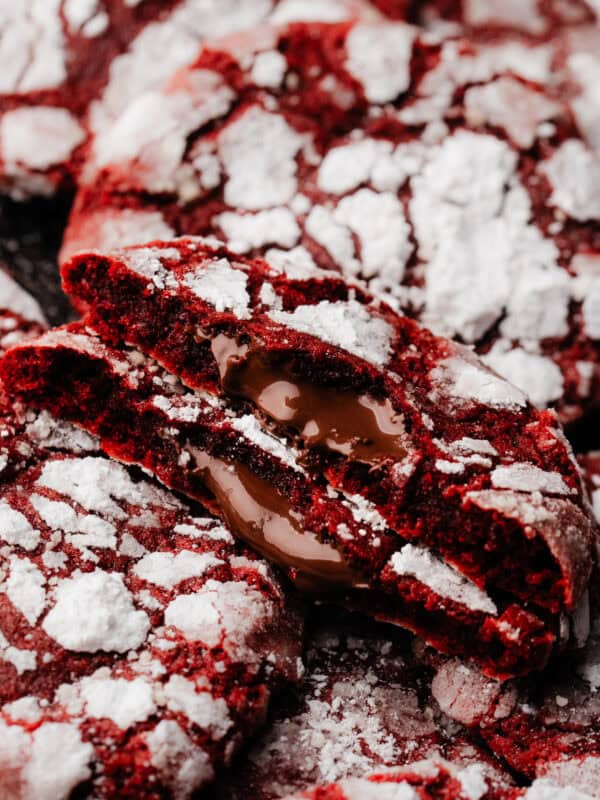
Butterscotch Chocolate Chip Cookies have it all – extra crisp rippled edges, ridiculously chewy centers, melty chocolate puddles, & plenty of butterscotch chips! I think butterscotch is what chocolate chip cookies have always been missing – it elevates the flavor of this classic cookie in incredible ways! I’m truly ruined for all other chocolate chip cookies – and I suspect you will be, too.

Table of Contents
Why you’ll love these Butterscotch Chocolate Chip Cookies:
- Tested 18 Times – I made these cookies for the first time back in September and they were PERFECT. I made them again and couldn’t replicate the results. Over the next few months, I tirelessly worked to crack the code on these cookies – and I’m happy to say I found a solution that doesn’t involve you needing to leave a bowl of melted butter whisked together with sugar in the fridge for 5 weeks. I thought doing this and leaving it in the fridge overnight would suffice, but it turns out, using butter that’s somewhere between melted and softened gives the PERFECT chewy texture to these cookies, and results in a shorter chill time!
- Bake at your Leisure – In my many tests, I found that these cookies are very good after just a 2 hour chill, but they get better each day you leave them in the fridge, for up to 3 days!
- Depth of Flavor – A combination of dark brown sugar, salted butter, a little milk, and of course – butterscotch chips – give these cookies absolutely incredible depth of flavor.
Ingredient Overview:
As always, the full recipe with measurements & directions can be found in the recipe card at the bottom of this post. Use the table of contents (back at the top, below the first image, to navigate).
- Butter – I always use salted buter for the best flavor, but feel free to use unsalted butter if you prefer. Be sure to let it come to room temperature before baking – creaming cold butter is not easy.
- Brown Sugar – I prefer dark brown sugar for extra depth of flavor.
- All-purpose flour – Spoon your flour into the measuring cup, then level it with a flat utensil for best results, or use a scale. Scooping the measuring cup directly into your flour will lead to too much flour, and a potentially dry bake.
- Eggs – Use large eggs.
- Chocolate Chips – Use chocolate chips, chopped chocolate bars, chocolate chunks, or something like Guittard’s super cookie chips.
- Vanilla extract – Use real vanilla extract for best results.
Recipe Substitutions & Variations:
- Dairy-free – Use your favorite, trusted dairy-free butter and chocolate. If you can find butterscotch chips, great! Otherwise you’d have to leave those out or use toffee bits instead for extra flavor.
- Nuts – Add 3/4 cup chopped walnuts or pecans if you like.
- Chocolate Variations – Use half semi-sweet and half dark chocolate, or half milk and half semi-sweet chocolate. It’s completely up to you!
- Speedy Version – Pinched for time? Make my Brown Butter Chocolate Chip Cookie Bars instead!
How to Make Butterscotch Chocolate Chip Cookies:
Step 1: Melt the Butter. Melt the butter, then let the bowl of butter sit in the fridge for 10-15 minutes, so that the butter is a consistency between melted and softened. This makes for the BEST possible chewy texture!

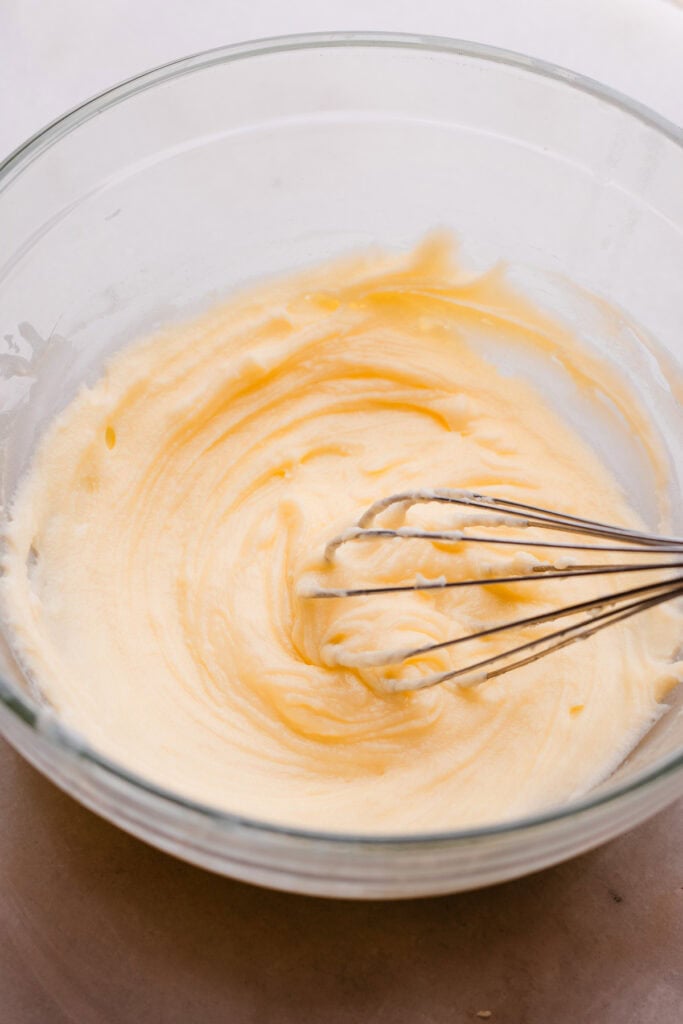
Step 2: Make the Cookie Dough. Whisk the sugars into the butter, then whisk in the egg, egg yolk, vanilla, and milk.
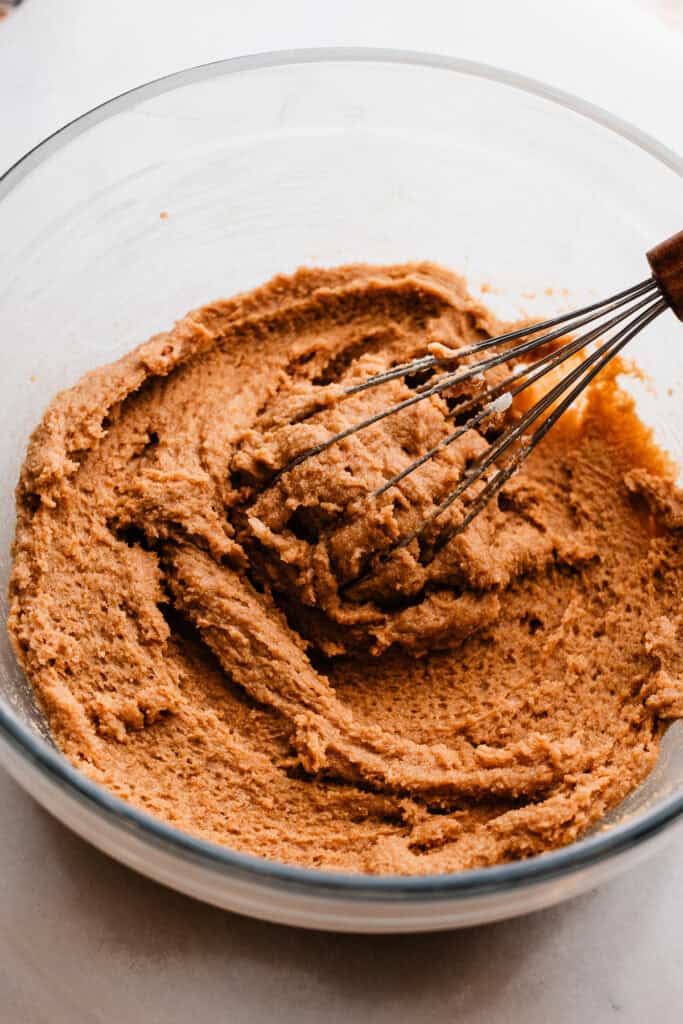
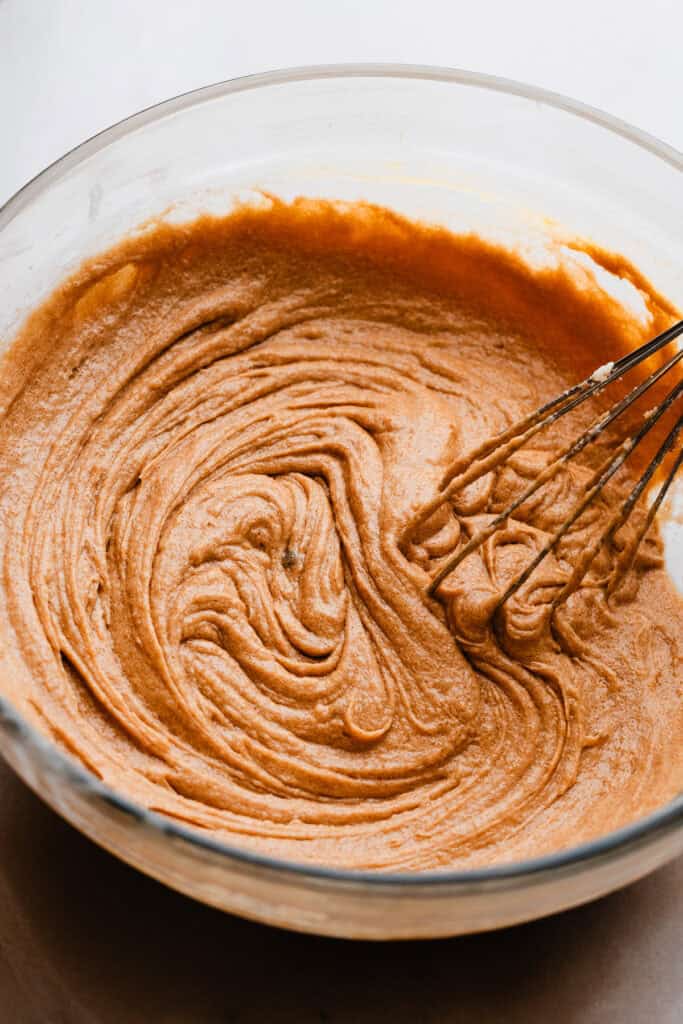
Step 3: Add Dry Ingredients & Chocolate. Stir in the flour, baking soda, and salt. Stir in the chopped chocolate and butterscotch chips.


Step 4: Scoop & Chill Dough. Scoop dough balls 75 grams in size. Place in an airtight container to chill in the fridge for at least 2 hours or up to 72 hours. (The longer you chill them, the better the flavor!)
Step 5: Bake. Bake about 4 cookies per baking sheet – they will spread quite a bit! Bake for 10 minutes, then bang the pan down on the rack to flatten the cookies, and bake for 2-3 more minutes.
Bang the pan again – this helps spread the cookies more so the edges crisp up, gives them rippled edges, and enhances the chewy centers. I learned this technique from Sarah Kieffer at The Vanilla Bean Baking Blog!


The image above left shows what the cookies look like after coming out of the oven before the final pan bang, and the above right shows how they flatten down after that final pan bang.
Serving + Storing:
Enjoy these warm from the oven! Store leftover cookies, cooled to room temperature, in an airtight container on the counter for 3-4 days. I love warming these back up!
Butterscotch is highly underrated – I think you’ll agree after trying these and my Life-Changing Butterscotch Blondies!
Expert Baking Tips:
- Oven Thermometer – An oven thermometer will tell you if your oven is actually running at the temperature you set it to. Your oven may not be accurate. Accurate oven temperature is crucial for most bakes, so I leave an oven thermometer in at all times to keep an eye on my oven’s calibration.
- Kitchen Scale – A food scale is the best way to make sure your flour is at the proper weight, since amounts will vary SO widely based on how you measure it, as well as the measuring cup you use, as they are not standardized.

FAQs:
Yes! Chill for at least 2 hours or up to 72 hours first, to develop more flavor. Then, freeze dough balls on a lined baking sheet until solid, then transfer to a freezer bag or container and keep in the freezer for 1-2 months. Bake from frozen, adding 1-2 minutes as needed. Or, thaw the dough balls in the fridge overnight before baking.
Yes. Allow baked cookies to cool down to room temperature, then wrap pairs of two in parchment paper and seal in a ziploc bag or freezer container. Freeze for 3-6 weeks. Thaw cookies on the counter for 1-2 hours.

More Chocolate Chip Cookie Recipes:
- Eggless Chocolate Chip Cookies
- Brown Butter Chocolate Chip Cookies
- Jumbo Bakery Style Chocolate Chip Cookies
- Brown Butter Chocolate Chip Cookie Bars
- Salted Caramel Chocolate Chip Cookies

Did you make this recipe? Leave a comment & star rating!
Click the little stars in the header of the recipe card below to leave a comment & star rating, letting me know how you liked the recipe. I take all feedback seriously, & leaving a rating helps my small business immensely!
THE Butterscotch Chocolate Chip Cookies
Ingredients
- 1 cup salted butter, melted, 226 grams
- 3/4 cup dark brown sugar, packed, 165 grams
- 3/4 cup granulated sugar, 158 grams
- 1 large egg, at room temperature
- 1 large egg yolk, at room temperature
- 2 tsp vanilla extract
- 1 tbsp milk
- 2 cups all-purpose flour, spooned & leveled or weighed out, 260 grams
- 1/2 tsp baking soda
- 1/2 tsp salt
- 10 ounces semi-sweet chocolate, roughly chopped and divided, any high quality baking chocolate bars work!
- 1 cup butterscotch chips
- flaked sea salt, for topping
Instructions
- Melt & Cool Butter: Melt the butter in a medium mixing bowl, until it's almost completely melted (30-60 seconds). Stir the butter until the residual heat melts it completely. Then, pop the bowl in the fridge for 12-15 minutes – we want the butter to reach an in-between state where it's not completely melted anymore, but not solid. The top of the butter may form a "crust" in the fridge – just give it a whisk to smooth things back out. If you want to be a real baking nerd like me: Check the butter's temp – it should be about 75 degrees F.1 cup salted butter, melted
- Make Cookie Dough: Add the sugars to the mixing bowl of butter, and whisk to combine. Whisk in the egg, egg yolk, and vanilla. Whisk in the milk. Stir in the dry ingredients. Add the butterscotch chips and 8 ounces of semi-sweet chocolate, reserving 2 ounces for topping the dough balls.3/4 cup dark brown sugar, packed, 3/4 cup granulated sugar, 1 large egg, at room temperature , 1 large egg yolk, at room temperature , 2 tsp vanilla extract, 1 tbsp milk, 2 cups all-purpose flour, spooned & leveled or weighed out, 1/2 tsp baking soda, 1/2 tsp salt, 10 ounces semi-sweet chocolate, roughly chopped and divided, 1 cup butterscotch chips
- Scoop Dough Balls: Scoop the dough into balls 75 grams in size. Add extra chocolate chunks to any bare spots on top of the dough balls. Chill in an airtight container in the fridge for at least 2 hours or up to 72 hours (the longer you chill – the better the flavor!)10 ounces semi-sweet chocolate, roughly chopped and divided
- Bake: Preheat your oven to 350℉. Place 4 cookie dough balls on a lined cookie sheet and bake for 10 minutes. Take the cookie sheet out and bang the pan on the top of your oven (this helps spread the cookies more, making the edges crisp and centers chewy, and adds ripples to the edges). Return to the oven for 3-4 more minutes. Remove the pan and bang the cookies one more time, then let cool on a cooling rack for as long as you can resist before digging in!
- Serve & Store: Dig in while warm and gooey! Sprinkle with flaked sea salt if desired (you will, trust me). Store cooled, leftover cookies in an airtight container for 3-4 days.flaked sea salt
- Freezing Cookie Dough & Make-Ahead Tips: Cookie dough can be balled, frozen on a sheet pan until solid, then transferred to a freezer bag or airtight container. Freeze for 1-2 months. Bake from frozen, adding 1-2 mins to the bake time. Or, thaw frozen dough in the fridge overnight before baking.
Notes
Nutrition
Nutrition information is automatically calculated, so should only be used as an approximation.
My grown sons love these cookies, and said to make these from now on and even to. make regular chocolate chip cookies based on this recipe. We just love the thin, chewiness of these cookies. Thanks for sharingg.
Thanks so much for this sweet compliment, Natalie! Happy baking.
This recipe is delicious! I chilled my dough for 24 hours and I used dark chocolate instead of semi sweet. I had to cut myself off after eating two haha. I can’t wait for my family to come home and try them. Thanks for a simple scrumptious recipe! 🙂
So glad to hear you enjoyed this recipe, Stephanie! Thanks for taking the time to leave a review.
I made these for my kids today and they said they were the best cookies that they’d ever tasted. 💗🍪
So glad to hear you all enjoyed this recipe, Christina! Thanks as always for taking the time to leave a review 🙂
This tastes really good! Five stars! ⭐️
So glad to hear you enjoyed these cookies, Hunter!