This post contains affiliate links. Please see our disclosure policy.
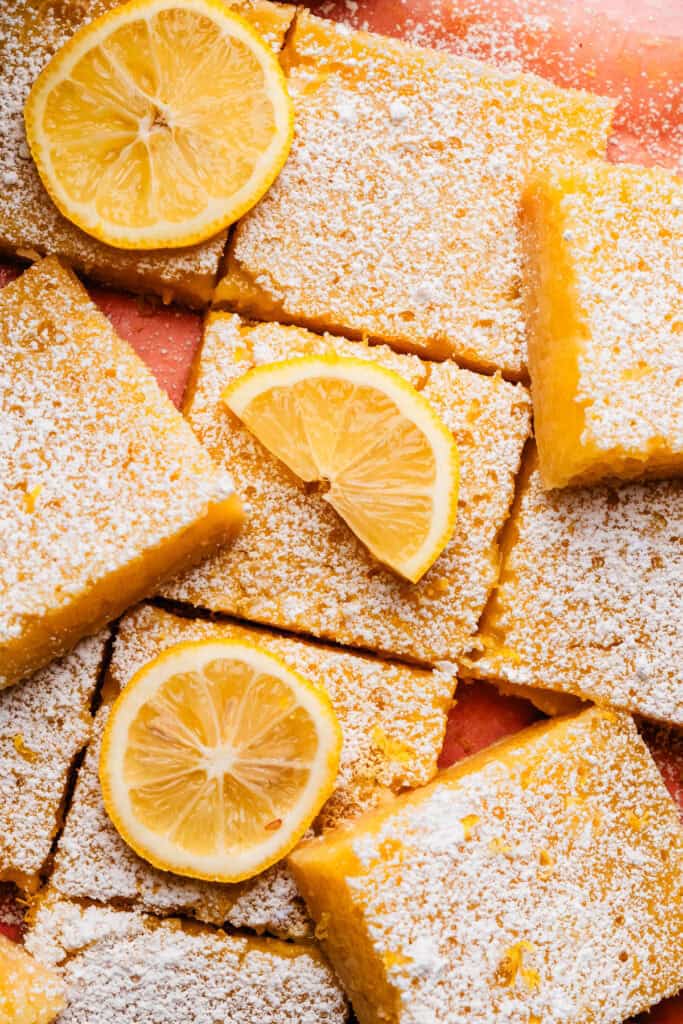
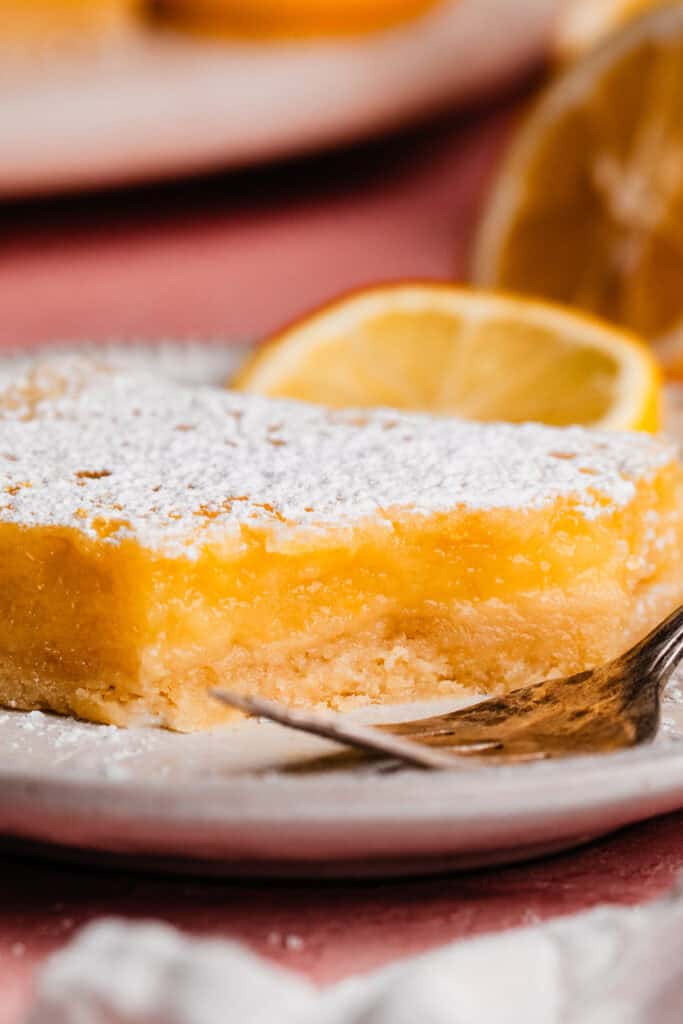
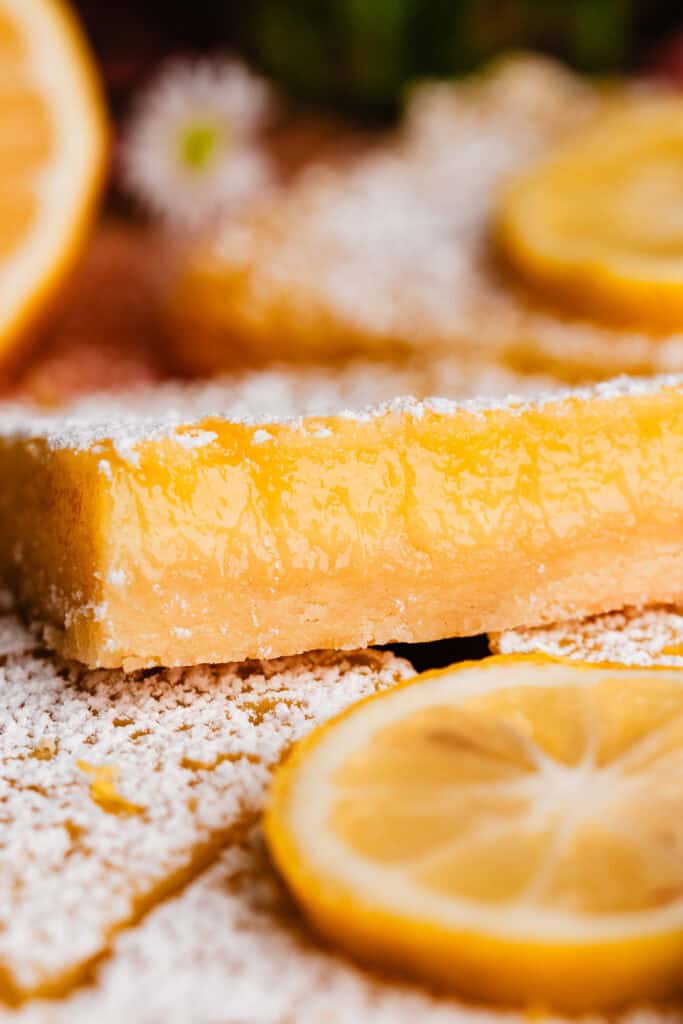
Lemon Bars are a classic dessert for good reason! The filling is ultra creamy, bursting with fresh lemon flavor, and hits just the right balance between tart and sweet. The shortbread crust is buttery, crisp, and easy to make. These bars require no stovetop cooking or finicky extra steps!

Why you’ll love these Lemon Bars:
- Buttery Shortbread Crust – The crisp crust is made up of just 4 ingredients, uses melted butter, and is pressed into the pan. It couldn’t be easier!
- Tart Lemon Filling – I played around a bit with the lemon juice and sugar ratios when testing this recipe, and I think I hit on the perfect balance so that the bars have plenty of puckery lemon flavor, without being *too* tart.
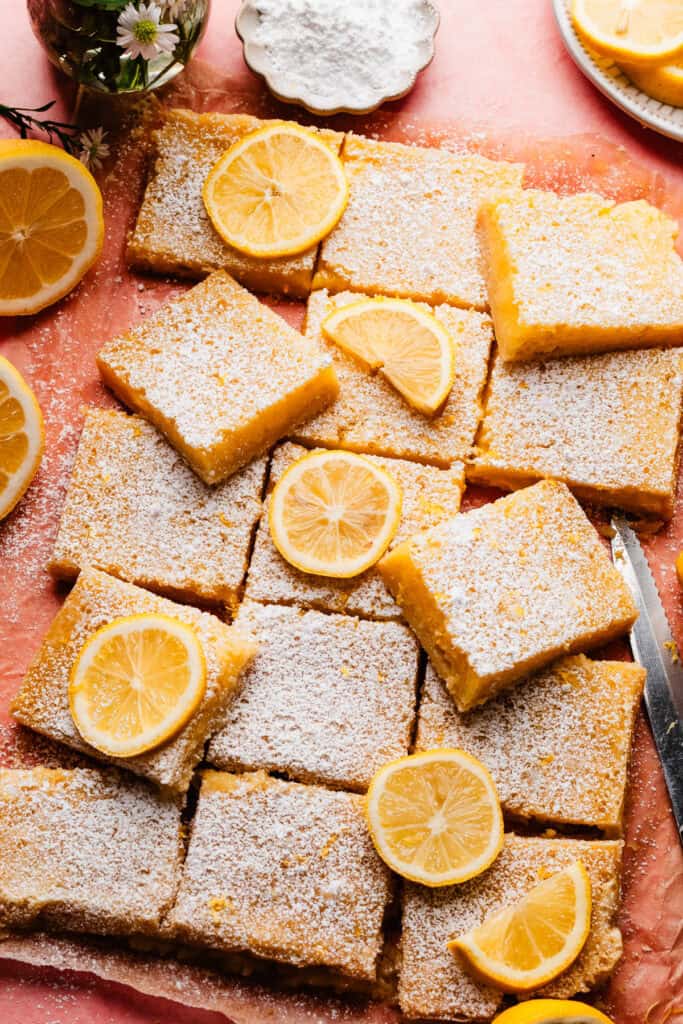
- Potluck Perfect – Bar desserts are practical – you bake the whole thing at once, but still get lots of servings, making this recipe perfect for any gathering.
- Lemon Love – Even if you aren’t a big lemon lover, you’ll fall head over heels for these! As a life-long chocolate lover, these bars have quite the hold on me!
Ingredient Overview:
As always, the full recipe with measurements & directions can be found in the recipe card at the bottom of this post. Use the table of contents (back at the top, below the first image, to navigate).
- Butter – I always use salted butter because in my experience, it lends the best flavor, but feel free to use unsalted butter if that’s what you prefer.
- All-purpose flour – Spoon your flour into the measuring cup, then level it with a flat utensil for best results, or use a scale. Scooping the measuring cup directly into your flour will lead to too much flour, and a potentially dry bake.
- Lemons – Use fresh lemon juice and zest for the best possible flavor!
- Vanilla Extract – Use real vanilla for the best flavor.
- Eggs – Use large eggs at room temperature.
Recipe Substitutions & Variations:
- Gluten-free – I think the crust could work with a cup-for-cup gluten-free flour, but I haven’t personally tried it so I can’t guarantee results.
- Dairy-free – Use your favorite, trusted brand of dairy-free butter in the crust.
- Other Fruit Flavors – I can’t promise results since I haven’t tried it, but I suspect you could swap the lemon juice and zest for orange or lime!
How to Make easy Lemon Bars:
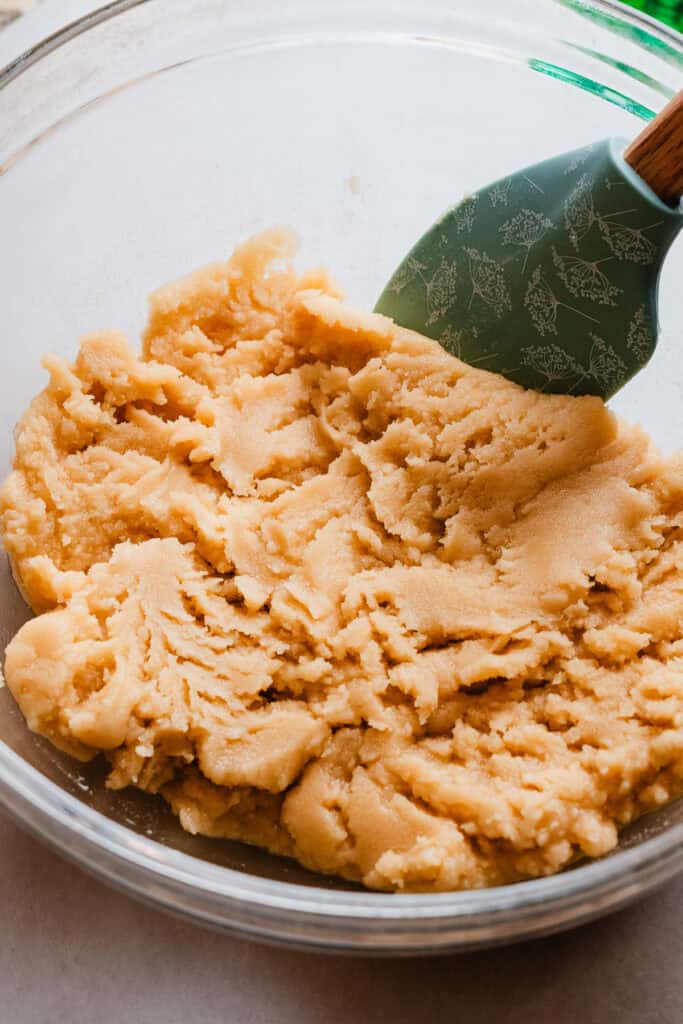
Step 1: Make the Crust. Melt the butter in a medium bowl. Stir in the flour, granulated sugar, and salt. Press evenly into a lined 9×13 pnan.

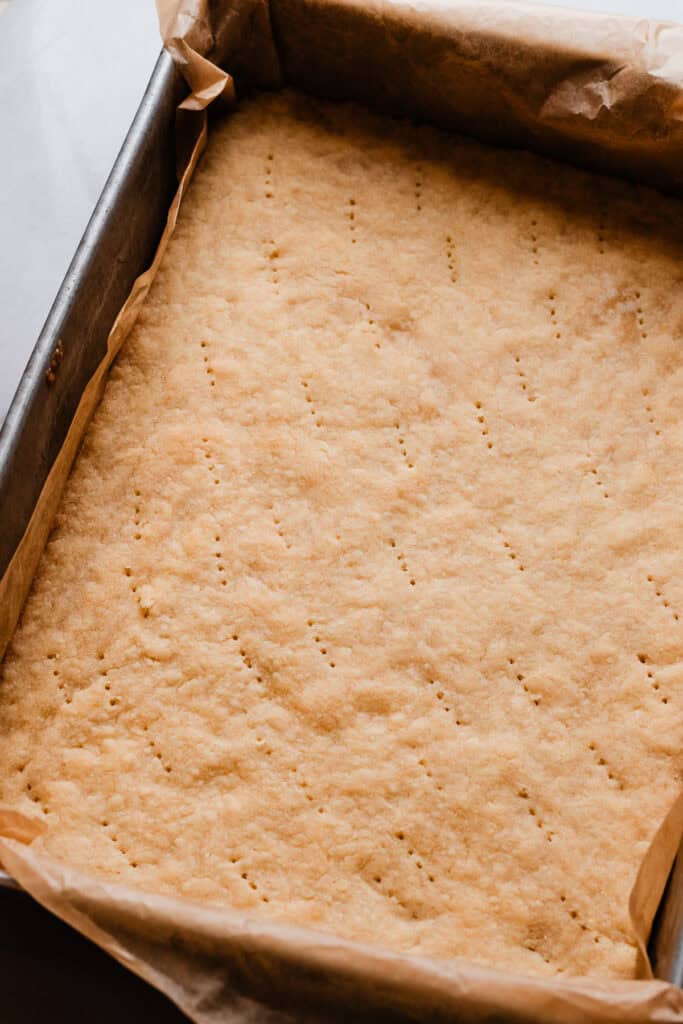
Step 2: Bake the Crust. Bake at 350 F for 20-22 minutes, until the crust looks set and the edges have a tiny hint of golden brown. Carefully prick the crust with a fork all over, only going halfway down – not all the way through.
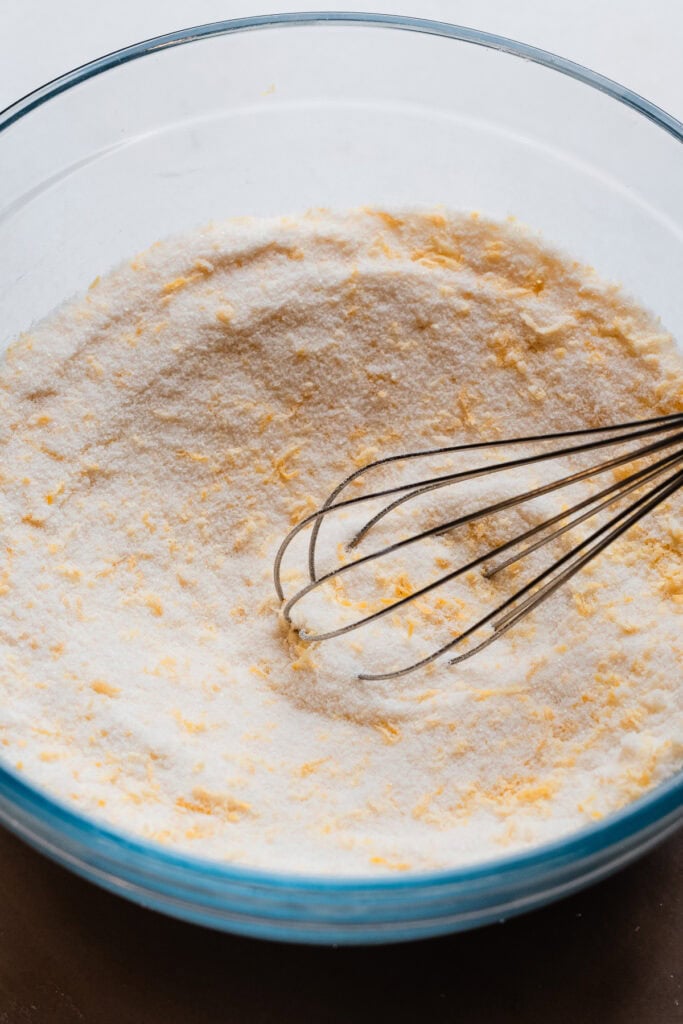
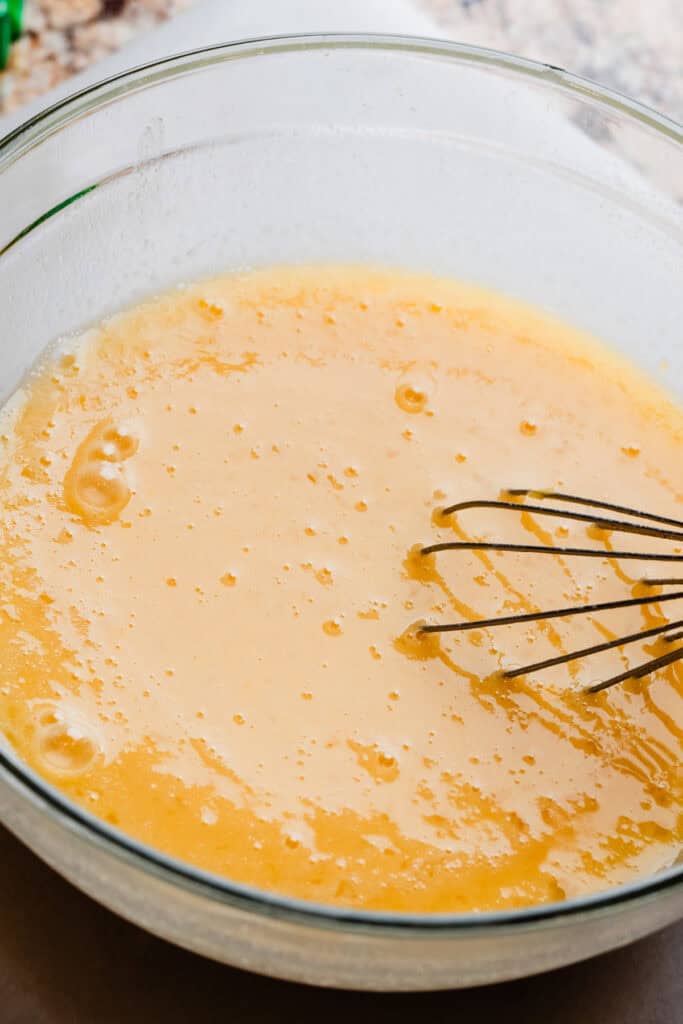
Step 3: Make the Filling. While the crust bakes, make the filling. Rub lemon zest into sugar, then whisk in the flour. Whisk in the beaten eggs, lemon juice, vanilla, and salt.
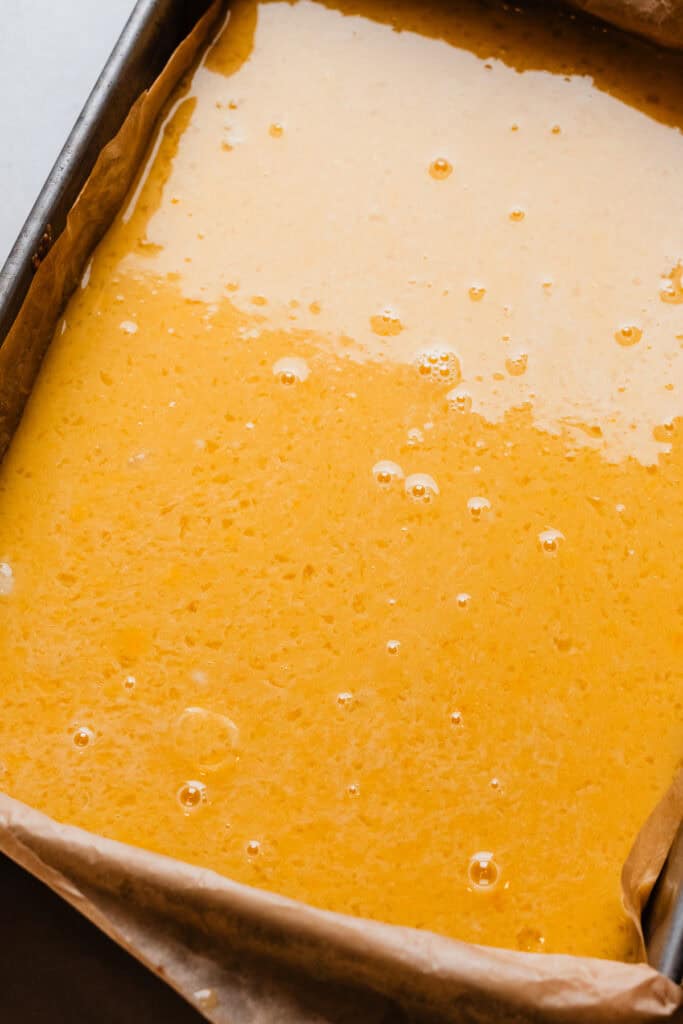
Step 4: Bake. Pour the filling over the still hot crust (this is very important – see FAQs below!), and Bake as directed in the recipe card below.
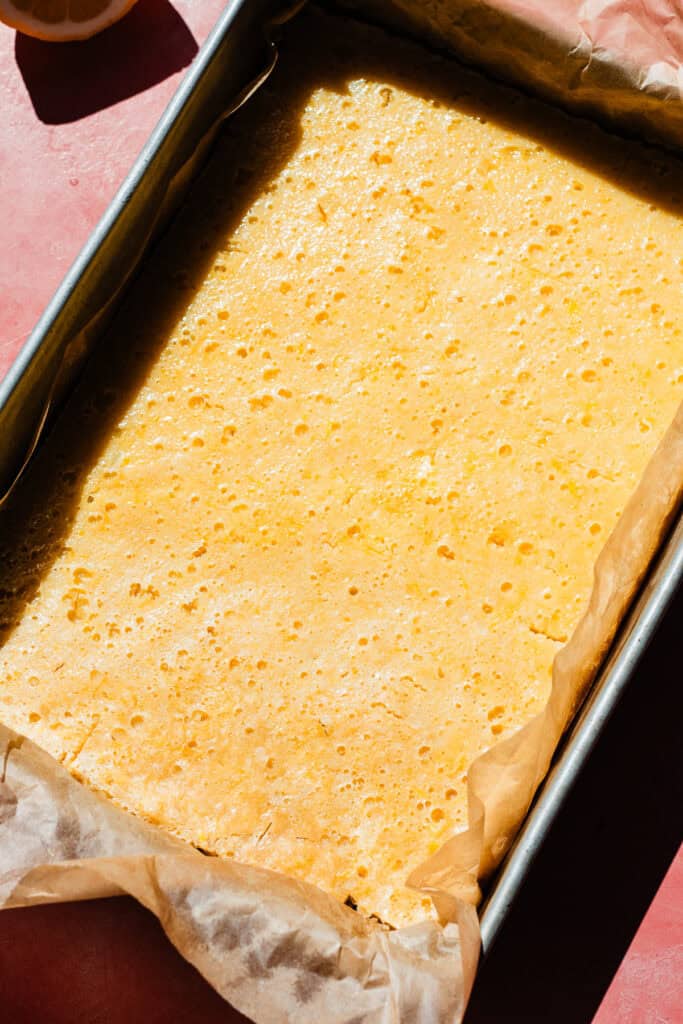
Step 5: Cool & Chill. Once the bars are baked, let them cool on a cooling rack for about an hour, then place in the fridge to chill for at least 2 hours or up to overnight before serving.
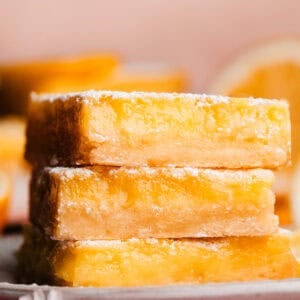
(This particular round of bars turned out kinda ugly but cut me some slack – I was very jetlagged from our trip to Japan and had a cold, lol. But don’t worry – even if they turn out ugly, they still taste divine!)
Serving + Storing:
Once the bars are thoroughly chilled, slice and dust with powdered sugar. Enjoy! Leftovers keep in an airtight container in the fridge for 4-5 days.
Love lemon? Us too! Try my Lemon Cupcakes or my Lemon Poppyseed Bundt Cake, next.
Expert Baking Tips:
- Oven Thermometer – An oven thermometer will tell you if your oven is actually running at the temperature you set it to. Your oven may not be accurate. Accurate oven temperature is crucial for most bakes, so I leave an oven thermometer in at all times to keep an eye on my oven’s calibration.
- Kitchen Scale – A food scale is the best way to make sure your flour is at the proper weight, since amounts will vary SO widely based on how you measure it, as well as the measuring cup you use, as they are not standardized.
- Get Ready – Get all your filling ingredients prepped and ready to go, so that you can quickly pull the filling together while the crust bakes. This is super important so that the crust and filling don’t invert in the oven – see FAQs directly below.
FAQs:
This can happen if you don’t pour the filling over the hot crust right away. Make sure you have all the filling ingredients prepped so you can quickly mix it up while the crust bakes. The good news is, the bars will still taste good if this happens – but they will definitely look a little wonky.
Yes, you can freeze the sliced lemon bars in a freezer safe container, in a single layer, for 4-6 weeks. Thaw in the fridge overnight.
Special Tools:
More Lemon Recipes to Love:
Did you make this recipe? Leave a comment & star rating!
Click the little stars in the header of the recipe card below to leave a comment & star rating, letting me know how you liked the recipe. I take all feedback seriously, & leaving a rating helps my small business immensely!
Easiest Ever Lemon Bars
Ingredients
For the Crust
- 1 cup salted butter, melted
- 1/2 cup granulated sugar
- 1/4 tsp salt
- 2 cups all-purpose flour, spooned & leveled or weighed out
For the Filling:
- 1 and 3/4 cups granulated sugar
- 2 large lemons zested
- 6 large eggs, at room temperature
- 3/4 cup + 1 tbsp lemon juice
- 1/2 tsp vanilla extract
- pinch of salt
- 6 tbsp all-purpose flour, spooned & leveled or weighed out
Instructions
- Prep: Preheat your oven to 350℉. Spray a 9×13 pan with nonstick spray then line with parchment paper. Get all your filling ingredients ready to go so you can quickly make the filling while the crust bakes. If the crust cools too much while you make the filling, the crust and filling can invert while baking.
- Make the Crust: Melt the butter in a medium bowl. Stir in remaining crust ingredients, then press into an even layer in your prepared pan. Bake at 350℉ for 18-22 minutes. The crust will look set and will have a hint of golden brown around the edges. As soon as the crust comes out of the oven, prick holes all over the surface of the crust with a fork – BUT only halfway through – not all the way to the bottom! Quickly assemble the filling.1 cup salted butter, melted, 1/2 cup granulated sugar, 1/4 tsp salt, 2 cups all-purpose flour, spooned & leveled or weighed out
- Make the Filling: Lightly beat the eggs with a pinch of salt in a large measuring cup or small bowl. Set aside. Add the lemon zest and granulated sugar to a large bowl, and rub the zest into the sugar with clean hands, until the mixture resembles wet sand. Whisk in the flour. Then, add the beaten eggs, vanilla, and lemon juice. Whisk until well combined. Pour over the still warm crust.1 and 3/4 cups granulated sugar, 2 large lemons zested, 6 large eggs, at room temperature, 3/4 cup + 1 tbsp lemon juice, 1/2 tsp vanilla extract, pinch of salt, 6 tbsp all-purpose flour, spooned & leveled or weighed out
- Bake: Bake for 18 to 24 minutes. The filling will have the tiniest wobble in the center but will appear mostly set. An instant kitchen thermometer inserted into the center of the filling (without touching the bottom of the pan) should read 180℉, and if you poke a hole with a toothpick, you should see a hole left behind in the bars – if the hole fills in, the filling is too runny and needs a little more time.
- Cool & Chill: Let the bars cool on a cooling rack for an hour, then transfer to the fridge (careful to keep something under the bars so the hot pan doesn't mess up the shelves in your fridge) to chill at least 2-3 hours, but preferably overnight.
- Serve & Store: Slice the chilled bars, then dust with powdered sugar. Enjoy! Leftovers keep in the fridge for 3-4 days, in an airtight container. Note that the powdered sugar will soak into the bars in the fridge, so don't dust them until you're ready to serve.
Nutrition
Nutrition information is automatically calculated, so should only be used as an approximation.

This recipe is so good and so easy. I was looking for a way to use up my extra eggs and this is perfect!
So glad to hear you enjoyed this recipe, Abbey!