This post contains affiliate links. Please see our disclosure policy.
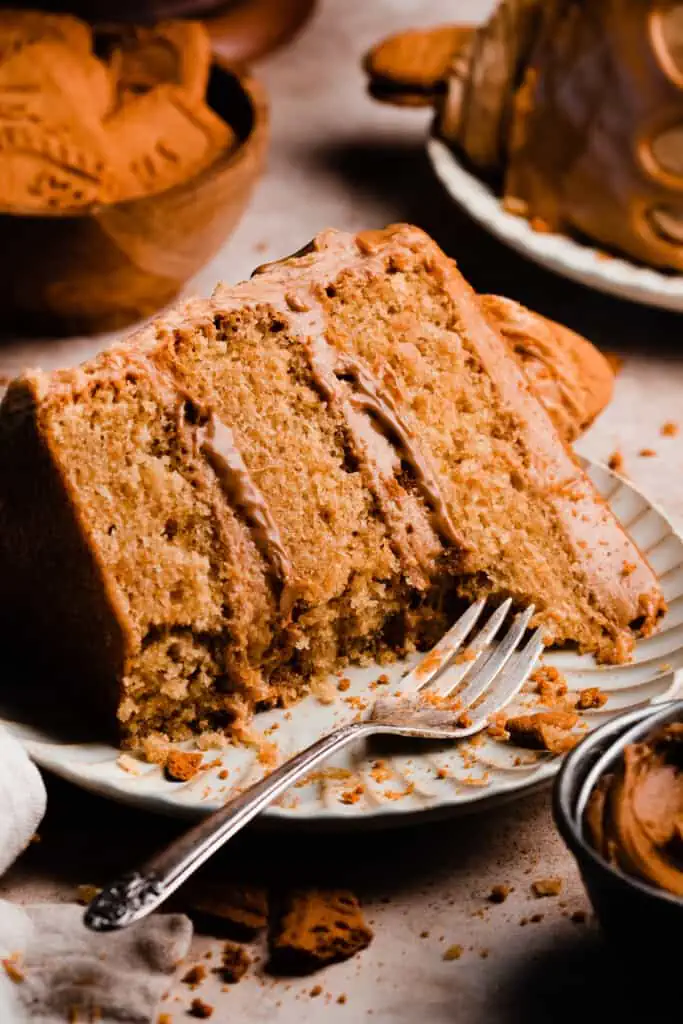
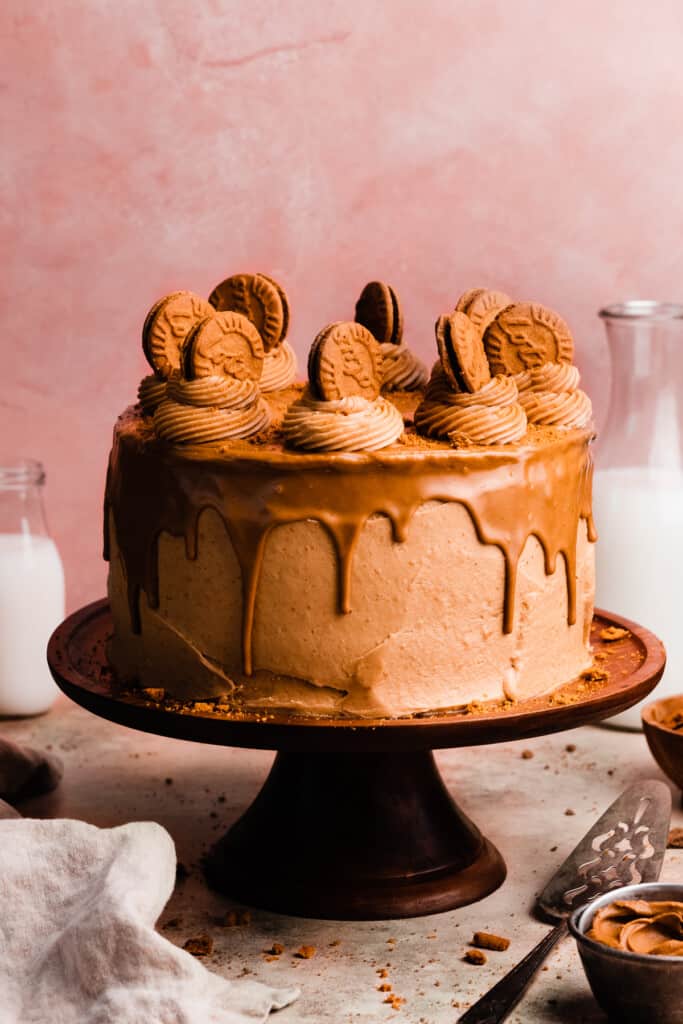
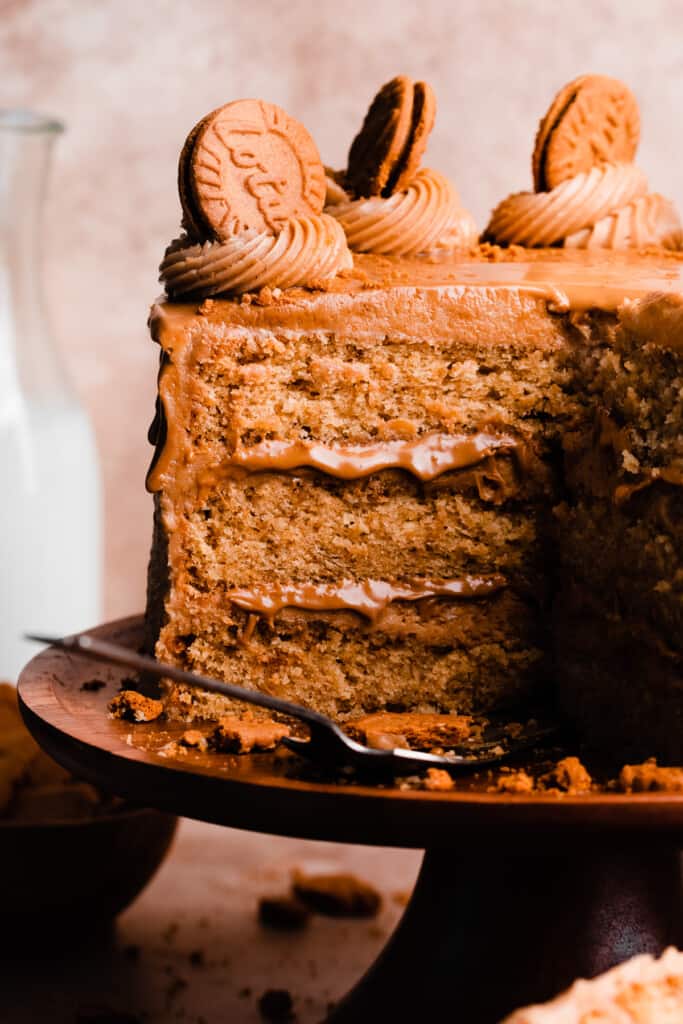
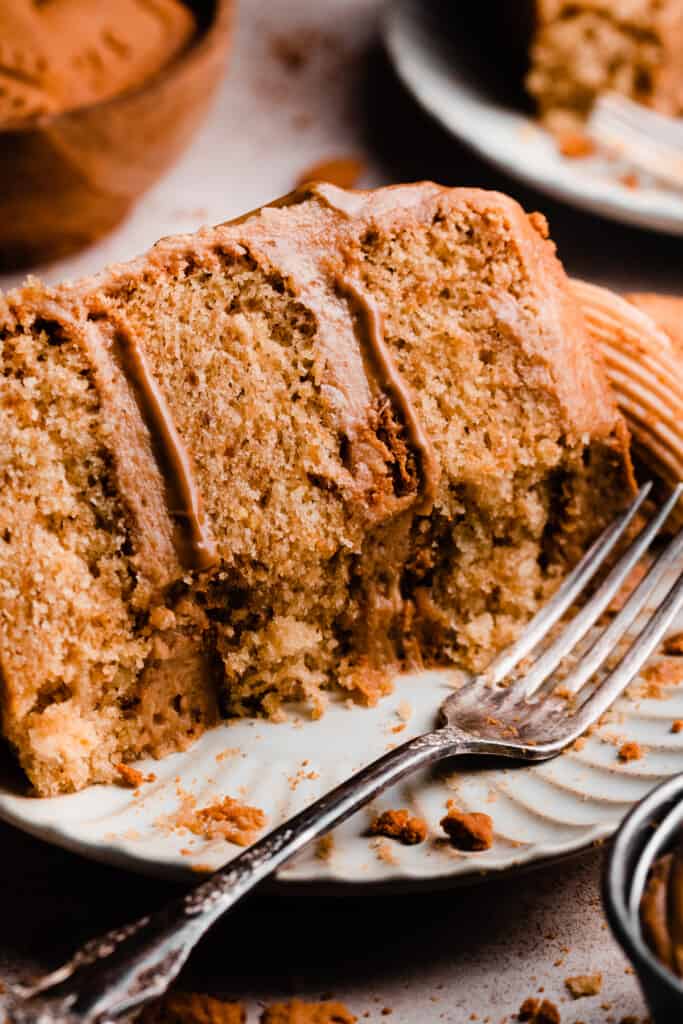
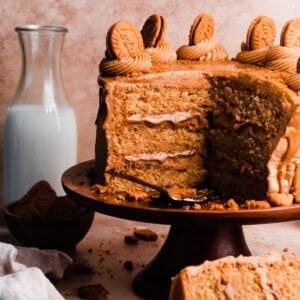
Lotus Biscoff Cake is the ultimate dessert for cookie butter lovers! This tender biscoff cake has cookie butter & cookie crumbs baked into the cake, a cookie butter buttercream, cookie butter filling, and biscoff cookies on top. There’s biscoff flavor in every bite!

Why you’ll love this Biscoff Cake:
- Cookie Butter Cake – Cookie butter and biscoff crumbs are baked into the cake batter for tons of delicious cookie butter flavor.
- Cookie Butter Filling – More cookie butter & cookie crumbs are nestled between the cake layers!
- Cookie Butter Frosting – Finally, the cake is topped off with a silky cookie butter frosting.
Ingredient Overview:
As always, the full recipe with measurements & directions can be found in the recipe card at the bottom of this post. Use the table of contents (back at the top, below the first image, to navigate).
- Cookie Butter – Biscoff spread (also called cookie butter), is made by Biscoff, but you can of course use any brand you like (Trader Joe’s makes a great one!).
- Biscoff Cookies – Lotus Biscoff Cookies are a classic and they’re used in the cake batter, and for garnish on top of the cake. You can find these near the cookies in most grocery stores. They’re sometimes called speculoos cookies.
- Butter – I always use salted buter for the best flavor, but feel free to use unsalted butter if you prefer.
- Cake Flour – Cake flour produces a more tender crumb in a cake and I highly recommend using it! Spoon & level your flour for best results, or use a scale. Scooping the measuring cup directly in will lead to too much flour, giving you a dry cake. 1 cup of cake flour is 110 grams, whereas 1 cup of all-purpose flour is 130 grams.
- Sour Cream – Use full-fat sour cream at room temperature.
- Eggs – Bring your large eggs to room temperature before baking.
Recipe Variations:
- Cake Flour Substitute- Make your own cake flour by spooning & leveling 1 cup of flour into a measuring cup, using a flat edge to level it off. Add to a mixing bowl, then remove two tablespoons (scoop & level them off). Add two tablespoons of corn starch, then sift this mixture twice. This is important to evenly mix the ingredients and to give the same light texture as cake flour.
- Biscoff Cookies – If you can’t find biscoff cookies, try gingersnaps or something with a similar crunchy texture and cinnamon/ginger flavor.
How to Make this Biscoff Cake:
Step 1: Make the Cake Batter. Cream together the butter and cookie butter in a large bowl with a hand mixer, or in the bowl of a stand mixer fitted with the paddle attachment. Beat in the vegetable oil. The mixture will be thin.
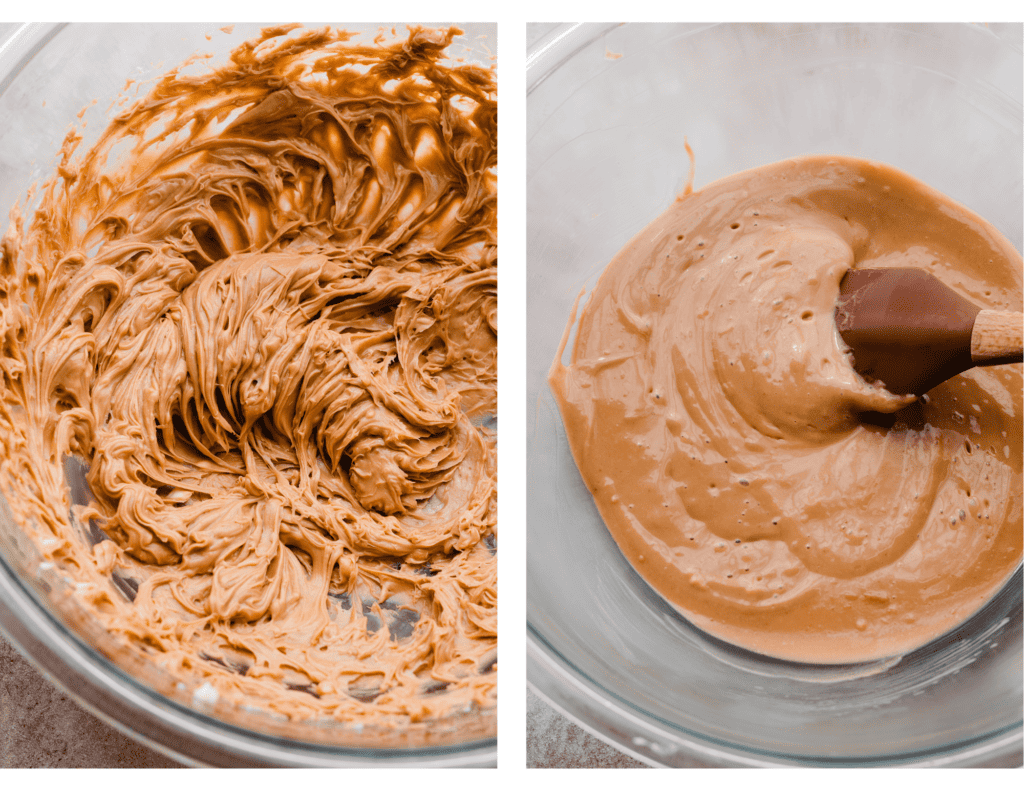
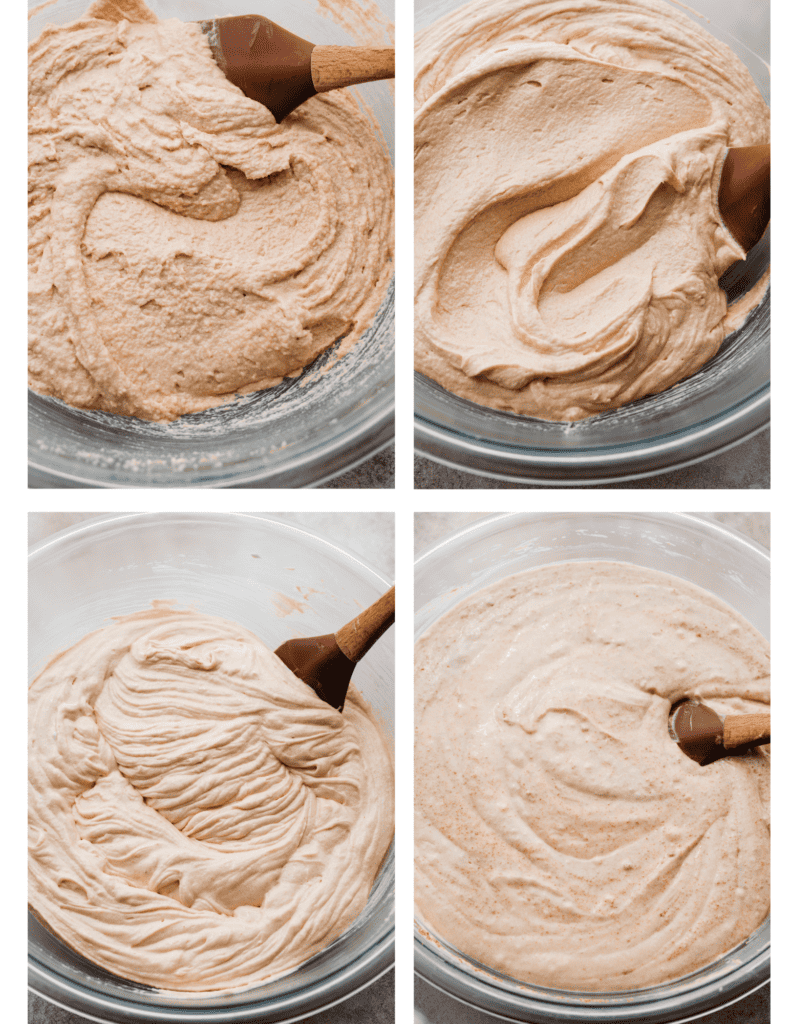
Then beat in the sugar, then the eggs. Mix in the sour cream and vanilla. Alternate adding the dry ingredients with the milk. Stir in the biscoff cookie crumbs last.
The photos below from left to right, top to bottom, show the sugar beaten into the butter, oil, and cookie butter. Then, the batter with the eggs beaten in, then the batter after the sour cream has been added, then the finished batter.
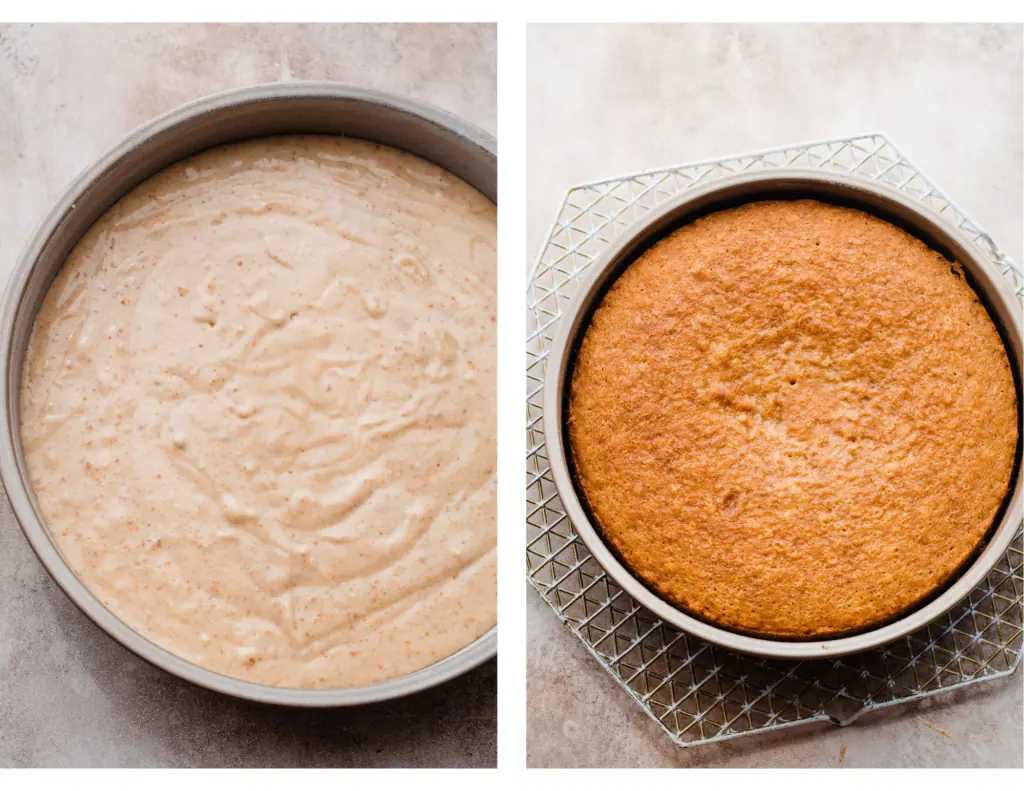
Step 2: Bake the Cake. Grease and flour three, 9-inch cake pans, or three 8-inch cake pans. Add the batter and bake as directed in the recipe card below for best results.
Let the cakes cool in the pans for 10 minutes, then invert onto a cooling rack to cool completely.
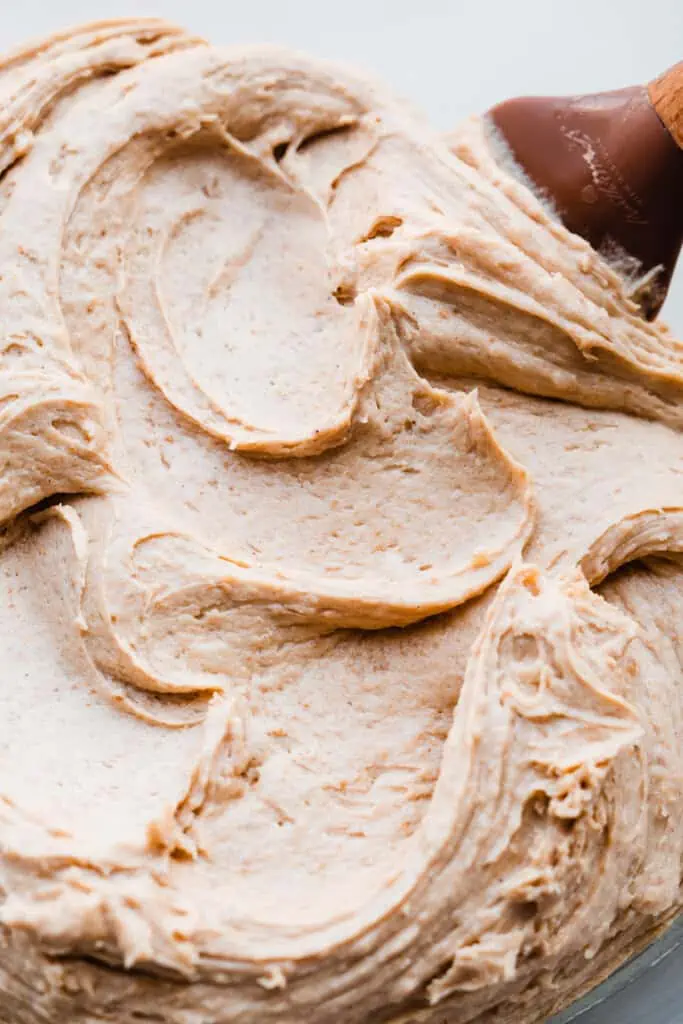
Step 3: Make the Cookie Butter Frosting. Cream together butter and cookie butter. Then, mix in the powdered sugar, vanilla extract, and a splash of heavy cream. Mix in the biscoff cookie crumbs. Beat in the cream cheese last.
Step 4: Frost the Cake. Use a cake turntable with your cake stand placed on top of it. Frost the first cake layer, then pipe a border and add the melted cookie butter & cookie crumbs.
Place the second layer on top and chill for 10-15 minutes before repeating. Crumb coat then frost the cake – in depth directions are in the recipe card.
Step 5: Add the Cookie Butter Drip. Melt the remaining cookie butter and pour it over the top of the chilled cake, using an offset spatula to spread it towards the edges, letting it waterfall down the sides for a beautiful drip.
Serving + Storing:
Let cake chill in the fridge for at least another 30-60 minutes, or until the drip is set. Pipe on extra frosting if desired, then slice and enjoy! Store leftovers in an airtight container in the fridge for 3-4 days.
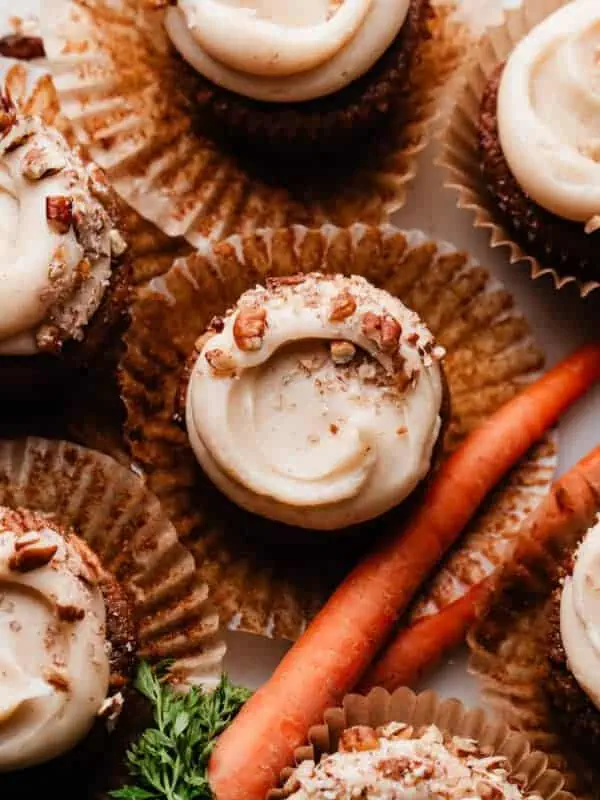
Make my Biscoff Cheesecake or Biscoff Cupcakes after this cake disappears – they’re incredible desserts for any cookie butter fan!
Expert Success Tips:
- Mix Properly – Mix the ingredients for the cake batter as directed in the recipe card to avoid a dry cake. Don’t over mix the dry ingredients – stop as soon as the last bits are just disappearing into the batter. Having a few lumps is fine – over mixing the batter is not.
- Frosting – Don’t melt the cookie butter for the frosting – mix it in from room temperature.
- Oven Thermometer – An oven thermometer will tell you if your oven is actually running at the temperature you set it to. Your oven may not be accurate. Accurate oven temperature is crucial for most bakes, so I leave an oven thermometer in at all times to keep an eye on my oven’s calibration.
- Kitchen Scale – A food scale is the best way to make sure your flour is at the proper weight, since the amount you get will vary SO widely based on how you measure it, and the measuring cup you use, as they are not standardized.
FAQs:
The cake can be baked, cooled, and stored in an airtight container at room temperature for a day before frosting. The frosting can be made a day ahead, stored in the fridge, then re-mixed with an electric mixer to make it spreadable again.
Yes! Halve the batter and bake in two, 8-inch cake pans or one 9×9 square pan. You can serve this as a 9×9 square single layer cake, or slice through the cooled square cake through the middle, once cooled, to make two square layers. You’ll need just half the frosting either way.
Yes! A full batch of this recipe will yield about 36 cupcakes, and a half batch makes 18.
A food processor is the best way! You want a fine crumb, like graham cracker crumbs, for the cookie crumbs in the cake batter and frosting. You can always crumble a few extra over the top of the cake, and those pieces can be larger.
Special Tools:
- Offset Spatula – Offset spatulas make frosting this delicious dessert so easy! They can also be used for spreading cake and brownie batters evenly in your pan.
- Piping Bag & Piping Tip – Use a piping bag and a Wilton 1A or 2A piping tip for the border around the filling. I used a Wilton 6B tip for the swirls on top.
- Cake Turntable – If you make at least a few cakes a year, a cake turntable makes the frosting process a breeze!
- Parchment Rounds – I love having these parchment rounds on hand so I don’t have to spend time tracing and cutting out parchment paper rounds each time I bake cakes. The 8-inch size works for 8 or 9-inch cake pans! (It doesn’t have to cover every inch of the pan and it will still work!)
Affiliate links above.
More Biscoff Recipes to Love:
Did you make this recipe? Leave a comment & star rating!
Click the little stars in the header of the recipe card below to leave a comment & star rating, letting me know how you liked the recipe. I take all feedback seriously, & leaving a rating helps my small business immensely!
Lotus Biscoff Cake with Biscoff Buttercream
Ingredients
For the Biscoff Cake:
- 3 and 1/2 cups cake flour, spooned & leveled, 385 grams
- 3 tsp baking powder
- 1/2 tsp baking soda
- 3/4 tsp salt
- 1/2 cup + 2 and 1/2 tbsp salted butter, softened at room temperature, 148 grams
- 1/2 cup biscoff cookie butter, 140 grams
- 1/2 cup vegetable oil, 119 mL
- 2 and 2/3 cups granulated sugar, 564 grams
- 3 large eggs, at room temperature
- 1 large egg white, at room temperature
- 1 tbsp vanilla extract
- 3/4 cup full fat sour cream, at room temperature , 180 mL
- 1 and 1/2 cups milk, at room temperature, 360 mL
- 1 cup biscoff cookie crumbs (14 cookies worth), 100 grams
For the Cookie Butter Filling:
- 1/2 cup cookie butter, 140 grams
For the Cookie Butter Frosting:
- 1 and 1/2 cups + 2 tbsp butter, softened at room temperature, 368 grams
- 2 cups biscoff cookie butter, 560 grams
- 6 cups powdered sugar , 690 grams
- 2 tsp vanilla extract
- 1-2 tbsp heavy cream, As needed to help things come together, 15-30 grams
- pinch of salt, to taste
- pinch of cinnamon
- 14 ounces cream cheese, cold
For the Cake Filling:
- 1/2 cup melted and slightly cooled cookie butter, divided in half, 140 grams
- extra biscoff cookie crumbs
For Decoration:
- 3/4 cup cookie butter, melted, For the drip, 210 grams
- extra biscoff cookies, for topping
Instructions
- Prep: Preheat your oven to 350℉. Grease three 9-inch round cake pans with shortening (use a paper towel and make sure to get into all the corners well). Then, dust the pan with flour, tapping it around so the shortening is coated. This will ensure your cake pops out perfectly after baking!
- Make the Cake Batter: In a medium bowl, whisk together the dry ingredients, including the biscoff crumbs. In a large mixing bowl, cream the butter well with electric mixer on high speed. Cream the cookie butter into the butter until completely combined. Add vegetable oil and beat on high speed for 1 minute. Add the sugar and cream for 2 minutes on high speed. Add two whole eggs and beat on medium high for 45 seconds to 1 minute. Repeat with the last whole egg and the single egg white The mixture will be fluffy. Mix in the sour cream and vanilla until combined. Add half of the dry ingredients with the mixer running on low speed. Add the milk with a few streaks of flour remaining, then when the milk is almost mixed in, add the remaining dry ingredients. When just a few streaks of flour remain, turn off the mixer and fold in any last dry bits – don't over mix! A few lumps in the batter is ok.3 and 1/2 cups cake flour, spooned & leveled, 3 tsp baking powder, 1/2 tsp baking soda, 3/4 tsp salt, 1/2 cup + 2 and 1/2 tbsp salted butter, softened at room temperature, 1/2 cup biscoff cookie butter, 1/2 cup vegetable oil, 2 and 2/3 cups granulated sugar, 3 large eggs, at room temperature, 1 large egg white, at room temperature, 1 tbsp vanilla extract , 3/4 cup full fat sour cream, at room temperature , 1 and 1/2 cups milk, at room temperature, 1 cup biscoff cookie crumbs (14 cookies worth)
- Bake: Divide cake batter into your prepared pans and bake for 23 to 28 minutes. A toothpick inserted in the middle of the cake will pull out some moist crumbs, but not wet batter. Let cakes cool in the pan for 10 minutes, then invert onto a cooling rack and let them cool completely before frosting. Note: You'll have about 2210 grams of batter, which comes out to 736 grams per pan.
- Make the Frosting: Cream butter and cookie butter in a large mixing bowl. Add the powdered sugar & vanilla, and mix on medium speed until creamy. Mix in the salt, cinnamon, and heavy cream. Beat in the cream cheese last (this helps prevent weeping). If the frosting is too soft, chill it until it sets up and re-mix to smooth it back out.1 and 1/2 cups + 2 tbsp butter, softened at room temperature, 2 cups biscoff cookie butter, 6 cups powdered sugar , 2 tsp vanilla extract , 1-2 tbsp heavy cream, pinch of salt, pinch of cinnamon, 14 ounces cream cheese, cold
- Frost & Assemble Cake: Place the first cake layer on a cake stand, placed on a turntable. Use 1 and 1/2 cup of frosting to top the first layer, spreading it evenly with an offset spatula. Pipe a border of frosting around the cake layer and fill with 1/4 cup melted cookie butter. Add a sprinkle of the cookie crumbs. Place the second cake layer on top and chill for 5-10 minutes to set things so the layers don't slide around. Repeat with the second layer. Add the final layer and give the cake a thin layer of frosting on top and on the sides.Use a cake scraper to smooth out and remove excess frosting. This is your crumb coat, so don't fret if it isn't perfect. Pop the cake in the fridge for 30 minutes to set the frosting. Then, apply the remaining frosting, using the cake scraper to smooth the top and sides of the cake. Chill the entire cake in the fridge for 30 minutes, or until the frosting is set before covering it (with plastic wrap or a cake lid) or serving it.Tip: If your frosting is getting too soft at any point from sitting out, pop it back in the fridge for a bit to firm back up.1/2 cup melted and slightly cooled cookie butter, divided in half, extra biscoff cookie crumbs
- Add Cookie Butter Drip & Pipe Swirls: Let cake chill in the fridge for 20-30 minutes, or until the frosting is set, before adding the drip. To make the drip, melt cookie butter, for about 10-15 seconds. Test the drip consistency on the edge of a drinking glass first before pouring on the cake. It should drip down into a smooth stream when you drizzle some back into the bowl with a spoon, and it should run down the side of the glass after being spooned on to the rim, but not run all the way down to your countertop. Once your desired consistency is reached, pour the cookie butter over the center of the top of the cake, then spread it towards and over the edges with an offset spatula as you turn the cake on the turntable. This will create that waterfall drip effect. Let the drip set up in the fridge for 20-30 minutes, or until solid. Pipe swirls of frosting on with remaining frosting. Place a cookie in each swirl for decoration! If the frosting is a bit soft, pop the cake back in the fridge for a bit before slicing.3/4 cup cookie butter, melted, extra biscoff cookies, for topping
- Serve & Store: Slice & serve the cake! Store leftovers in an airtight container in the fridge for 3-4 days. Be sure to press a piece of plastic wrap over the cut portion of the cake to help keep it from drying out, even if it's covered with a cake plate in the fridge.
Notes
Nutrition
Nutrition information is automatically calculated, so should only be used as an approximation.

Made this cake for a church social and received so many compliments!
Glad to hear it, Paige!
Love this recipe! One of my favorites I’ve made so far!
So glad to hear that, Amy!