This post contains affiliate links. Please see our disclosure policy.
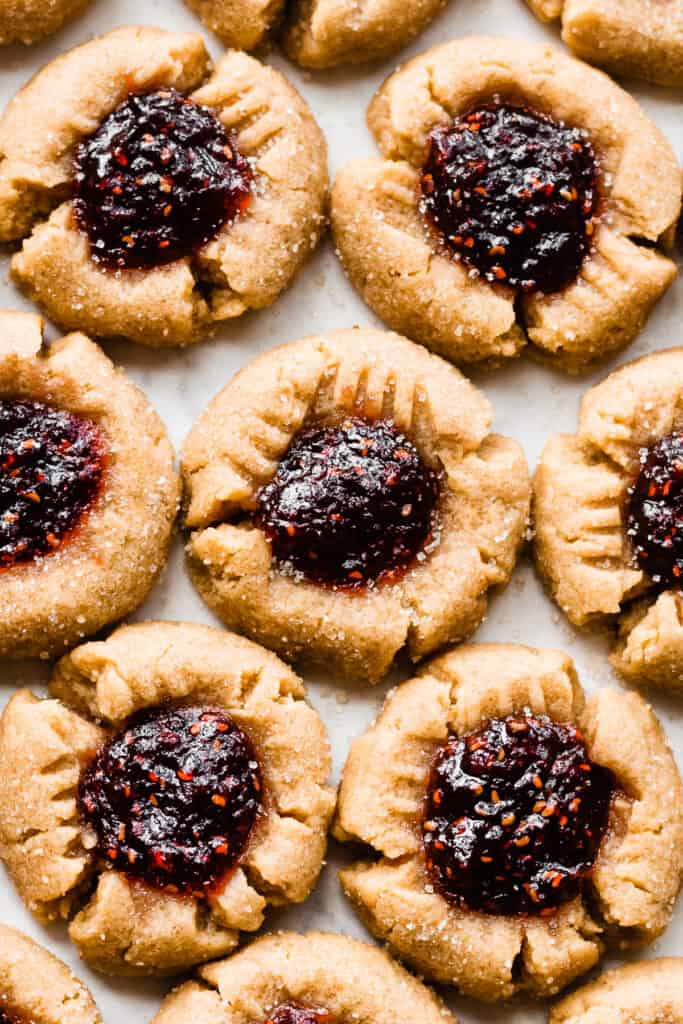
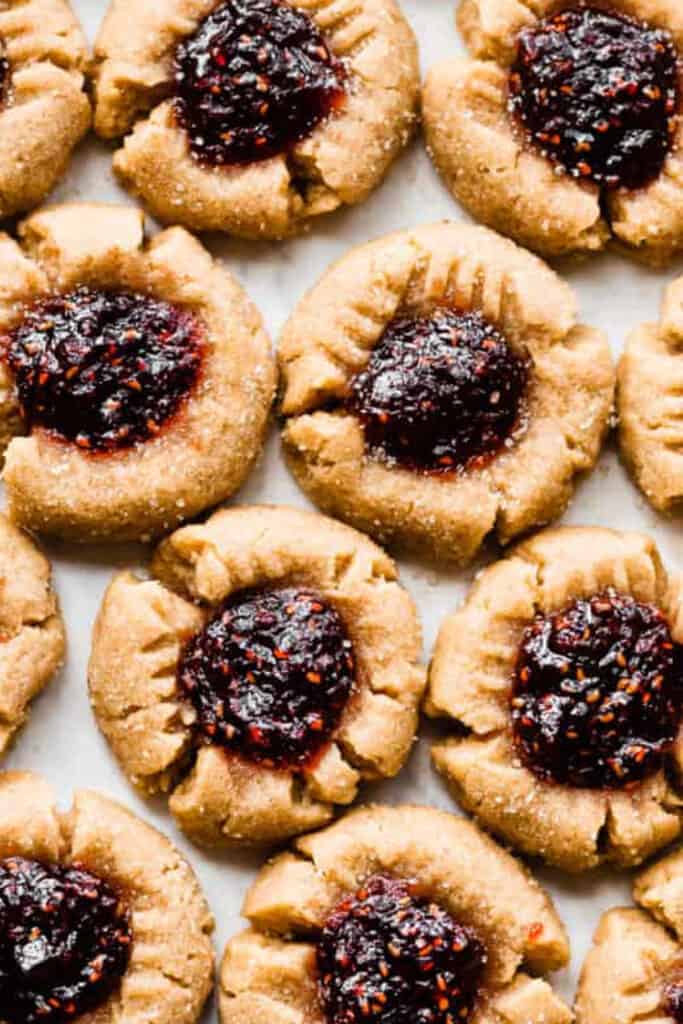
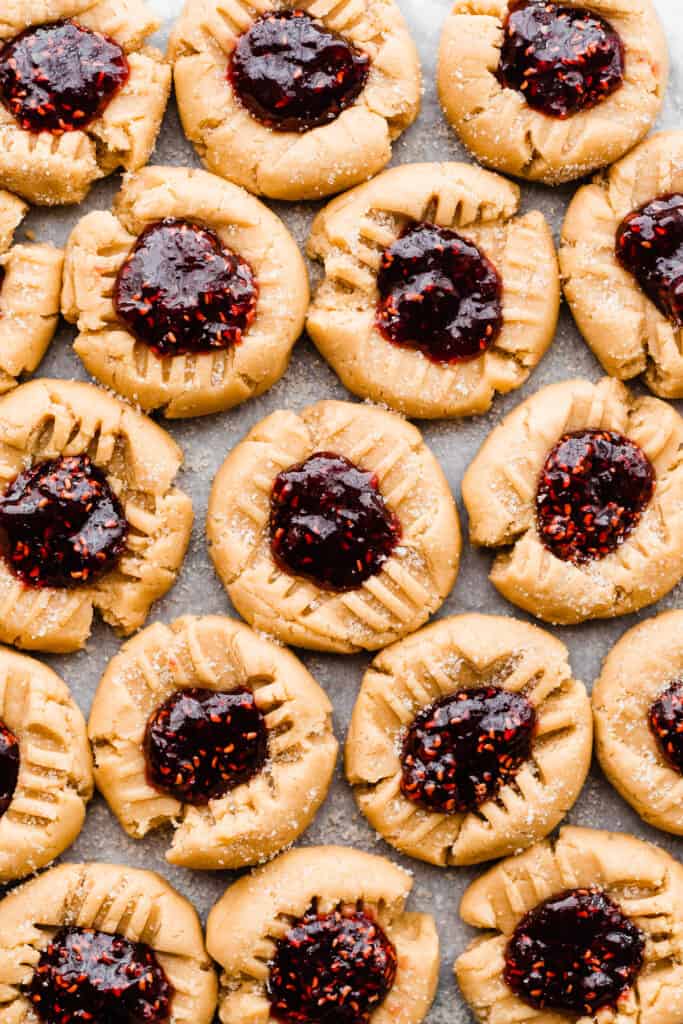
Peanut Butter and Jelly Cookies taste like your childhood favorite peanut butter and jelly sandwiches, in sophisticated cookie form! The peanut butter cookies are classic – soft, and thick – with raspberry preserve filled centers. These cookies require no chill time, but can also be prepped ahead. They’ll be a hit everywhere you take them!

This recipe comes from my cookbook, “The One-Bowl Baker” – out now! Click here for more information about the book and to order. Your support of my small business means the world!
Why you’ll love these Peanut Butter & Jelly Cookies:
- Soft, Chewy Peanut Butter Cookies – These are soft, thick peanut butter cookies – basically the stuff of childhood nostalgia dreams!
- Raspberry Preserves – Delicious raspberry preserves fill the center of these cookies.
- No Chill – This dough doesn’t require any chilling (just like my Peanut Butter Blossoms), but can be stored in the fridge if needed.
Ingredient Overview:
As always, the full recipe with measurements & directions can be found in the recipe card at the bottom of this post. Use the table of contents (back at the top, below the first image, to navigate).
- Butter – I always use salted buter for the best flavor, but feel free to use unsalted butter if you prefer.
- Raspberry Preserves – Use raspberry preserves, not raspberry jam, as I’ve found that the preserves are more flavorful, at least when it comes to raspberries.
- All-purpose flour – Spoon & level your flour for best results. Scooping the measuring cup directly in will lead to too much flour. Or use a scale, and weigh 135 grams of all-purpose flour per cup.
- Peanut Butter – I recommend using a traditional peanut butter, not natural peanut butter for this recipe.
Recipe Substitutions:
- Dairy-free – Use your favorite dairy-free butter sticks to make this recipe dairy-free.
- Different Jam – You can use other flavors of preserves or jam if you prefer – like strawberry jam!
- Jam – Try different flavors of fruit preserves, if desired!
- Nut Butter – If you can’t have nut butter, something like sun butter should work in these cookies, although I have to give the disclaimer that I haven’t tried it myself.
How to Make PB&J Cookies:
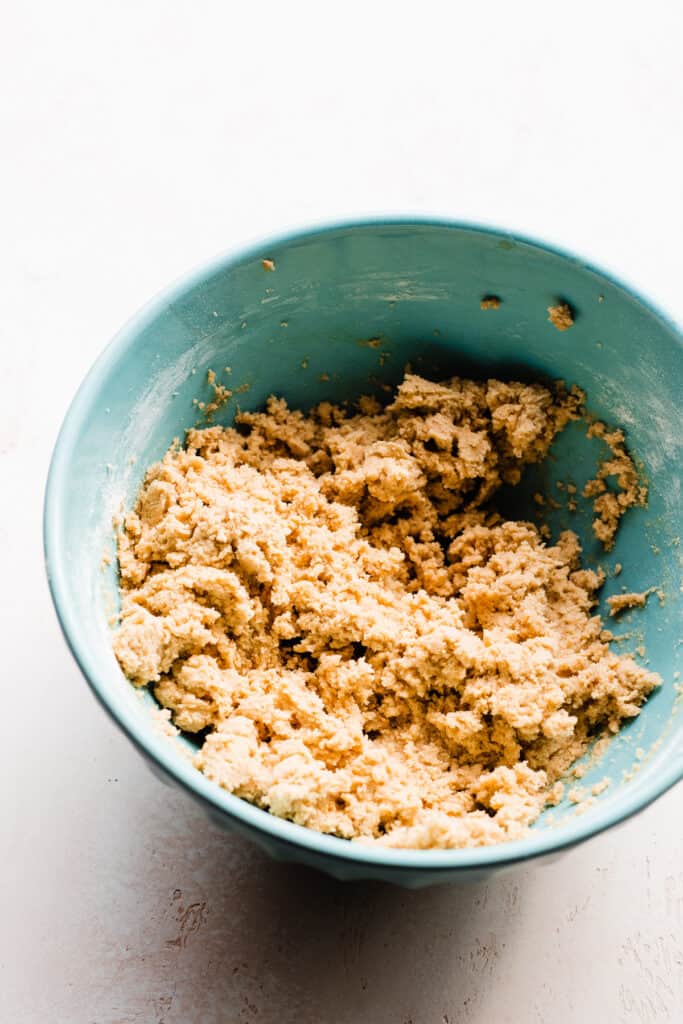
Step 1: Make the Cookie Dough. In a large or medium bowl, cream together the butter and peanut butter, then mix in the sugars. Mix in your eggs and vanilla then add the dry ingredients last, mixing until a cohesive dough forms.
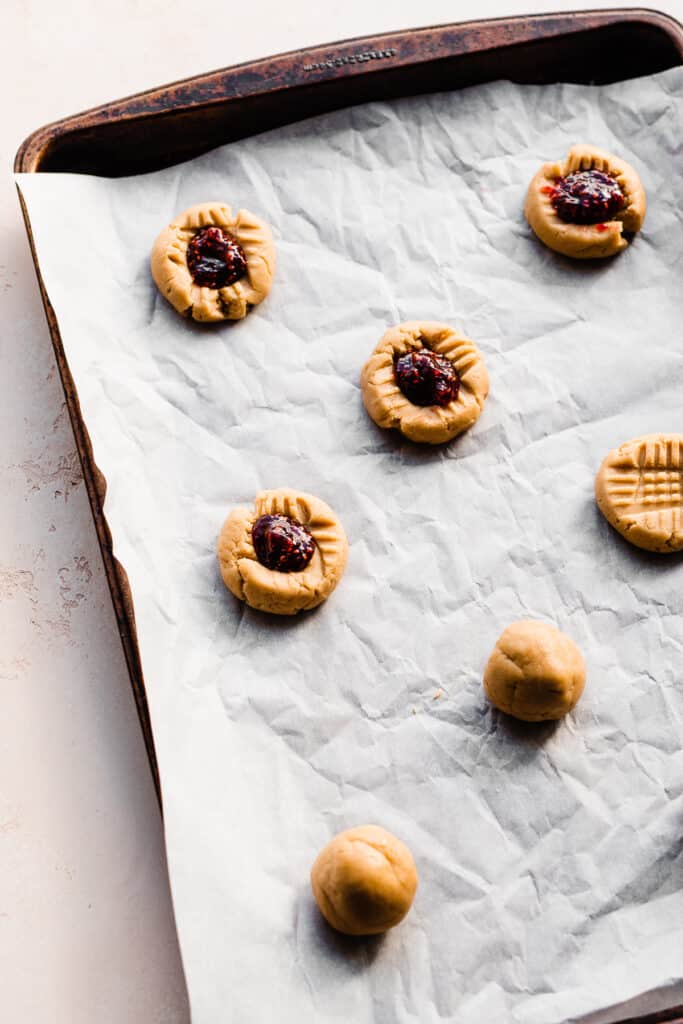
Step 2: Shape & Fill the Cookie Dough Balls. Roll balls about 1 and 1/2 tbsp (40 grams) in size. Roll each ball in granulated sugar, then press a criss cross design on top with a fork. (Notice that I forgot to roll the balls pictured below in the sugar this time, haha).
Press down into the center of the cookie lightly with a teaspoon to make an indent. Fill with the raspberry preserves.
Step 3: Bake the Cookies. Bake the cookies as directed in the recipe card below for best results. Cool on a wire rack.
Serve & Store:
Enjoy these peanut butter thumbprint cookies while they’re warm, or once they’ve cooled a bit. Store cooled cookies in an airtight container in the fridge for up to a week. And if you’re still craving PB, try my Peanut Butter Blondies next!
Expert Success Tips:
- Dough Chilling- I find that these don’t need chill time, but they do hold their shapes just a bit better if you chill them first. It’s completely up to you! I usually pop one pan in the oven, and stick the second in the fridge while the first bakes.
- Don’t Over Fill – 1 tsp jam may not sound like much, but it’s the right amount for a cookie this size. If you add more, the cookie may not turn out. You can always dollop a bit more on top of the baked, cooled cookies.
FAQs:
Yes! Assembled cookies can be stored in an airtight container and refrigerated for 1-2 days before baking. Or, cookie dough can be portioned and shaped, then frozen for 1-2 months. Thaw in the fridge overnight before adding the raspberry preserves and baking.
Yes! You can double or halve this recipe.
More Cookie Recipes to Love:
- Bakery-Style Peanut Butter Chip Chocolate Cookies
- Key Lime Slice & Bake Cookies
- Blueberry Lemon Cookies
- Funfetti Cake Batter Cookies
- Cherry Pie Cookies
- Triple Chocolate Chunk Cookies
Did you make this recipe? Leave a comment & star rating!
Click the little stars in the header of the recipe card below to leave a comment & star rating, letting me know how you liked the recipe. I take all feedback seriously, & leaving a rating helps my small business immensely!

Peanut Butter & Jelly Thumbprint Cookies
Ingredients
- 1/2 cup salted butter, softened at room temperature, (8 tbsp or 113 grams)
- 1/2 cup creamy peanut butter, 125 grams
- 1/2 cup granulated sugar, 105 grams
- 1/2 cup brown sugar, packed, 110 grams
- 1 large egg, at room temperature
- 1/2 tsp vanilla extract
- 1/2 tsp baking powder
- 1/4 tsp salt
- 1 and 1/2 cups all-purpose flour, spooned & leveled or weighed out , 195 grams
For Finishing
- 1/2 cup granulated sugar, for rolling, 105 grams
- 1 18-ounce jar raspberry preserves, See note below
Instructions
- Prep: Preheat your oven to 350° F. Line two baking sheets with parchment paper or silicone baking mats.
- Make the Cookies: In a large mixing bowl, cream the butter with an electric mixer until nice and creamy. Add the peanut butter and mix until it's just combined with the butter. Add the granulated and brown sugars, and mix until well creamed together with the butters. Add the egg and vanilla and mix until just combined. Add the baking powder, salt, and flour and mix, scraping the sides of the bowl as needed, just until the last streaks of flour disappear into the dough.1/2 cup salted butter, softened at room temperature, 1/2 cup creamy peanut butter, 1/2 cup granulated sugar, 1/2 cup brown sugar, packed, 1 large egg, at room temperature , 1/2 tsp vanilla extract, 1/2 tsp baking powder, 1/4 tsp salt, 1 and 1/2 cups all-purpose flour, spooned & leveled or weighed out
- Shape & Fill Cookies: Roll the dough into balls bout 1 1/2 tablespoons (38 to 40 grams) in size. Add some extra granulated sugar into the measuring cup you used for the flour or sugar earlier on. Roll each ball in the sugar and place onto the prepared baking sheets about 2 inches apart. Use a fork to lightly press the traditional crisscross design into the cookies. Use your thumb to gently press an indent into the center of each cookie on top of the crisscross, and spoon in about 1 teaspoon of preserves into the center of each cookie.1/2 cup granulated sugar, for rolling, 1 18-ounce jar raspberry preserves
- Bake: Bake the cookies for 8 to 9 minutes. The edges will appear just set. Let cookies cool about 5 minutes on the baking sheet, then transfer to a cooling rack to cool completely.You do not need to chill this cookie dough! However, I sometimes find that the second pan spreads a tad more since it sits out while waiting for the first pan to bake. So, I usually pop the second pan in the fridge while the first bakes. (I prefer baking one pan at a time in my oven).
- Serve + Store: Enjoy with a cold glass of milk! Store leftovers in an airtight container at room temperature for up to 5 days or 7 days in the fridge.
- Make-Ahead Tips: The cookies can be made, fully assembled (with the jam in the centers) and refrigerated on the baking pan (tightly covered with foil, etc.) for 24 hours before baking. Bake straight from the fridge.
Notes
Nutrition
Nutrition information is automatically calculated, so should only be used as an approximation.

Easy recipe — great flavor and texture! perfect for nonbakers
Thanks so much, Yoli!
These came out great, even if clumsy me made them a bit too large at first. Had a tiny bit of leakage on my smallest cookies, but that’s why I get using grape jam. The preserve listed will probably work better, but the grape jam was a fun throwback.
Glad you enjoyed these, Clayton!
Super easy and delicious. I highly recommend the make ahead for easy cookies!
Thanks, Kim! ☺️
These little thumbprints are INCREDIBLE. I did them with a cherry preserve instead of raspberry (since that’s what I had on hand) and WOW WOW WOW!!! I could eat an entire batch of these by myself. So… maybe… double the recipe – at LEAST. Recipe was simple and very clear. Will definitely be adding these to the “must-make” Christmas cookie list!
Thanks so much, Jessica! Glad you enjoyed these cookies. 🙂
These cookies are dangerously delicious. I used a gluten-free flour baking blend and dairy-free butter (in the exact same measurements) with no problem. I have eaten 3 of these cookies already and I’m not sure they’ll last the day. So yummy!
Thanks so much, Katie!