This post contains affiliate links. Please see our disclosure policy.
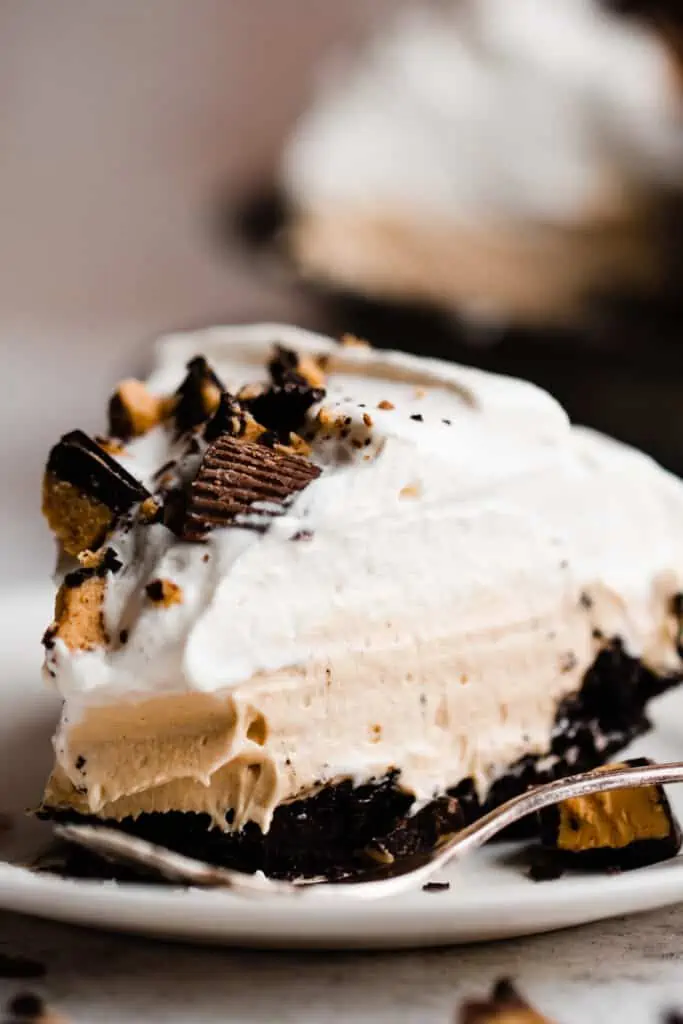
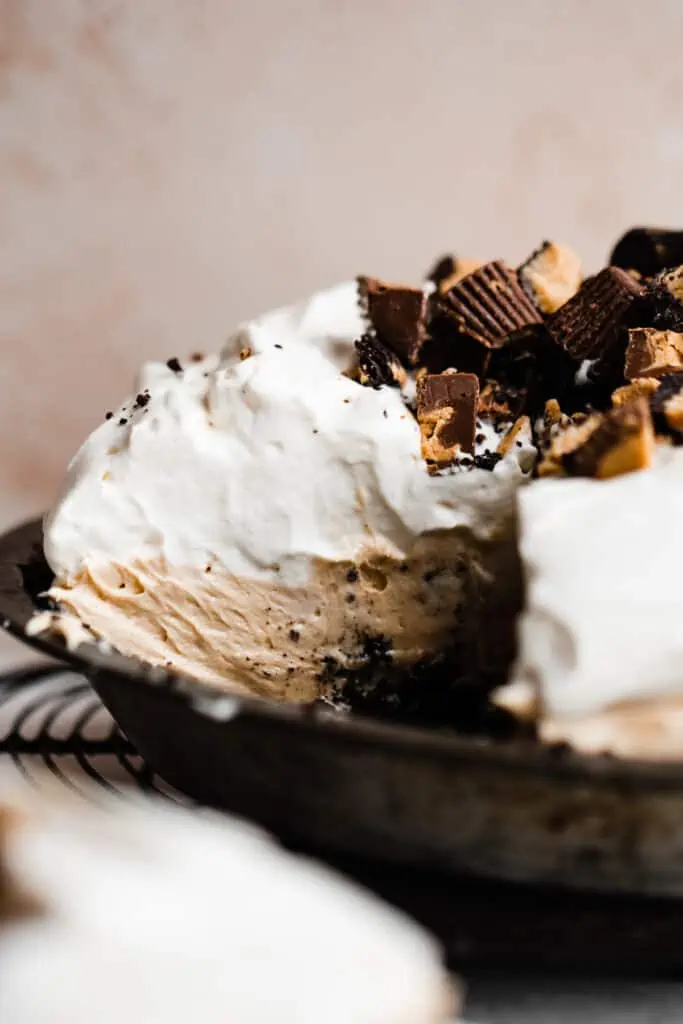
No Bake Peanut Butter Pie is a dreamy dessert! We’ve got a chocolate oreo crust, a silky peanut butter filling, and a cloud of pillowy whipped cream with a generous sprinkle of peanut butter cups on top. This delicious dessert is any peanut butter lovers dream!

Why you’ll love Peanut Butter Pie:
- Creamy Peanut Butter Filling – The peanut butter filling is absolutely heavenly, and made with simple ingredients.
- Chocolate Cookie Crust – This decadent dessert uses a press in cookie crust made with crushed oreos and butter – easy peasy!
- No Bake Dessert – This is a no bake recipe, making it completely fuss-free and perfect for non-bakers. It’s a great make-ahead dessert, too!
Ingredient Overview:
As always, the full recipe with measurements & directions can be found in the recipe card at the bottom of this post. Use the table of contents (back at the top, below the first image, to navigate).
- Peanut Butter – I used creamy jiff peanut butter, but any creamy variety should work. I’m not sure if natural peanut butter would work as well here.
- Cream Cheese – Use full fat, block style cream cheese in this recipe. Let it come to room temperature before using.
- Cool Whip – Cool whip adds creaminess and helps the filling set up. Be sure you thaw it in the fridge overnight before using.
- Oreos – Use oreos or any similar sandwich cookie for the crust.
- Butter – I always use salted buter for the best flavor, but feel free to use unsalted butter if you prefer.
Recipe Substitutions & Variations:
- Homemade Whipped Cream – Feel free to use homemade whipped cream instead of the cool whip in the filling. If you do this, mix about 1/3 of the total amount in with your mixer, then fold the rest in with a rubber spatula – this is very important, as the whipped cream will loose all the air you just whipped into it if you don’t fold it in.
- Dairy-free – Use dairy-free cool whip or dairy-free heavy cream, and dairy-free cream cheese to make this pie dairy-free.
- Gluten-free – Use gluten-free chocolate graham crackers or sandwich cookies to easily make this pie gluten-free.
- Toppings – Add a sprinkle of salted chopped peanuts or even chocolate chips or peanut butter chips on top of the pie.
- Chocolate Sauce – Drizzle chocolate sauce on top of the pie if you want to add even more chocolate!
- Peanut Butter Cups – Use whatever size peanut butter cups you like to top this pie! I used a mix of medium and small ones, and chopped some of them up.
How to Make Peanut Butter Pie:
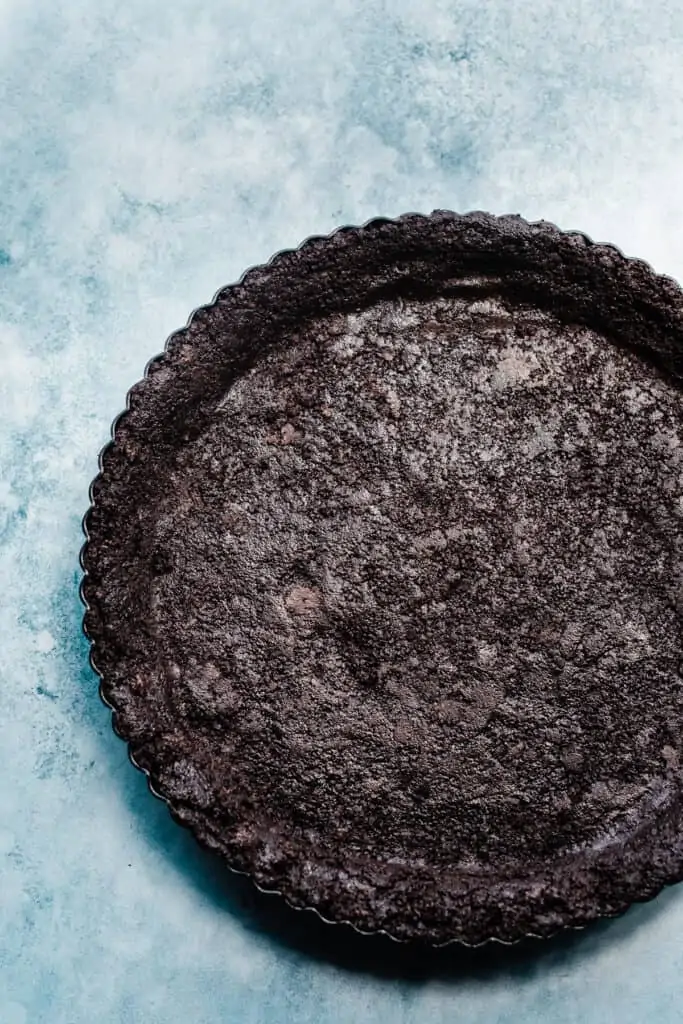
Step 1: Make the Crust. Start by pulsing oreo cookies in a food processor. Stir in the melted butter, and press this mixture into a 9-inch pie plate. Chill the crust while you mix up the filling.
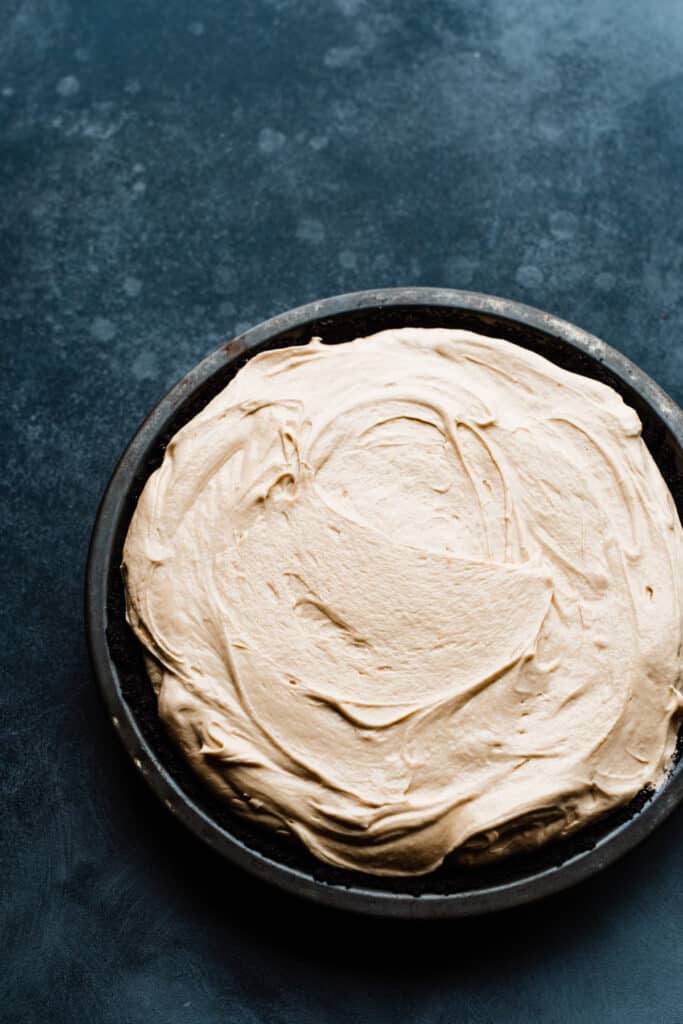
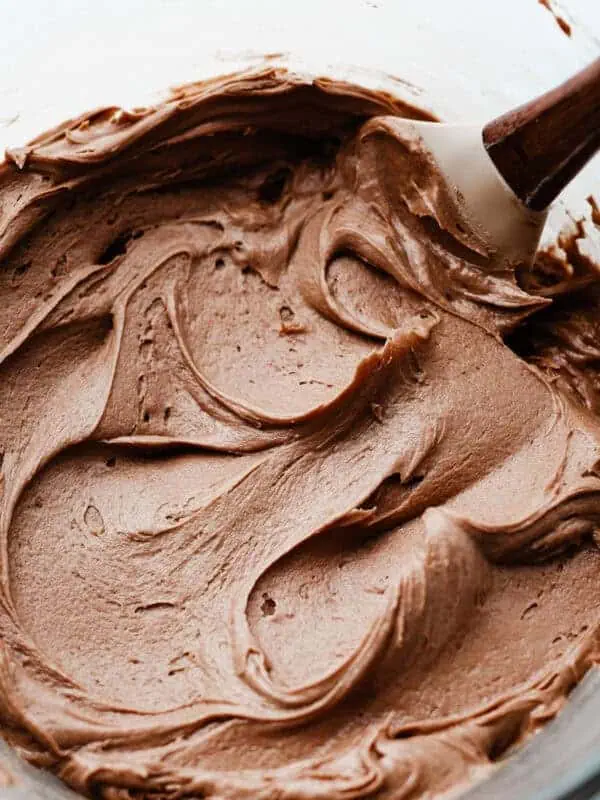
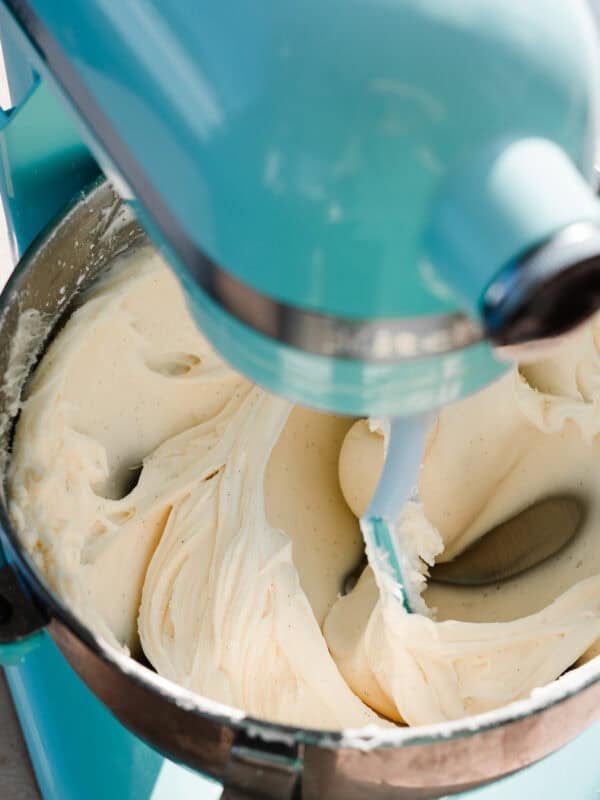
Step 2: Make the No-Bake Peanut Butter Filling. In a large bowl, cream together cream cheese, peanut butter, powdered sugar, vanilla, and salt. Add the cool whip last.
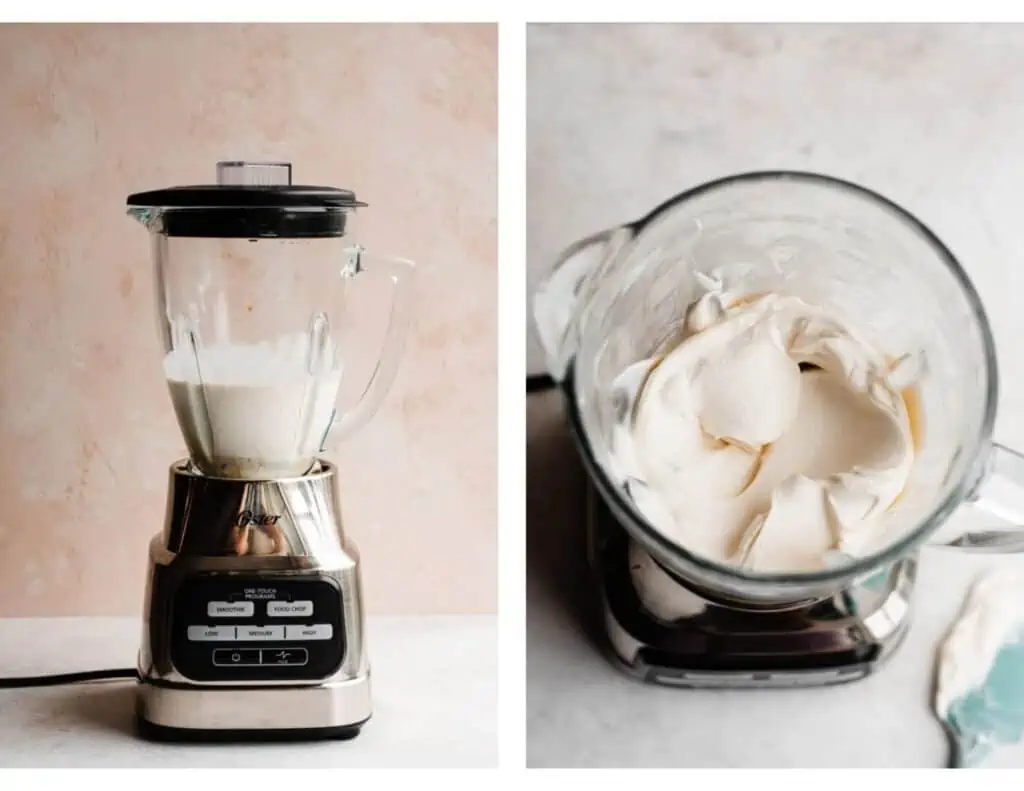
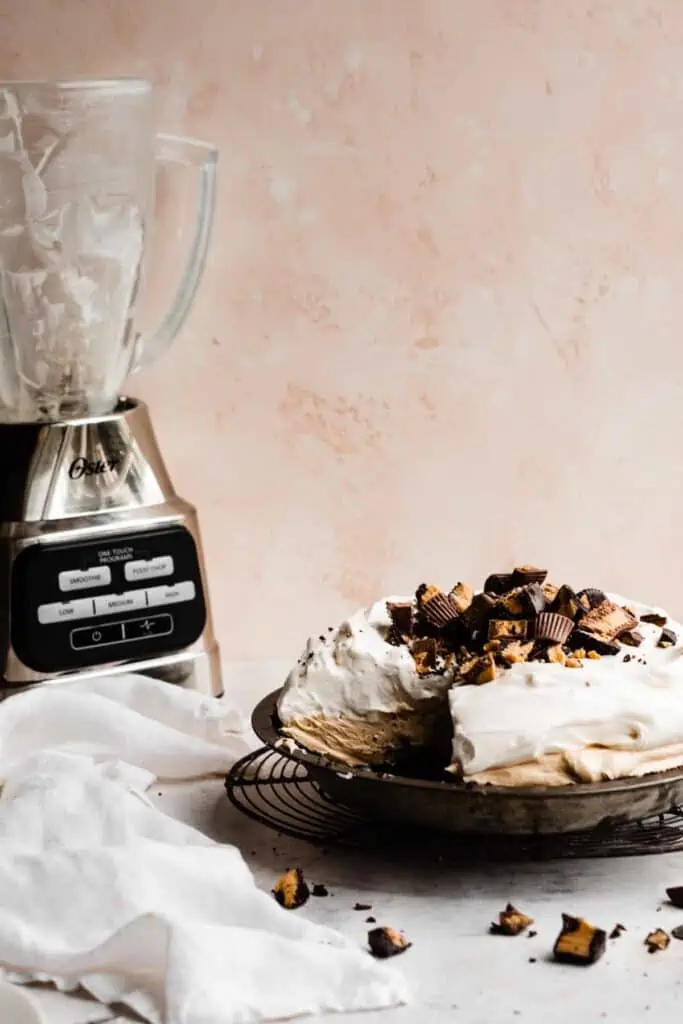
Step 3: Make the Whipped Cream & Serve. Beat together heavy cream, vanilla, and a bit of powdered sugar to easily make whipped cream! Using a food processor or blender makes the creamiest whipped cream in no time! You can use a mixer, too.
Chill the pie at least 4-6 hours before adding the whipped cream and serving.

Serving + Storing:
Top your delicious peanut butter pie with chopped peanut butter cups. Once the pie has chilled, serve it up! Store leftovers in the fridge for 4-6 days in an airtight container. But once the whole family has seen this, don’t count on leftovers, heh.
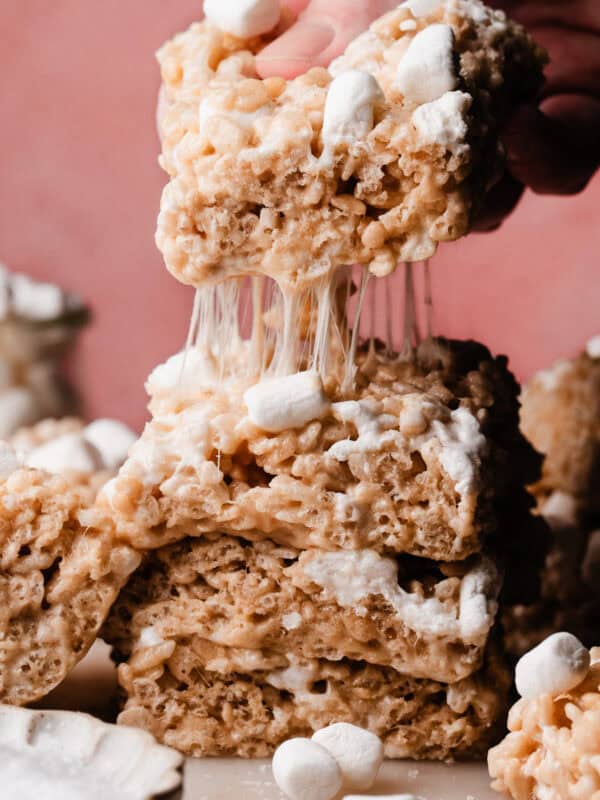
For more no-bake pie perfection, try my S’mores Pie or my French Silk Pie.

Expert Success Tips:
- Press-In Crust – Spend a few minutes pressing the crust in really well so that it holds together nicely when the pie is sliced. Use the back of a measuring cup to pack it in.
- Whipped Cream Topping- To make a beautiful pie, pile the whipped cream in the center of the pie, then gently push it out towards the edges using the back of a spoon, creating swoops as you go.
- Chill the Pie – You absolutely must chill the pie in order for the filling to set up.
Special Tools:
- Pie Plate – Any pie plate will work for this recipe since it’s no-bake!
More No Bake Dessert Recipes to Love:
More Peanut Butter Recipes to Love:
- Bakery-Style Peanut Butter Chip Chocolate Cookies
- Homemade Peanut Butter Cups
- Peanut Butter & Jelly Thumbprint Cookies
- Salted Chocolate Peanut Butter Tart
- Peanut Butter Cup & Chocolate Chip Skillet Cookie
- Bakery-Style Monster Cookies
Did you make this recipe? Leave a comment & star rating!
Click the little stars in the header of the recipe card below to leave a comment & star rating, letting me know how you liked the recipe. I take all feedback seriously, & leaving a rating helps my small business immensely!

No-Bake Peanut Butter Pie
Ingredients
For the Crust
- 25 oreo cookies
- 4 tbsp salted butter, melted, 58 grams
For the Peanut Butter Filling
- 8 ounces cream cheese, Use the full-fat, block style here. 226 grams
- 1 cup creamy peanut butter, 250 grams
- 1 cup powdered sugar, 115 grams
- 1/2 tsp vanilla extract
- pinch of salt
- one 8-ounce container cool whip, thawed, Or use homemade whipped cream – see note below.
For the Whipped Cream
- 2 cups heavy cream, 480 grams
- 3 tbsp powdered sugar, 21 grams
- 1 tbsp vanilla extract
- A few handfuls of chopped peanut butter cups, for garnish
Instructions
- Make the Crust: Spray a 9-inch pie plate with nonstick spray. Pulse the oreos in a food processor until finely ground. Stir in the melted butter and press this mixture into your prepared dish. Chill this in the fridge for at least 1 hour before adding the filling.25 oreo cookies, 4 tbsp salted butter, melted
- Make the Peanut Butter Filling: In a large mixing bowl, beat the cream cheese on high speed with an electric mixer until creamy. Add the peanut butter and mix until combined with the cream cheese. Add the powdered sugar, and mix until fully combined with the peanut butter mixture. Add the vanilla and salt and give it a quick mix. Add the cool whip and mix until just combined. Spread this filling into your chilled crust, and chill at least 4-6 hours before adding the whipped cream and serving.8 ounces cream cheese, 1 cup creamy peanut butter, 1 cup powdered sugar, 1/2 tsp vanilla extract, pinch of salt, one 8-ounce container cool whip, thawed
- Make the Whipped Cream: Add the whipped cream ingredients to your Oster One-Touch Blender. Blend on "medium" or "high" for about 1-2 minutes, or until the mixture is thick and smooth. Give it a stir about halfway through to check the consistency. Pile the whipped cream on top of your chilled pie, and gently nudge it towards the edges with the back of a spoon, creating swoops as you go. Sprinkle on the crushed peanut butter cups.2 cups heavy cream, 3 tbsp powdered sugar, 1 tbsp vanilla extract
- Serve + Store: You can serve the pie right away once the whipped cream has been added, or you can continue chilling overnight to serve the next day! Slice and serve, and enjoy! Keep leftovers, covered, in the fridge for a few days.A few handfuls of chopped peanut butter cups, for garnish
- Make-Ahead Tips: The pie crust with the filling can be covered and chilled in the fridge for up to 2 days before topping and serving. The whipped cream-topped pie can be covered and chilled overnight before serving. (I recommend storing it in a cake carrier or something with a domed top so you don't squash the whipped cream down!)
Notes
Nutrition
Nutrition information is automatically calculated, so should only be used as an approximation.
This peanut butter pie was truly sensational.
It was definitely an amazing dessert!!! Def a MUST HAVE in the recipe book!!
Thanks so much for the rave review, Scott!
Hi!! This looks so amazing!! Could you make this in a 9 by 13 cake pan? If i double ingredients? Thanks
Hi Amy! Yes, that would work just fine. Please let me know how you enjoy this recipe!
It was a hit!!! Thanks Stephanie 🙌🙌
Glad to hear it, Amy! 🙂
Excellent recipe so easy but very impressive! More importantly so delicious!!
Thanks so much, Julie! Happy baking. Or, in this case – happy no-baking 🙂
This pie was so easy to make and the whole family loved it!
Thanks so much, Amelia!
So good! The homemade crust and whipped cream topping make all the difference!
Thanks so much, Bethany!
Quick question: what size container of Cool Whip?
One 8 ounce container! ☺️ Let me know how you like the recipe.
Oh. My. Goodnesssssss. This pie is going into the regular rotation! I made it for a family dinner and it got rave reviews! It’s light but rich (but not too rich), flavorful and fun!
Thanks so much, Kristin! 🙂
Delicious and easy recipe! My family loved it! Will definitely be making it again.
Glad to hear that, Madeline! ☺️
I made this today and it is hands down one of my new favorite recipes!! So amazing. So good. So easy to make!
Thanks so much, Sophia! 🙂