This post contains affiliate links. Please see our disclosure policy.
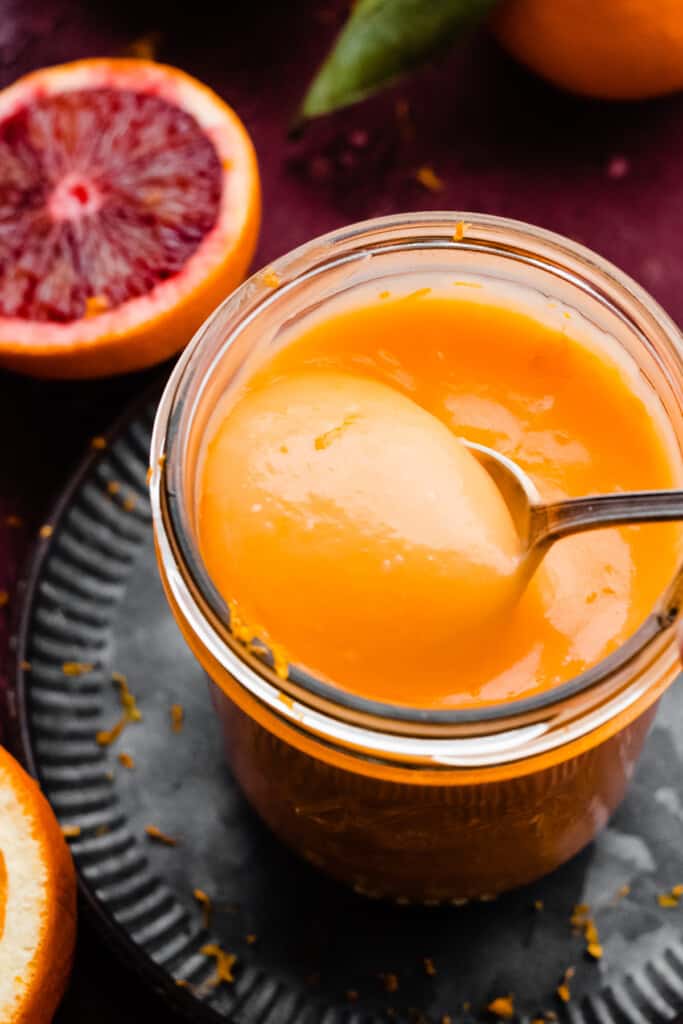
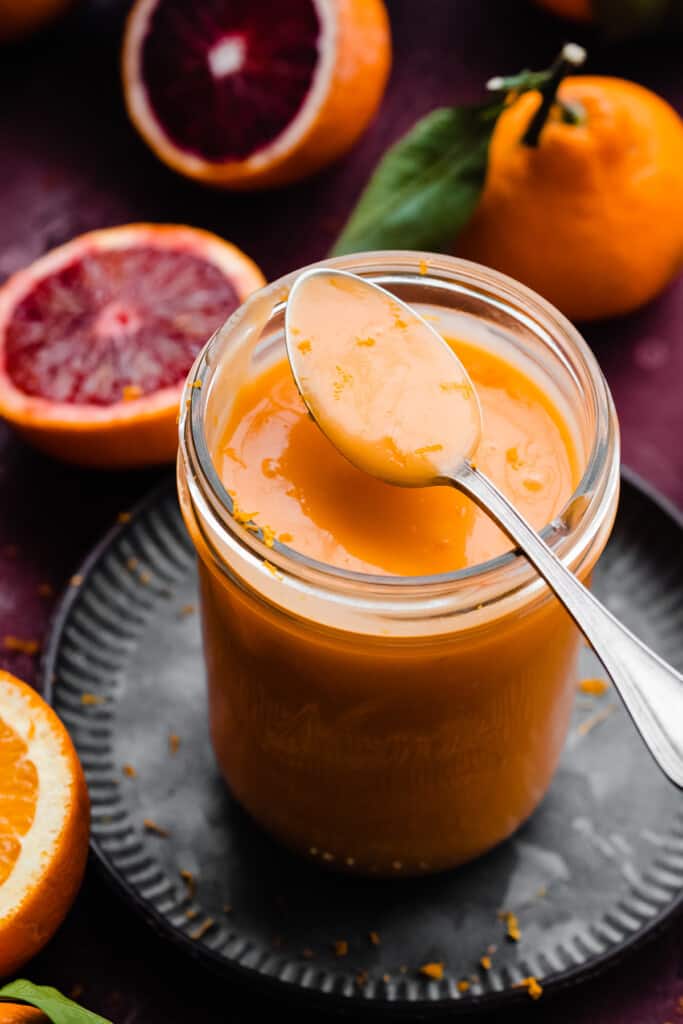
Orange Curd is an easy and versatile dessert that comes together in 30 minutes, with simple ingredients. This luscious, silky curd is absolutely bursting with fresh orange flavor, and makes the perfect topping for ice cream, biscuits, pancakes, and cakes!

Why you’ll love fresh Orange Curd:
- Fresh Orange Flavor – This rich and silky orange curd is bursting with bright orange flavor from freshly squeezed orange juice and fresh orange zest. It’s the best way to celebrate citrus season!
- Easy Recipe – This easy recipe is completely doable for any skill levels.
- Versatile Recipe – Top cakes and cheesecakes with this sweet treat, or spoon it over ice cream, pancakes, or biscuits! It makes a delicious filling for my Orange Creamsicle Cupcakes, or for my Orange Cake!
Ingredient Overview:
As always, the full recipe with measurements & directions can be found in the recipe card at the bottom of this post. Use the table of contents above to navigate.
- Orange Juice – Use freshly squeezed orange juice from any type of orange you like – navel oranges, cara cara oranges, or blood oranges. I *think* you could use bottled orange juice, but I haven’t tested it. Be sure to strain the juice either way to remove any pulp. With any homemade citrus curd, freshly squeezed juice is the way to go! Fresh oranges give the most wonderful flavor.
- Lemon Juice – Just 2 tablespoons of lemon juice helps brighten & enhance the orange flavor and add a hint of tartness, which I find is needed with orange since it’s flavor profile is completely sweet compared to the more zingy, complex flavor of limes or lemons.
- Eggs – Using two whole eggs and two egg yolks provides the structure the curd needs, and removing two of the egg whites ensures there isn’t too much liquid for the curd to thicken up. Use the whites in one of my cake or cupcake recipes, freeze them, or use in your breakfast scramble!
- Granulated sugar – Granulated sugar adds a bit of sweetness.
- Vanilla extract – Use real vanilla for best results.
- Salt – Everything in life needs a pinch of salt for balance.
- Butter – I always use salted butter for the best flavor, but feel free to use unsalted butter if you prefer.
Recipe Substitutions & Variations:
- Dairy-free – Use your favorite dairy-free buter.
- Other Citrus Fruits – I don’t recommend subbing in other fruit juice like lemon or lime as I haven’t tested them with this ratio of eggs and cook time. I do have a lime curd recipe and a lemon curd recipe coming soon!
- Oranges – You can use regular navel oranges, blood oranges, or cara cara oranges in this recipe!
- See FAQs below for more curd recipes.
How to Make easy Orange Curd:
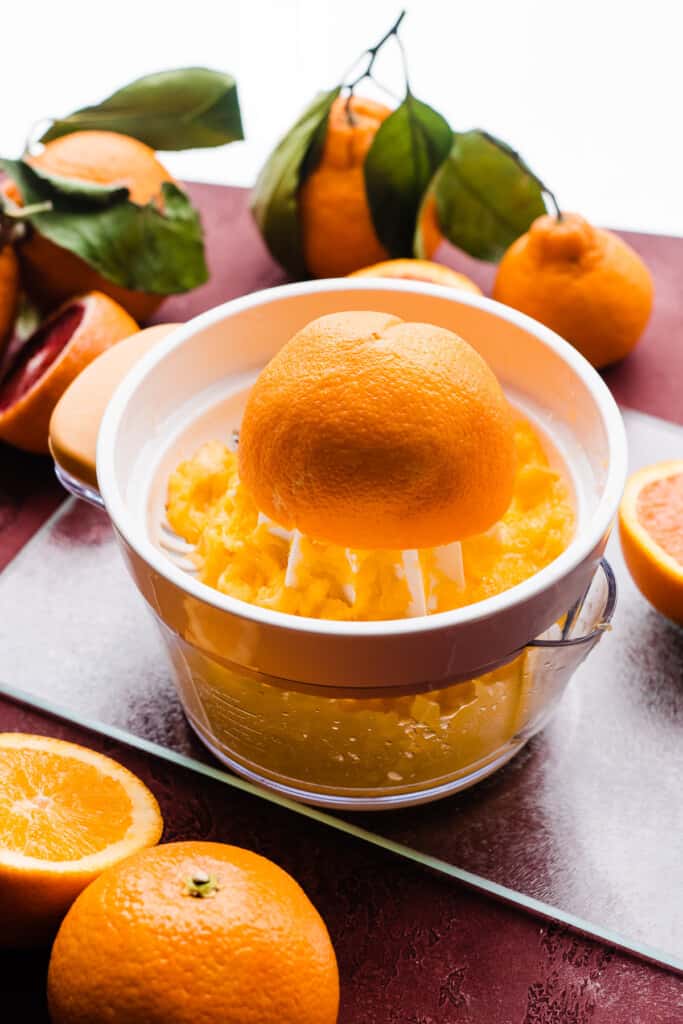
Step 1: Juice your Oranges. Use fresh orange juice for the best results. I *think* bottled would work in a pinch, but haven’t tried it myself. Strain the juice to remove any pulp or seeds.
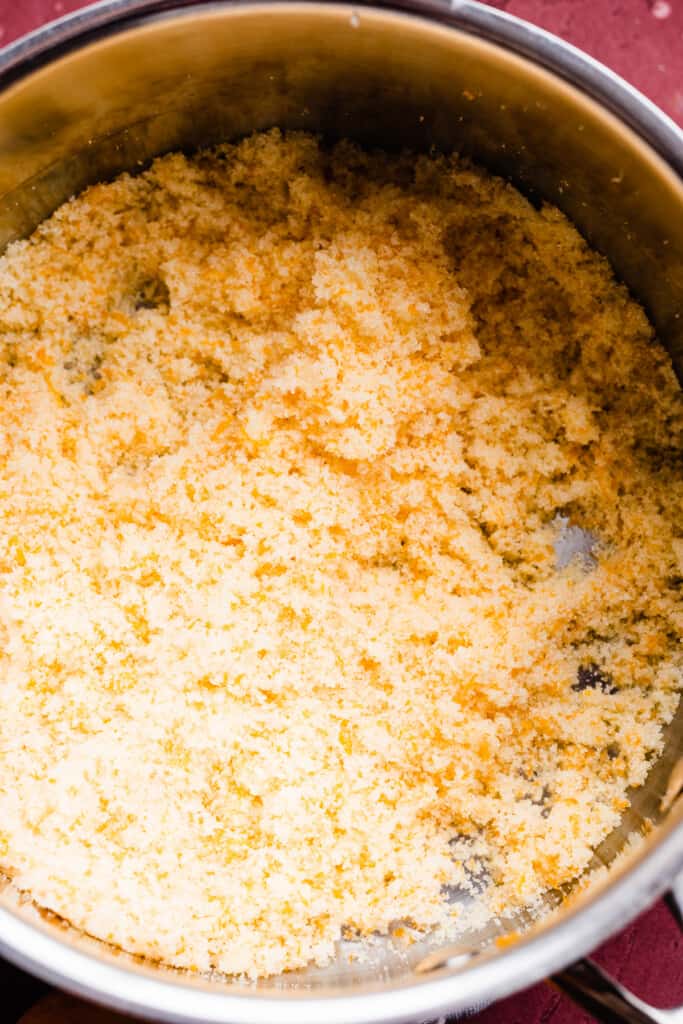
Step 2: Combine Ingredients. Rub the orange zest into the granulated sugar with clean hands.
Then, whisk in the eggs and egg yolks, orange juice, and salt.
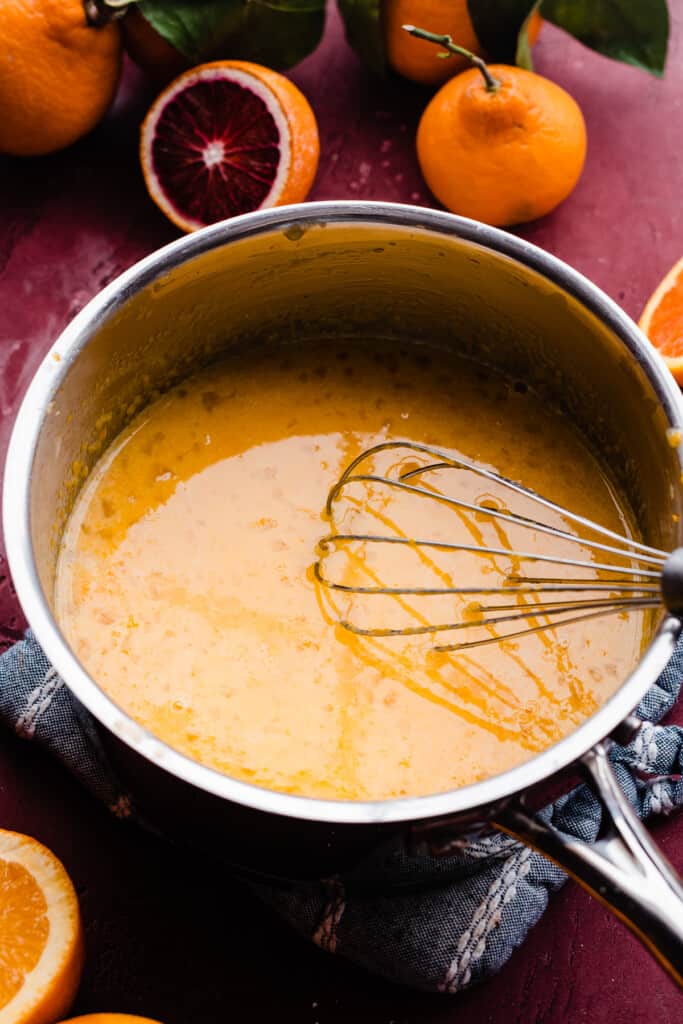
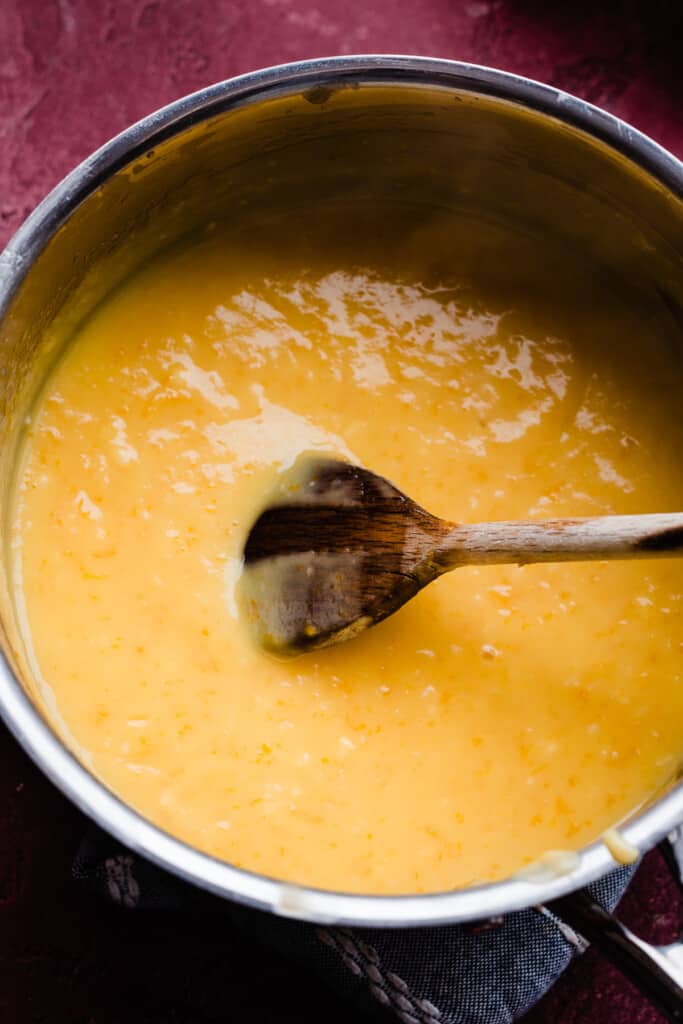
Step 3: Cook the Curd. Whisk well, and cook over low heat, whisking for 14-18 minutes. The temperature on a candy thermometer should reach 195 to 200 degrees F. The first 8-10 minutes it will seem like nothing is happening, and the curd will just barely start to thicken.
Be patient! Don’t be tempted to crank the heat up or you’ll scramble the eggs. Inevitably, you will end up with a few small pieces of cooked egg white – we’ll get that out in the next step.
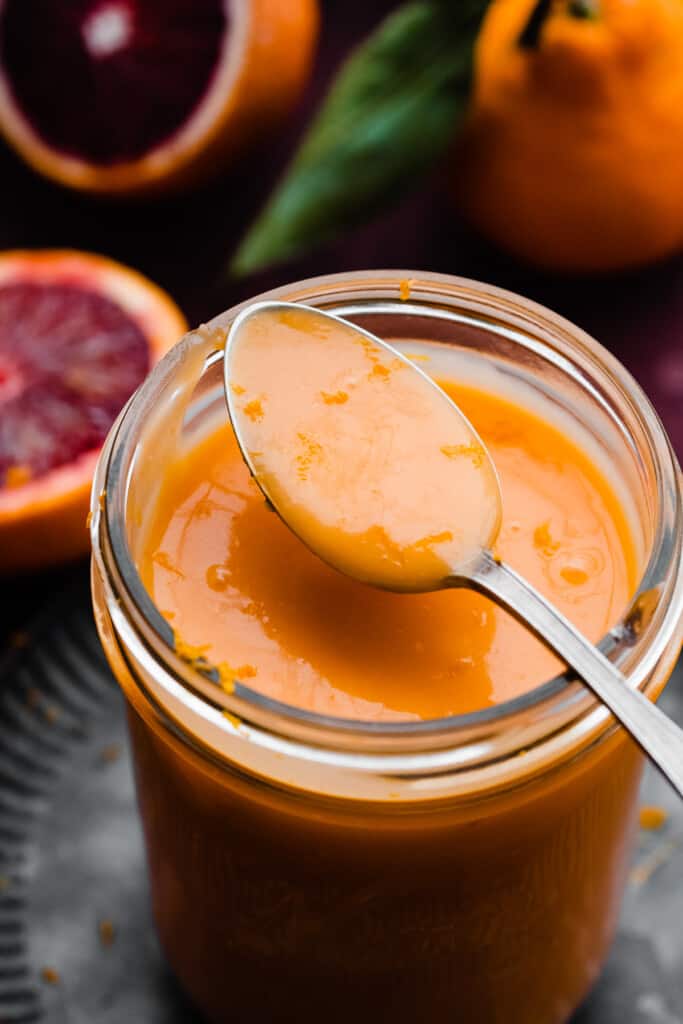
When the curd is ready, it’ll coat the back of a spoon, and hold a path when you drag your finger through the coating on the spoon.
Step 4: Strain & Add Butter. Once the proper thickness and temperature are reached, immediately remove the smooth curd from the heat, and pour into a fine mesh sieve set over a large mixing bowl.
Push the orange curd through the sieve to get any small pieces of egg that cooked in the process (this is normal, don’t fret!). Then, stir in the cubed, softened butter until it melts into the warm curd.
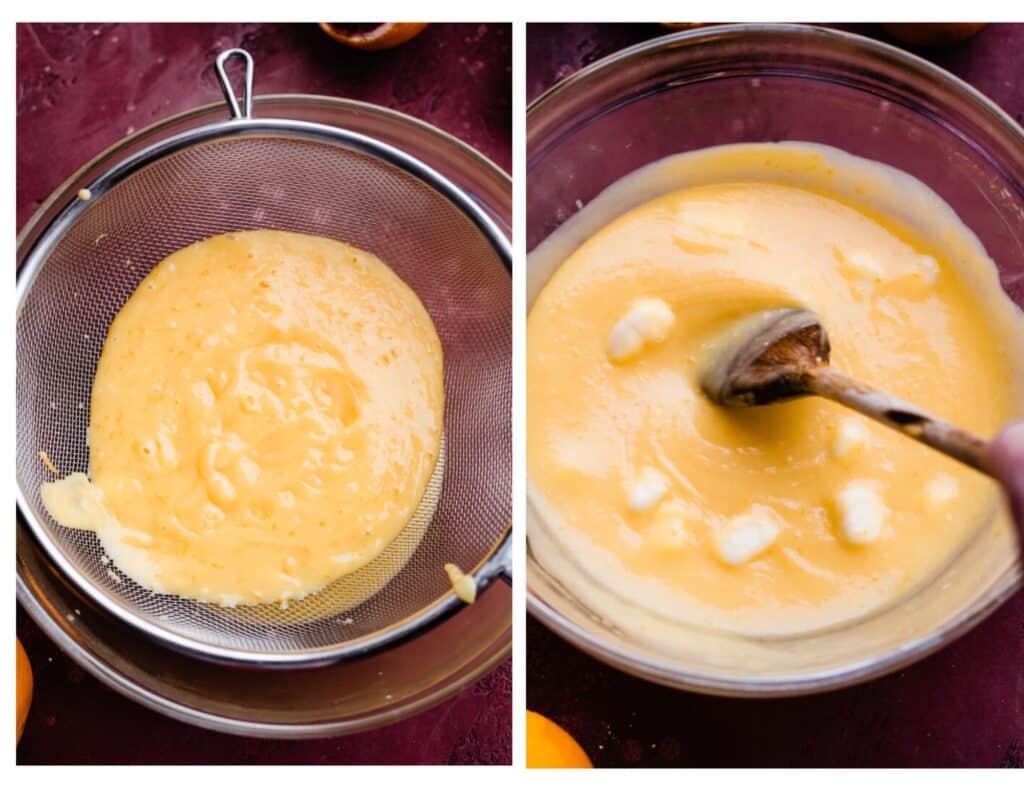
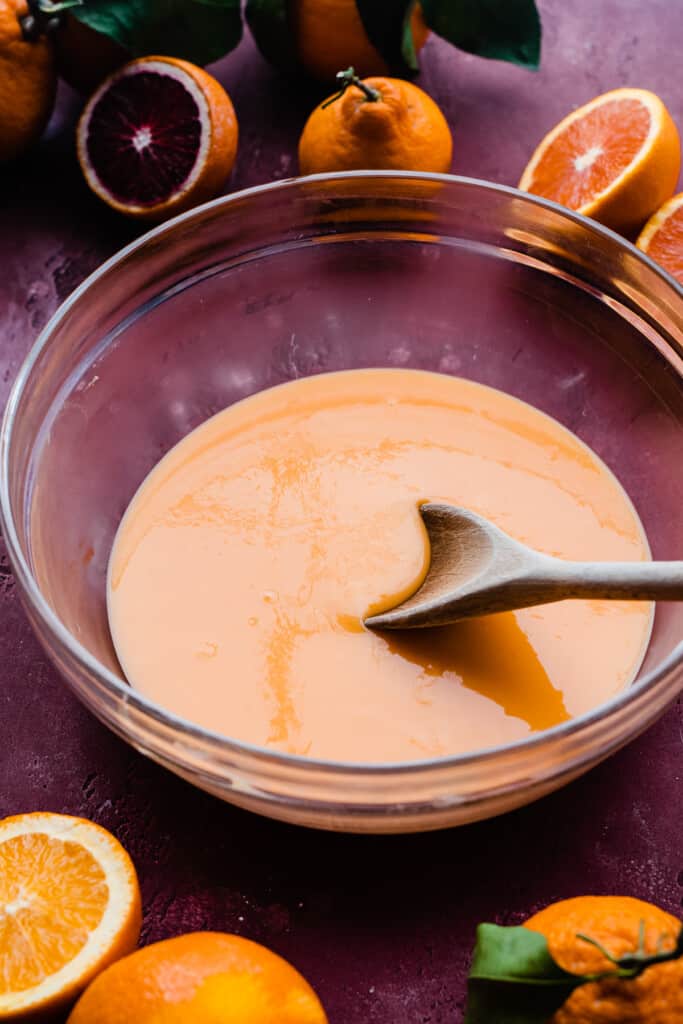
Step 5: Optional – Add Food Coloring. Orange curd is not very orange by nature, so I like to add a drop or two of orange gel food coloring to make the flavor evident.
Serving + Storing:
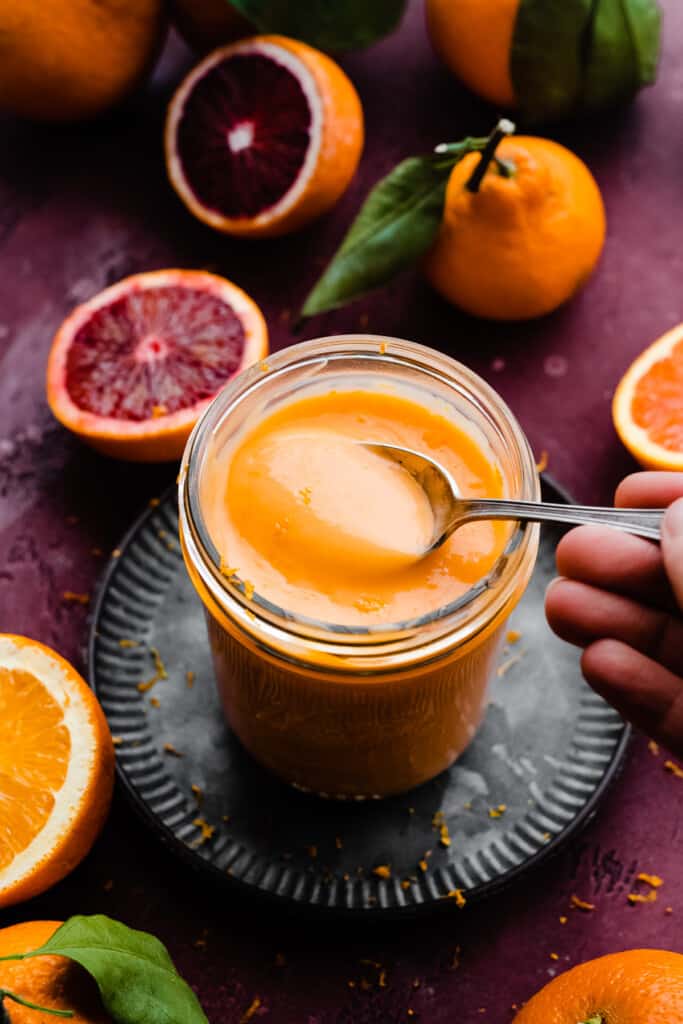
Transfer the finished curd into a small bowl or airtight container with a lid. If using a bowl with no lid, press plastic wrap on the surface of the curd to prevent a skin from forming. Refrigerate until ready to use, or up to 1 week.
Ways to use Homemade Orange Curd:
- Cake Filling – Use it as a filling in cakes or cupcakes – stay tuned for my orange cupcakes! They’re one of my favorite ways to use this.
- Ice Cream – Spoon it over ice cream during the hot summer months.
- Breakfast – Spread it on biscuits toast, or on english muffins.
- Fancy Breakfast – Dollop it over Strawberry Pancakes or my Brioche French Toast.
Expert Success Tips:
- Use Gentle Heat – Don’t be tempted to whack the heat up on your orange curd while it’s cooking – this is a great way to end up with orangey scrambled eggs. Be patient – it will thicken!
- Eggy Smell – When cooking eggs on the stovetop for a curd (or the filling for my french silk pie!) I find that if you stick your nose right up in the pot and take a whiff, it’s going to smell a bit eggy, even if you aren’t overcooking the eggs. So, go by look not smell!
- Avoid Metal Pots – Use a ceramic pot if possible when cooking this recipe. Metal pans can cause a reaction with the acidic citrus fruits and give off a metallic taste. I think you could get away with it in a pinch with oranges since they’re less acidic, but I don’t definitely don’t recommend it with lemons or limes.
FAQs:
I think you can certainly halve it, and I think doubling it would be ok too, but the cook time will likely be a bit longer.
I don’t recommend this as I haven’t tested other fruit juices (lemon, lime, etc.) with these exact ratios of sugar, eggs, etc. Try my lemon curd or lime curd recipes instead!
Special Tools:
- Heavy Saucepan- I recommend a ceramic pan, as metal pans can react with the acidity of things like lemons, limes, and oranges and affect the taste.
- Whisk – You’ll need a good medium sized whisk for this recipe.
- Instant Read Thermometer – You’ll need an instant read thermometer to check the temperature of your curd.
More Citrus Recipes to Love:
- Blood Orange Upside Down Cake
- Ultra Plush Lemon Loaf
- Mojito Cake
- Lime Curd
- Key Lime Cheesecake
- Key Lime Pie Bars
Did you make this recipe? Leave a comment & star rating!
Click the little stars in the header of the recipe card below to leave a comment & star rating, letting me know how you liked the recipe. I take all feedback seriously, & leaving a rating helps my small business immensely!

Luscious Orange Curd
Ingredients
- 2 and 1/2 large oranges, zested
- 3/4 cup + 1 tbsp orange juice, freshly squeezed, 194 grams
- 2 tbsp lemon juice, freshly squeezed, 30 grams
- 2/3 cup granulated sugar , 140 grams
- 2 large egg yolks, at room temperature
- 2 large whole eggs, at room temperature
- pinch of salt
- 1/2 tsp vanilla extract
- 6 tbsp salted butter, at room temperature & cubed, 85 grams
Instructions
- Rub Zest into Sugar: Add the granulated sugar to a medium saucepan (ideally ceramic, not metal), but do not place it on the heat yet. Zest your two & 1/2 large oranges. Add the zest to the granulated sugar and then rub it in well with clean hands, until you have something resembling a wet, sandy mixture. Set aside.2 and 1/2 large oranges, zested, 2/3 cup granulated sugar
- Prep: Juice your oranges. Juice your lemon. Be sure to strain the juices before adding them to the pot in the next step – not now – to remove any pulp or seeds. Place the room temperature cubed butter nearby. Place a fine mesh sieve over a medium bowl and keep nearby. Get out your instant read thermometer.3/4 cup + 1 tbsp orange juice, freshly squeezed, 2 tbsp lemon juice, freshly squeezed
- Cook the Curd: Add the orange juice, 2 tbsp of lemon juice, two egg yolks, two whole eggs, and a pinch of salt to the pot with the sugar mixture. Whisk well to combine everything, and then cook over low heat, whisking the entire time, for 14-18 minutes. The temperature on a candy thermometer should reach 180 ℉ to 190 ℉ (or 82 to 88 ℃) for a slightly thinner curd, or 195 ℉ to 200 ℉ (or 91 ℃ to 93 ℃) for a slightly thicker curd (ideal for filling cakes & cupcakes). The first 8-10 minutes it will seem like nothing is happening, and the curd will just barely start to thicken. Be patient! Don't be tempted to crank the heat up or you'll scramble the eggs. When the curd is ready, it'll coat the back of a wooden spoon, and hold a path when you drag your finger through the coating on the spoon.2 large egg yolks, at room temperature , 2 large whole eggs, at room temperature , pinch of salt
- Strain & Add Butter: When the curd is ready, immediately pour it into the sieve that you placed over a bowl. Use a spatula to press the curd through the sieve – this will remove any tiny egg bits that cooked during the process (this is totally normal). Scrape the under side of the sieve to get all the orange curd into the bowl. Add the butter to the curd in the bowl, and stir vigorously until the butter is completely melted into the curd. Stir in the vanilla last.6 tbsp salted butter, at room temperature & cubed, 1/2 tsp vanilla extract
- Serve & Store: Let the curd cool to room temperature, then transfer to an airtight jar or container with a secure lid. Store in the fridge for 1-2 weeks. Spread on toast or biscuits, pour it over ice cream, or use it as a cupcake or cake filling. Cupcake recipe coming soon!
Nutrition
Nutrition information is automatically calculated, so should only be used as an approximation.
I needed an orange curd for a chocolate orange fire cake I’m making for a Beltane gathering. This was delicious! Next time I’ll opt not to add the vanilla as I liked it better before that addition. Thats just personal preference, its amazing either way! I bet it would be good baked into a tart as the REALLY THICK curd I scraped from the sides of the pan were indulgent. There were no eggy bits at the end so i scraped the zest back into the mixture. I’ll return to this recipe again!
So glad to hear you enjoyed this recipe, Cindy!
Simply wonderful! Loved it!
Thanks so much for taking the time to leave a review, Deb!
Wonderful! Burst of amazing orange flavor
So glad to hear you enjoyed this recipe, Mary!
Wow, can’t wait to try out this recipe! I was searching for an orange curd to fill in poptarts… lately I’ve been playing around with poptart flavors, and orange creamsicle is next.
I appreciate how you organize the instructions. They are much more sensible and structured than other bloggers… and aren’t all over the place and leave the reader stressed and having to figure out the best way to stay organized in the kitchen!
Thanks so much for your kind comment, Elisa! Let me know how you like the recipe!
Thank you for being accurate with a thermometer 🙏
Hi Polina, of course! Did you try this recipe? Please be sure to report back and let me know how you liked it. Happy baking!
I’ve been stirring this for over 30 minutes now and nothing is happening.
Fail 😔
Hi Elena! I’m sorry to hear this. Can you give me any further info to help me troubleshoot with you? Was your oven burner working? Did you add all the ingredients as listed?
I made this yesterday and can confirm that it is as spectacular as it looks 😍 luscious and dreamy and so, so bright 🍊✨ Thank you for the recipe, Stephanie!!!
So glad you liked it, Miriam!
I made this yesterday as a filling for a yellow cake with orange zest frosting .My experience is that the curd tastes like cooked orange juice which is a little odd. It tastes more like orange juice from concentrate rather than fresh oranges. I don’t think I overcooked it (I used a thermometer) so I think that it’s just inherent in making curd from oranges. It doesn’t quite have the acidity I was looking for either. I mixed it with whipped cream and I’m sure my family will enjoy it, but I think next time I’d make lemon or lime curd instead. Thank you for the recipe, I was happy to try something new!
Hi Leslie! Hmm, I guess on the one hand I agree that it’s a bit odd that the curd tasted like cooked orange juice, but on the other hand that sounds kind of like how orange curd tastes. You could try half lemon and half orange juice in the recipe next time for more of that sharp acidity! Thanks for your detailed feedback.