This post contains affiliate links. Please see our disclosure policy.
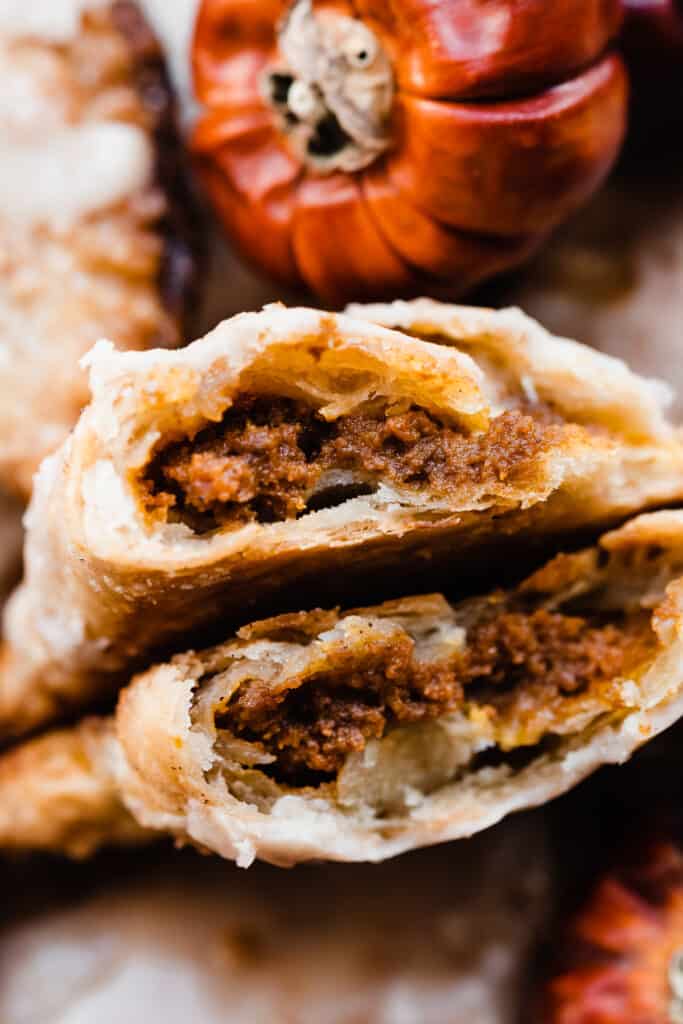
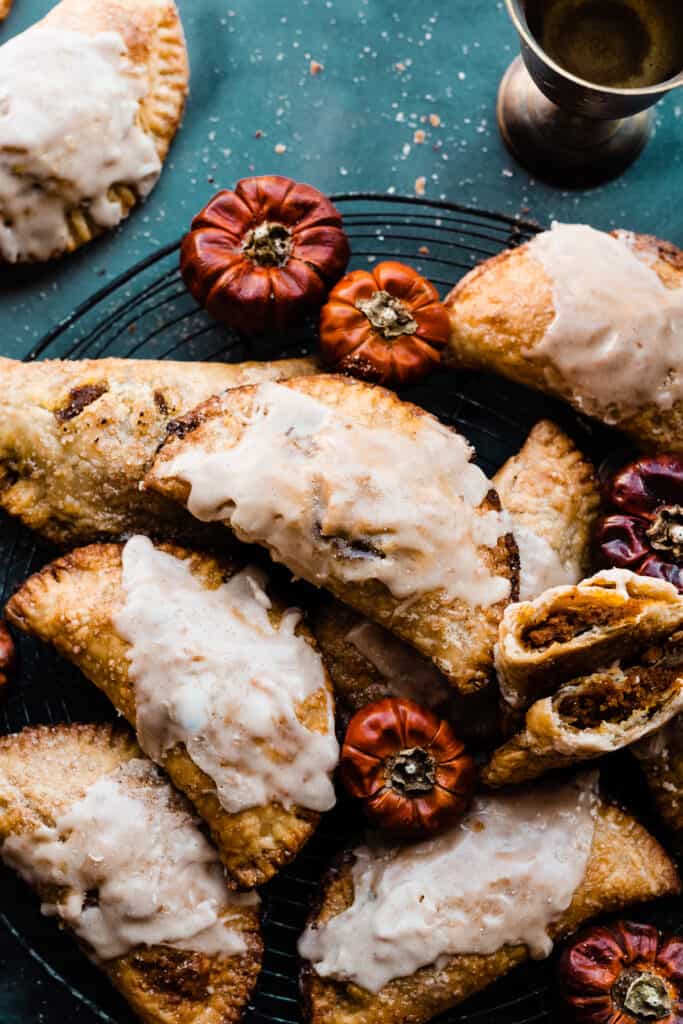
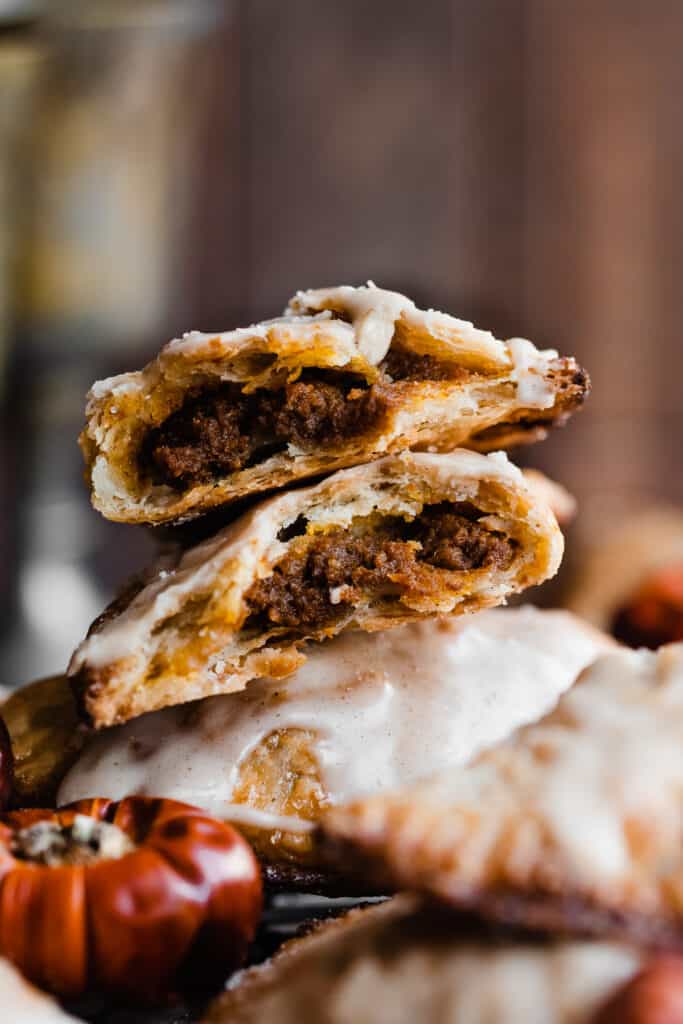
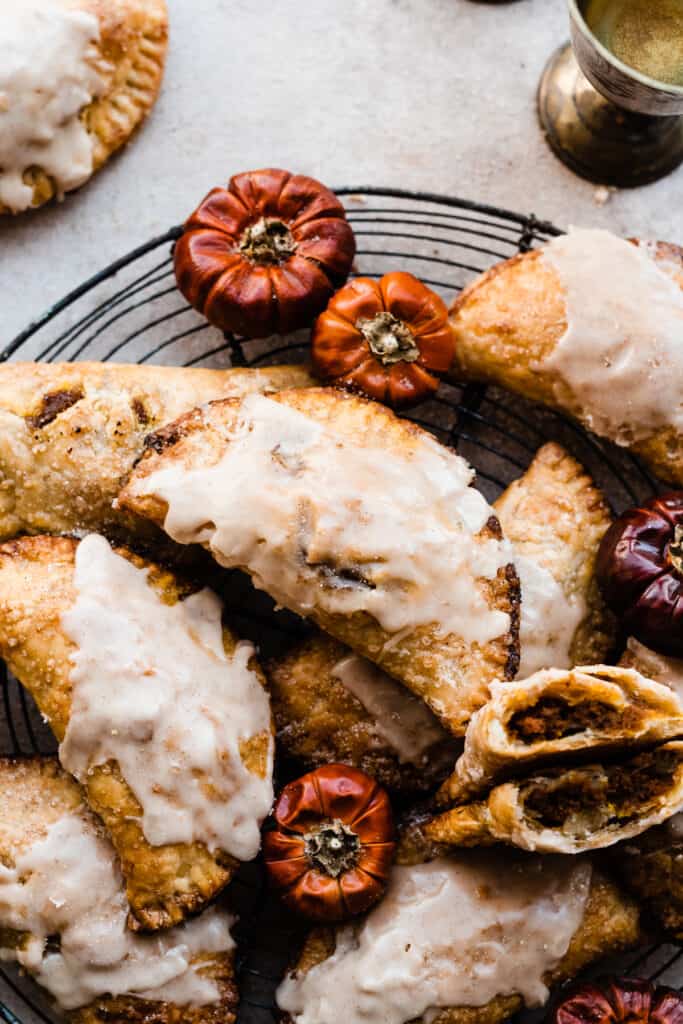
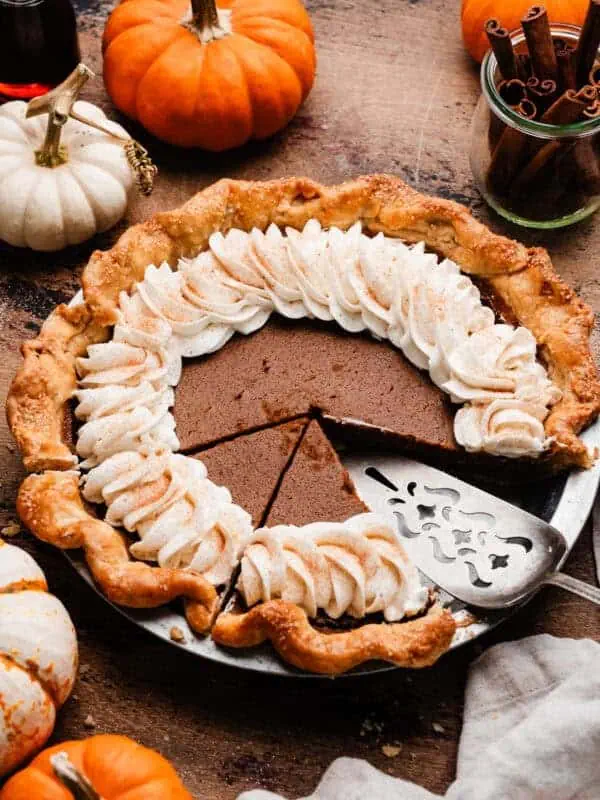
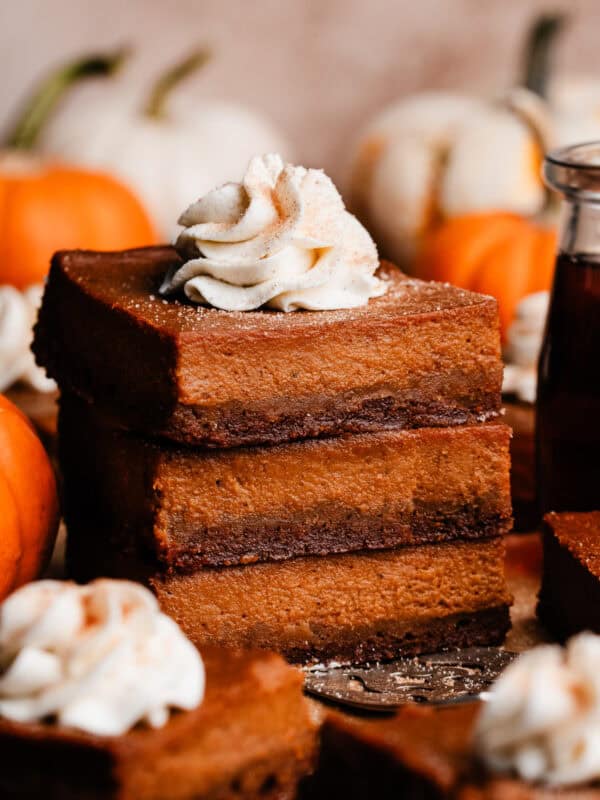
Pumpkin Pasties are made with a maple pumpkin filling, wrapped inside an all-butter flaky pie crust. Top these with a luscious maple glaze while they’re hot from the oven. These mini pies are so much easier to make than a whole pumpkin pie!

Yes, these sweet pumpkin pasties are inspired by our favorite childhood series! You’ll feel like you’ve steppe onto that magical train once you’ve taken a bite of these pumpkin pies. Now all we need is a glass of pumpkin juice!
Why you’ll love these Pumpkin Pasties:
- Sweet Pumpkin Filling – These pasties have an easy pumpkin filling filled with warm fall spices.
- Flaky Homemade Pie Crust – The pumpkin filling is wrapped in my homemade all-butter pie crust – it’s extra flaky!
- Maple Glaze – Top your delicious little hand pies with a quick maple glaze – it pairs perfectly with the pumpkin flavor.
Ingredient Overview:
- Butter – I always use salted buter for the best flavor, but feel free to use unsalted butter if you prefer.
- Canned Pumpkin – Use canned pumpkin, not pumpkin pie filling. This is essentially pumpkin puree for those who don’t live in the U.S. (I’ve been getting questions about this!)
- Brown sugar – Brown sugar adds sweetness to the pumpkin and compliments the warm spices.
- Maple Syrup – Maple and pumpkin pair so well together, so I like adding a bit of maple syrup to my filling!
- Vanilla Extract – Be sure to use real vanilla extract for best results.
Recipe Variations:
- Dairy-free – I haven’t tried making my pie crust with dairy-free butter, but if you have tried it that’s certainly an option for a dairy-free pie crust.
- Glaze – I love adding some cinnamon and nutmeg to the glaze to punch up the flavor even more!
- Salted Caramel – A drizzle of my homemade salted caramel sauce would be a delicious alternative to the glaze.
- Puff Pastry – Use puff pastry if you want an even flakier pasty!
How to Make this Pumpkin Pasty Recipe:
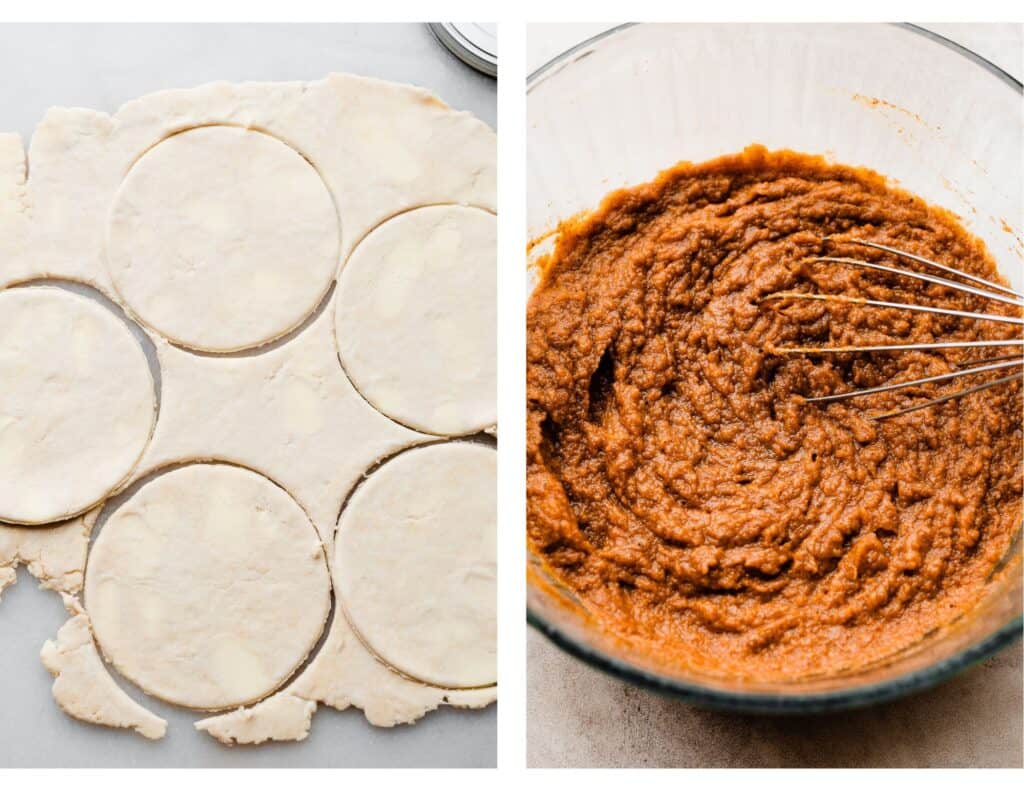
Step 1: Make the Pie Dough. Follow the directions in my “perfect pie crust” post for the perfect flaky crust. Chill it and then cut out large circles. Chill those in the fridge while you mix up the filling.
Step 2: Make the Pumpkin Filling. Whisk together melted butter, pumpkin, sugar, maple syrup, vanilla extract, and warm pumpkin pie spice in a large bowl.
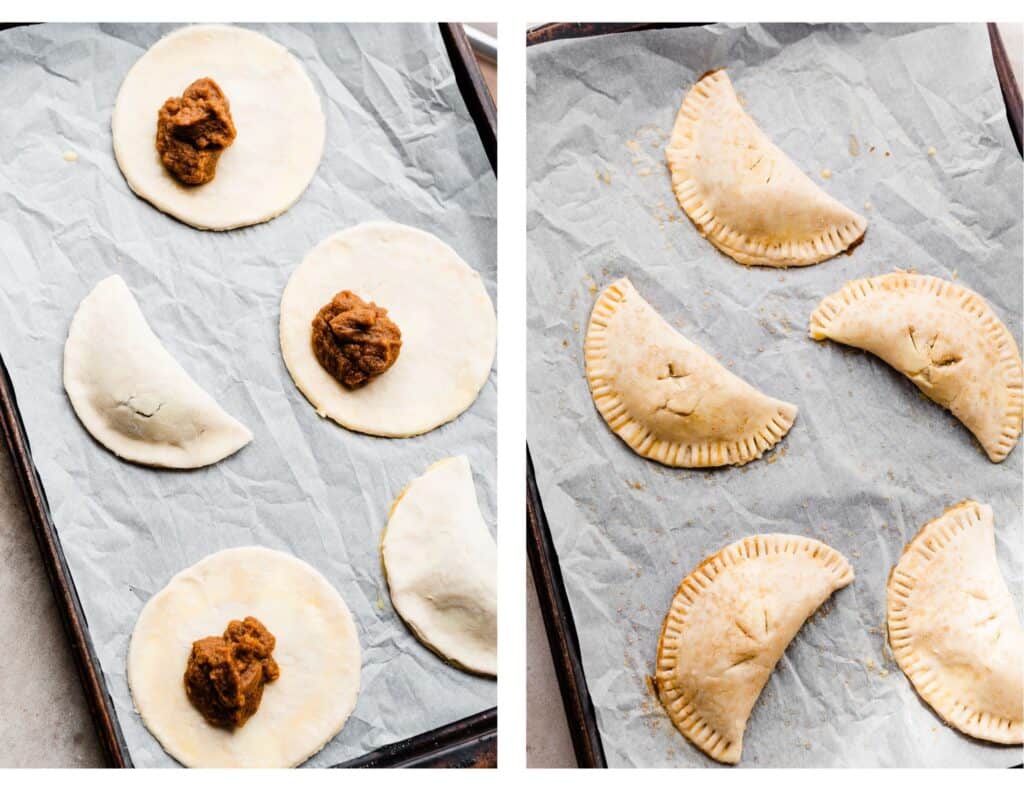
Step 3: Assemble the Pasties. Add 2 tablespoons pumpkin filling to each dough circle, then brush the edges with egg wash. Fold the dough over to form a half moon shape, and seal the edges with your fingertip.
Crimp the edges with a fork, brush the top of the pasties with egg wash and add a sprinkle of raw or cinnamon sugar.
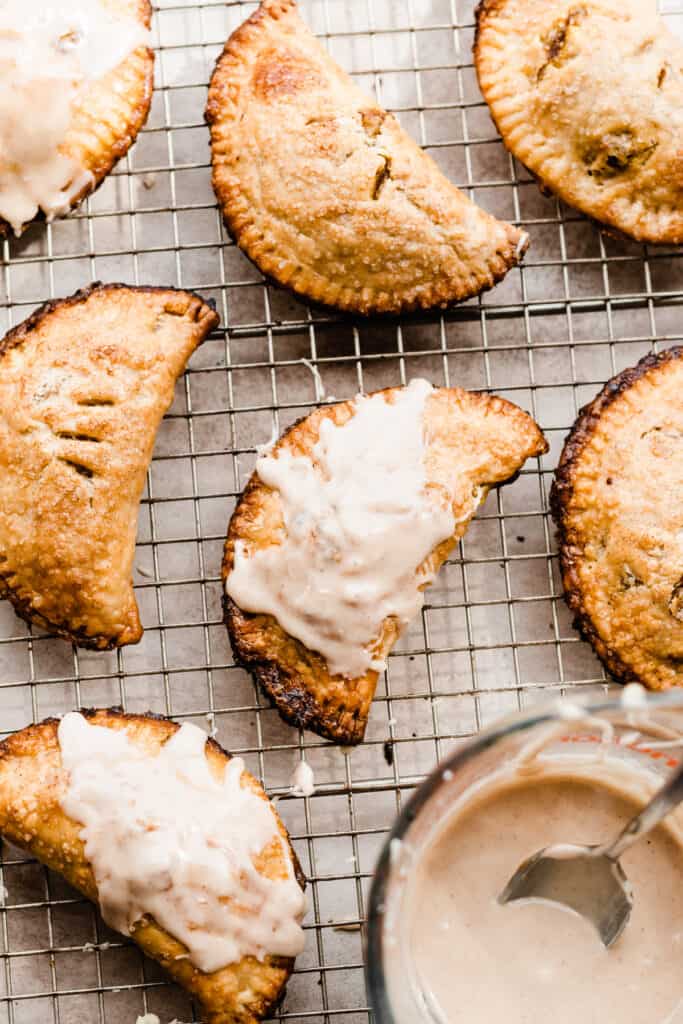
Step 4: Bake and Glaze the Pasties. Bake the pasties as directed in the recipe card below. Drizzle maple glaze over each warm pumpkin pasty, and enjoy!
Serving + Storing:
These pumpkin pasties are best while they’re fresh and warm from the oven, but leftovers can be cooled at room temperature, and stored in the fridge in an airtight container for 2-3 days. Reheat in the oven to revive the crisp texture of the crust.
Expert Success Tips:
- Pie Crust – I highly recommend making your own pie crust for these pumpkin hand pies – store bought just can’t compare to the buttery, flaky texture of homemade! Be sure to read my post on Perfect Pie Crust for tons of step-by-step photos, troubleshooting, and tips.
FAQs:
Yes! The pie dough can be made 2 days ahead and kept in the fridge, or make and freeze it for up to 3 months. Thaw in the fridge overnight before using. The assembled hand pies, without the egg wash on the top, can be frozen in an airtight container for up to 3 months. Bake from frozen with the egg wash and sugar on top.
Special Tools:
(Affiliate links)
- Pastry Cutter – This makes cutting the butter into the flour SO easy when making pastry dough! They’re inexpensive and easy to find.
- Pastry Brush – Use a pastry brush to brush egg wash on your pies.
- Round Cutters – You can use a round cutter or biscuit cutter to cut out your pies. I love this set of round cutters because you can use it for pie, biscuits, donuts, cookies, etc.
- Rolling Pin – You’ll need a rolling pin to roll out the pie dough.
More Pumpkin Recipes to love:
- Pumpkin Streusel Muffins with Maple Glaze
- Pumpkin Snickerdoodles with Rum Caramel
- Pumpkin Cupcakes with Brown Butter Cream Cheese Frosting
- Pumpkin Swirl Cheesecake
- Homemade Pumpkin Granola
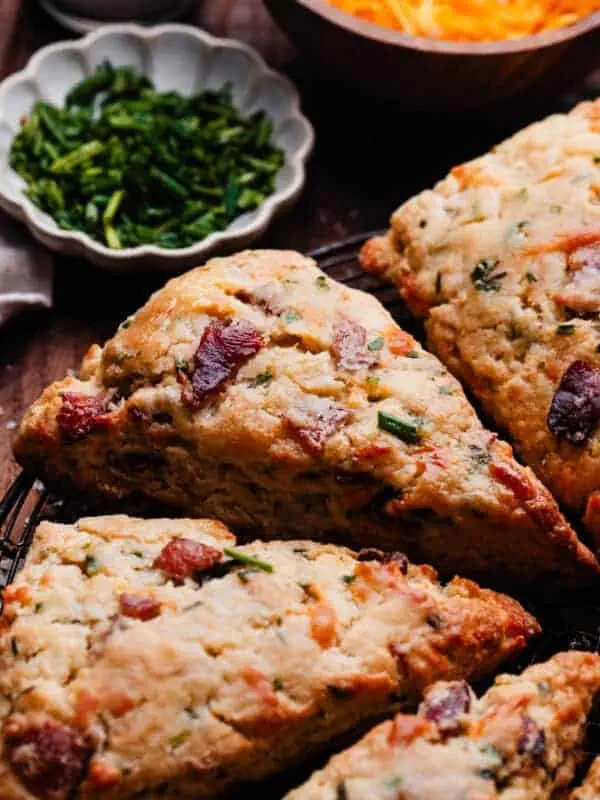
- Pumpkin Scones with Bourbon Vanilla Glaze
- Pumpkin Whoopie Pies
- Mom’s Best Ever Pumpkin Bread
Did you make this recipe? Leave a comment & star rating!
Click the little stars in the header of the recipe card below to leave a comment & star rating, letting me know how you liked the recipe. I take all feedback seriously, & leaving a rating helps my small business immensely!

Pumpkin Pasties with Maple Glaze
Ingredients
For the Pie Crust
- 3 cups all-purpose flour, 390 grams
- 3/4 tsp salt
- 1 tbsp sugar
- 18 tbsp salted butter, cold, 254 grams
- 9-10 tbsp ice cold water
For the Pumpkin Filling
- 2 tbsp butter, melted, 28 grams
- 1 can pumpkin, not pumpkin pie filling, You'll need just 2/3 of the can
- 1/4 cup maple syrup, 60 grams
- 3 tbsp brown sugar, packed, 41 grams
- 3/4 tsp vanilla extract
- 1 tsp cinnamon
- 1/2 tsp nutmeg
- 1/2 tsp ground cloves
- 1/8 tsp ground ginger
- 1/4 tsp salt
- 1 large egg , For Egg Washing – not for the filling
For the Maple Glaze
- 1 and 1/2 cups powdered sugar , 173 grams
- 2 tbsp maple syrup, 30 grams
- milk, as needed to thin
- 1/2 tsp vanilla extract
- pinch cinnamon
Instructions
- Make the Pie Crust: Follow the directions in this post, through step 5, to make the pie dough. Chill the dough, wrapped tightly in plastic wrap, in the fridge at least 2 hours or up to 2 days, or in the freezer at least 1 hour or up to 3 months (thaw overnight in the fridge). Make the filling while it chills.3 cups all-purpose flour, 3/4 tsp salt, 1 tbsp sugar, 18 tbsp salted butter, cold, 9-10 tbsp ice cold water
- Prep: Preheat your oven to 400° F. Line a few baking sheets with parchment paper or silicone baking mats.
- Make Pumpkin Filling: Melt the butter in a medium mixing bowl. Whisk in the remaining filling ingredients. You'll have a thick filling.2 tbsp butter, melted, 1 can pumpkin, not pumpkin pie filling, 1/4 cup maple syrup, 3 tbsp brown sugar, packed, 3/4 tsp vanilla extract , 1 tsp cinnamon, 1/2 tsp nutmeg, 1/2 tsp ground cloves, 1/8 tsp ground ginger, 1/4 tsp salt
- Assemble the Pumpkin Pasties: Roll your pie dough out on a lightly floured surface, to about 1/8" thick and cut circles out with a bowl or glass 5" in diameter. Place 6 circles on each baking sheet, and spoon 2 generous tablespoons of the pumpkin mixture onto one side of the circle, leaving a border for the egg wash. Beat the egg in a bowl and brush it around the edges of each circle. Then, fold the circle in half and gently press the edges together, forming a half-circle.Crimp the edges of the pastry using a fork. At this point, if your pies do not feel cold to the touch, they need to chill for 10-20 minutes before baking. Lightly brush the egg wash over the tops of the pies, then cut small slits for venting, and sprinkle the tops with raw or cinnamon sugar.1 large egg
- Bake: Bake the pasties for 22-26 minutes. They will be golden brown when done. You can always lift one with a cookie flipper to check for crispness on the bottom, too.
- Make the Maple Glaze: In a small bowl, whisk together powdered sugar, maple syrup, and vanilla extract. Add a splash of milk to thin more as desired.1 and 1/2 cups powdered sugar , 2 tbsp maple syrup, milk, as needed to thin, 1/2 tsp vanilla extract , pinch cinnamon
- Serve + Store: Drizzle the warm-from-the-oven pasties with maple glaze and dig in!Store leftovers in an airtight container in the fridge for 3-4 days. They're best day-of, however you can reheat them in the oven to retain some of the crisp texture. Harry Potter fans will flip for this pumpkin pasties recipe!
Nutrition
Nutrition information is automatically calculated, so should only be used as an approximation.

These are AMAZING and are so much more convenient to eat than a regular pie!! 11/10 recommend, I will definitely be making them again.
Thanks so much, Taylor!
So is there an egg in the filling and another egg for the egg wash? It says one egg I’m just confused where to use that one egg. Thank you.
Hi Laura! The egg is just for egg washing the pie crust – it does not go in the filling. Sorry that was a bit unclear, I’ll update the recipe to make that more clear! 🙂 Let me know how you enjoy the recipe.
Thank you! These were so easy to make and absolutely delicious!! I got so many compliments on them 💁🏻♀️☺️ I have a little leftover filling so I’m going to make half a batch again now! Thanks again.
Thanks so much, Laura! 🙂
the recipe was super easy- fyi yield was 15-5.5″ handpies and i used 2 rounded reasooons if filling in each and it worked perfectly for all the handpies with no leftover filling
next time i would add a couple of tablespoons of brown sugar for a deeper sweetness- likes it but think it needs a little more than the maple gives
also… i calls for a can of pumpkin – i used a15 oz
Thanks for your comment and notes on the recipe, Gloria! 🙂
I’m so with you on making smaller portion sized – because of more crust! These are so cute, and even though it’s June now, I’d still want a bite!
Yes!! Another crust lover?
I love the crust of this delicious and super inviting pasties. Beautiful pictures too.
Thank you Sapana! ❤️
oh yum! I love how you use maple syrup to these pasties! I’ll be right there with butterbeer so we can cheer together.
Haha, love it Linda!!
I love Harry Potter and these look great!!
Yes! HP is the best⚡️
These look absolutely fantastic! I love just about anything pumpkin! I think I am going to have to make these sometime really soon!!! Definitely adding them to the Thanksgiving rotation!
Love it, Casey! ??
Mmm, I really got into pumpkin last year and these look delicious. I can just picture myself munching on one, possibly around a campfire – all cosy!
That sounds amazing, Kacie!
This are just perfection. In Mexico we do something similar but we call them pumpkin empanadas =) I wish I could eat one right now.
That sounds lovely!