This post contains affiliate links. Please see our disclosure policy.
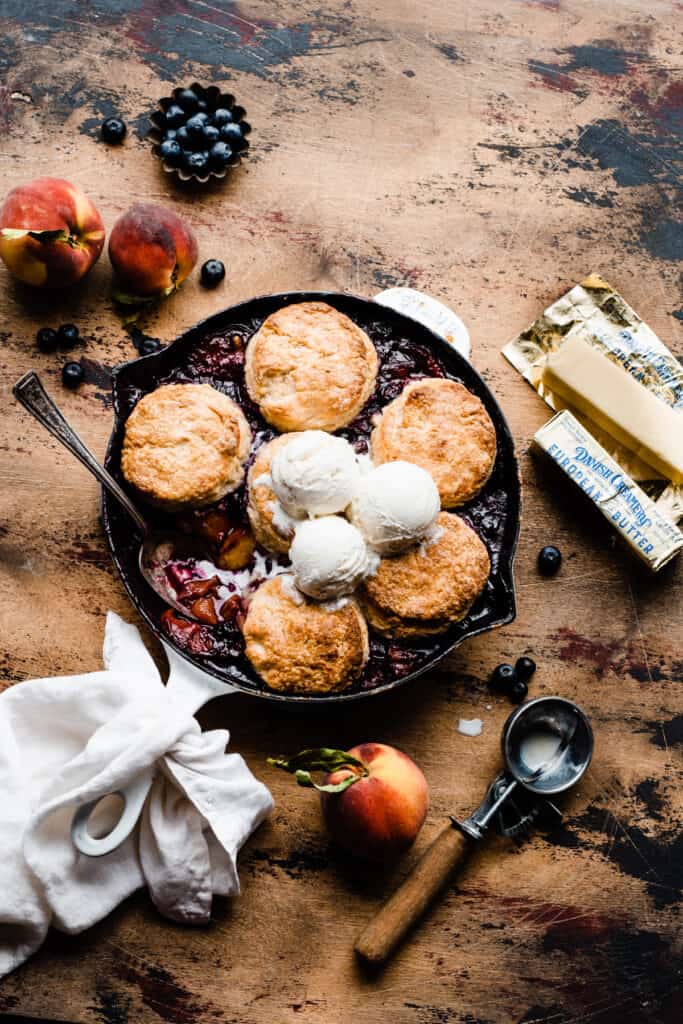
Blueberry Peach Cobbler is bursting with fresh summer blueberries and juicy peaches, nestled under a golden biscuit topping. The biscuits are tall and flaky, and the fruit is perfectly sweet and juicy. This is the perfect summer dessert!

Posted: July 2021, Updated June 2023.
Table of Contents
- Why you’ll love this Blueberry Peach Cobbler:
- Ingredient Overview:
- Ingredient Substitutions:
- How to Make this Blueberry Peach Cobbler Recipe Step-by-Step:
- Serve & Store:
- Expert Success Tips:
- Recipe Variations:
- Special Tools:
- More Fruit Desserts to Love:
- Skillet Blueberry Peach Cobbler with Buttermilk Biscuits Recipe
Why you’ll love this Blueberry Peach Cobbler:
- Fresh Blueberries – Fresh blueberries pair perfectly with the peaches! It’s the best of both worlds – blueberry cobbler, and peach cobbler in one.
- Juicy Peaches – Fresh summer peaches bake to juicy perfection in this summer fruit cobbler.
- Flaky Biscuits – The biscuit topping is ultra flaky, with a crisp golden top. It’s the best way to top the fruit filling!
Ingredient Overview:
- Blueberries – You can use fresh or frozen blueberries.
- Peaches – Use fresh peaches, and swap in frozen when fresh fruit is out of season. I recommend slicing up some peaches during the summer months, and freezing them for later!
- Salted Butter – I love Danish Creamery’s Premium European Style Butter – it’s higher in butter fat than other butters, making it a dream to bake with.
- Milk – I used 2% milk.
- Flour – This is just the right amount of flour to thicken the filling, so you don’t end up with a puddle of runny fruit juice.
- Vanilla, Cinnamon, and Lemon Zest – Just a pinch of each of these flavorings complements the peaches and blueberries perfectly!
Ingredient Substitutions:
- Frozen Fruit – You can use frozen fruit, just do not thaw it first or it there will be too much liquid.
How to Make this Blueberry Peach Cobbler Recipe Step-by-Step:
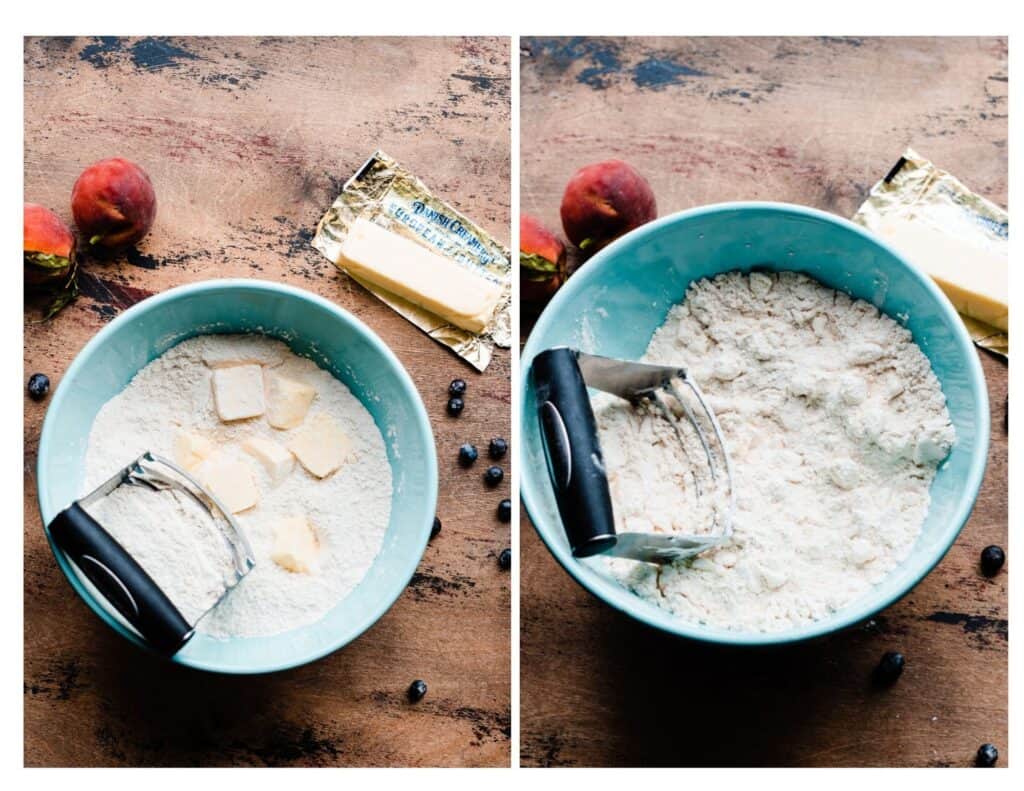
Step 1: Make your biscuits. Whisk together the dry ingredients in a large bowl, then cut in the cold butter until you have pieces about the size of blueberries.
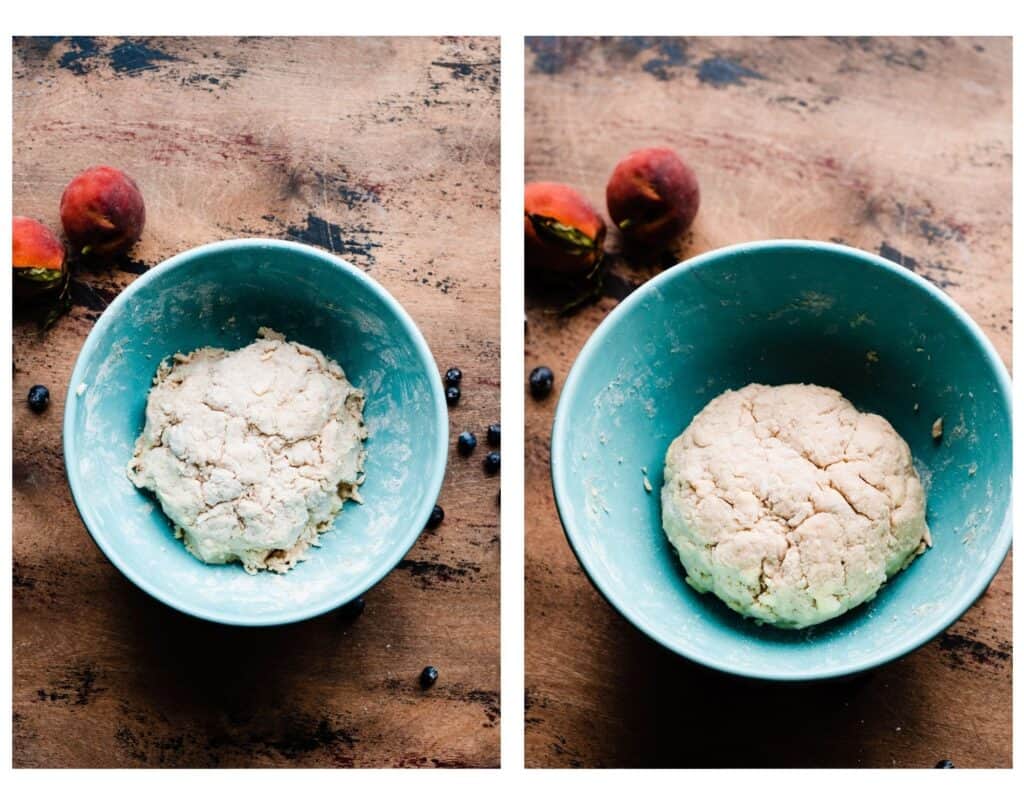
Step 2: Add the Milk. Stir in the buttermilk! The dough may be a bit dry and crumbly at first, so add an extra teaspoon of milk at a time until the dough holds together, as pictured below.
The photo below left is the dough while it’s still a bit too dry, and on the right is the dough once I added a few extra teaspoons of milk.
Step 3: Cut Biscuits. Flour your counter and gently flatten the dough ball to about 1/2″ to 3/4″ thick. Use a biscuit cutter or anything that’s about 3 inches across to cut out your biscuits.
Don’t twist the cutter, as this can seal off the edges and prevent them from rising as well. Place the biscuits on a cookie sheet and cover with a kitchen towel or plastic wrap to chill.
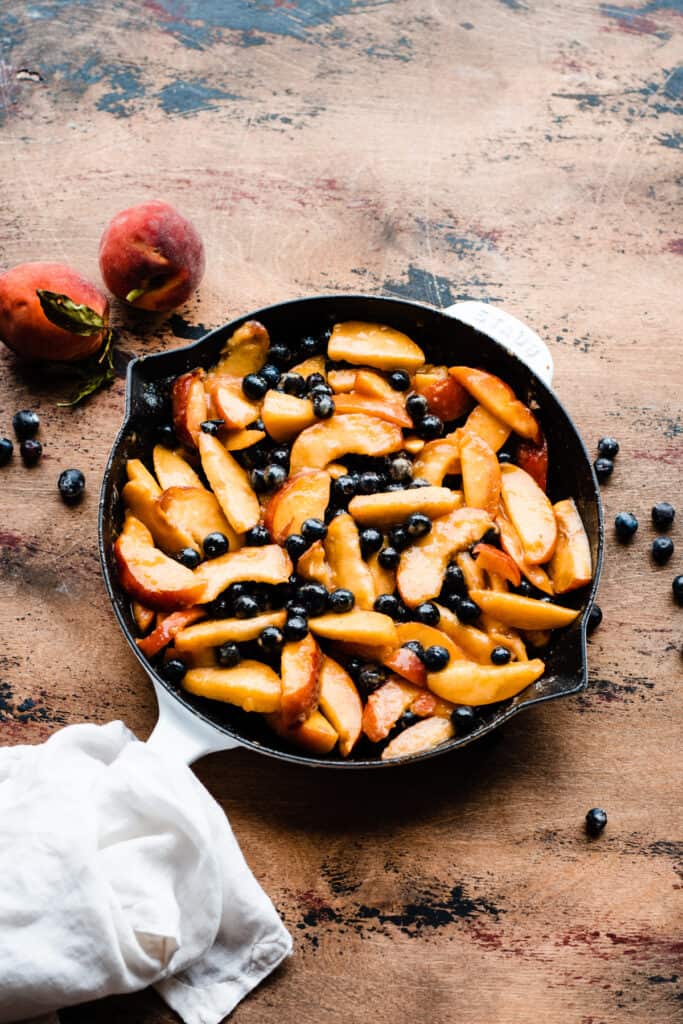
Step 4: Make the Filling. Slice peaches and place in a 10-inch oven-safe skillet with the blueberries and remaining filling ingredients. Toss the fruit mixture together well, making sure no dry streaks of flour remain.
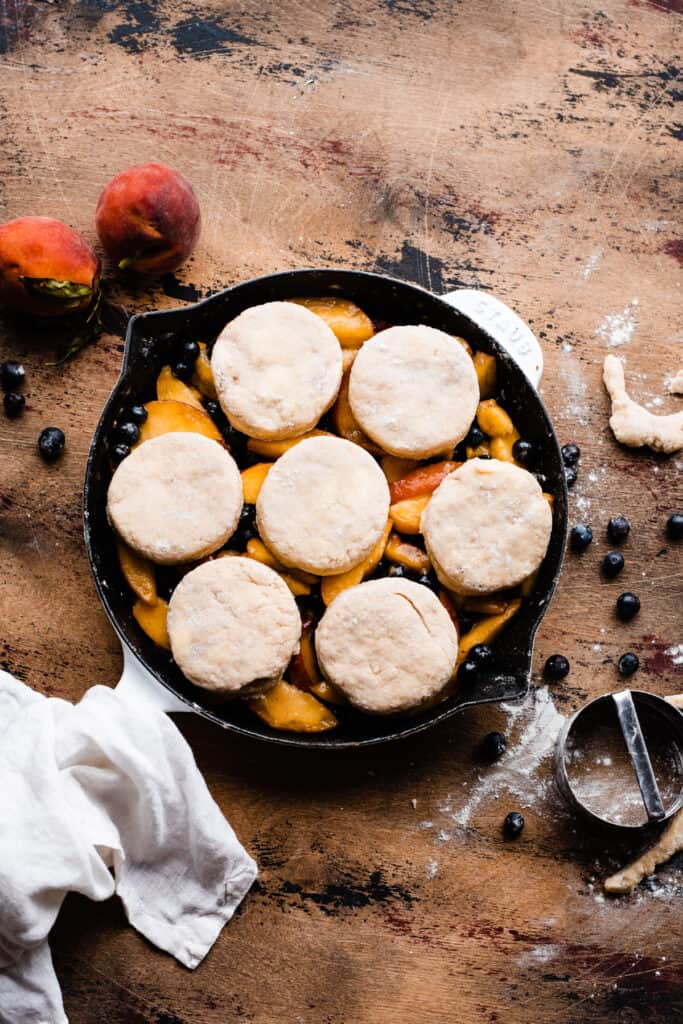
Step 5: Bake. Place the cold biscuits over the fruit filling, leaving a bit of space between each as they will expand in the oven. Brush the top of the cobbler with cold heavy cream, and bake as directed in the recipe card below.
Serve & Store:
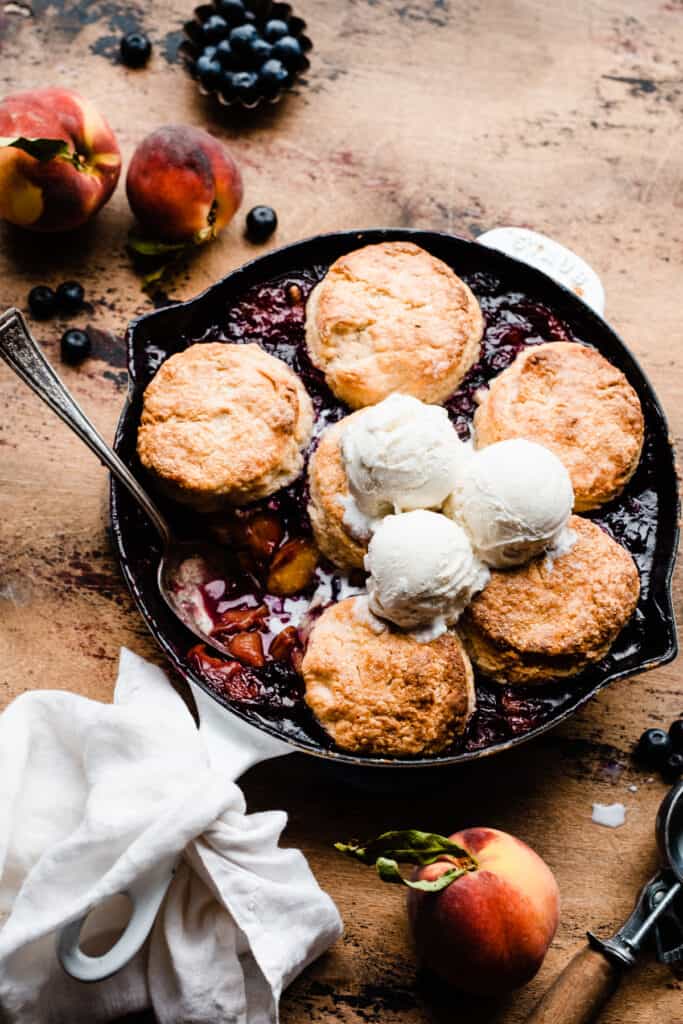
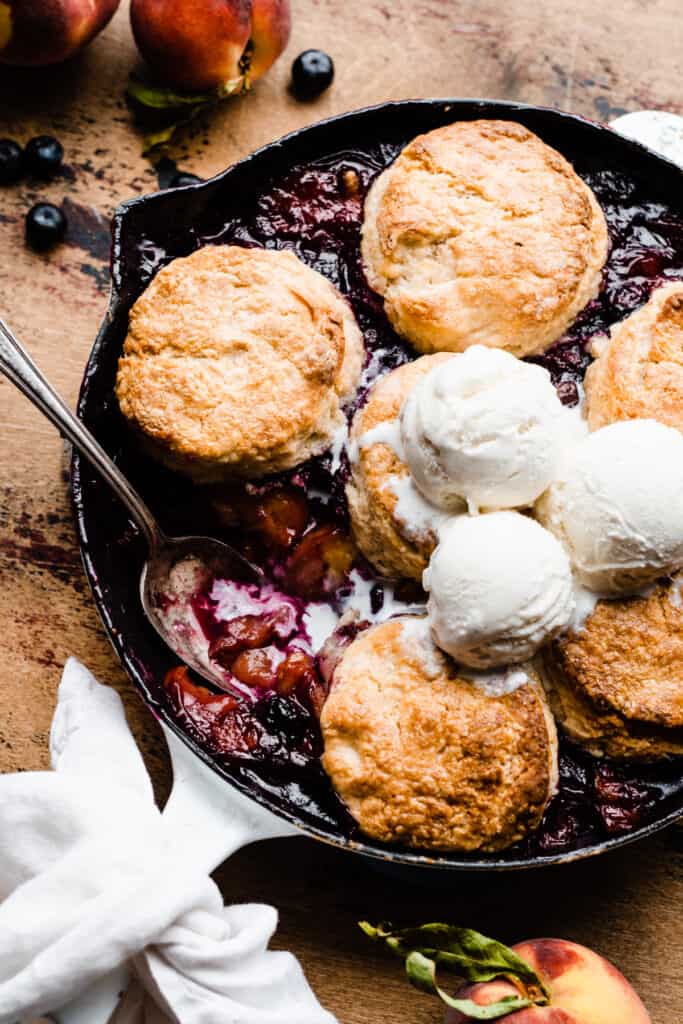
Serve the cobbler while it’s warm from the oven, with vanilla ice cream! This is best enjoyed fresh from the oven. But, if you have leftovers (unlikely!), you can let them cool to room temperature then cover well and store in the fridge for 2-3 days.
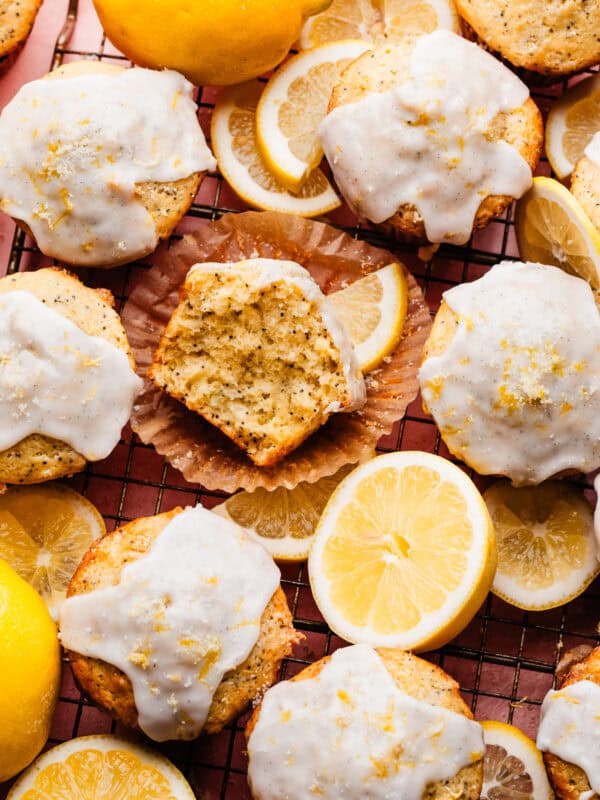
I know you’ll love this easy recipe as much as we do. Happy baking and happy peach season! Make all my peach recipes while the season lasts – starting with my Peach Cobbler Cookies!
Expert Success Tips:
- Flaky Biscuits – Be sure your butter and milk are very cold while making the biscuits. The cold ingredients hitting the hot oven will create steam, which creates the flaky layers we love in a biscuit!
- Baking Time – Be sure to follow the bake time in the recipe – the fruit filling will look bubbly around the edges before it’s properly heated through in the center. I’ve made this mistake, and ended up with a sadly runny cobbler. This one bakes up perfectly if you follow the recipe.
- Oven Thermometer – An oven thermometer will tell you if your oven is actually running at the temperature you set it to. Your oven may not be accurate. Accurate oven temperature is crucial for most bakes, so I leave an oven thermometer in at all times to keep an eye on my oven’s calibration.
- Kitchen Scale – A food scale is the best way to make sure your flour is at the proper weight, since amounts will vary SO widely based on how you measure it, as well as the measuring cup you use, as they are not standardized.
Recipe Variations:
- Other Berries – You can sub in blackberries or cherries for the blueberries, if you like. No other changes are needed. You can also use 2 and 1/4 cups each of peaches, blueberries, and cherries – I’ve been making this cobbler that way lately and it’s amazing!
- Crisp Topping – You can use the crisp topping from my Peach Crisp if you prefer that over a biscuit topping. Bake as directed in the crisp recipe instead.
Special Tools:
- Pastry Blender – A pastry cutter makes cutting in butter SO easy in recipes like this, biscuits, crisp toppings, and pie crust.
- Oven-Safe Skillet – I love my Staub 10-inch skillet for desserts like this, but you can certainly use a more budget friendly option.
More Fruit Desserts to Love:
- Peach Blackberry Nectarine Crisp
- Salted Caramel Peach Hand Pies
- Strawberry Blueberry Pie
- Blueberry Crisp
- Cranberry Apple Crisp
- Strawberry Caramel Crumble Bars
Did you make this recipe? Leave a comment & star rating!
Click the little stars in the header of the recipe card below to leave a comment & star rating, letting me know how you liked the recipe. I take all feedback seriously, & leaving a rating helps my small business immensely!

Skillet Blueberry Peach Cobbler with Buttermilk Biscuits
Ingredients
For the Blueberry Peach Filling
- 2 and 1/4 cups blueberries, fresh or frozen, just don't thaw them if using frozen
- 4 and 1/2 cups peach slices, 5-6 large peaches
- 1/3 cup granulated sugar
- 3 tbsp brown sugar, packed
- 1/4 cup all-purpose flour
- 2 tsp vanilla extract
- 1/4 tsp cinnamon
- pinch of nutmeg
- 1/2 tsp lemon juice
- 1/2 tsp lemon zest
For the Buttermilk Biscuits
- 3 cups all-purpose flour
- 3 tsp baking powder
- 3/4 tsp salt
- 1/3 cup + 1 tbsp granulated sugar
- 1/8 tsp cinnamon
- 3/4 cup salted butter, cold, (1 and 1/2 sticks, or 170 grams)
- 1 cup buttermilk, cold
- A splash of heavy cream, for brushing the biscuits
- A sprinkle of raw sugar, for sprinkling over the biscuits
Instructions
- Prep: Heat oven to 400° F. Slice your peaches into slices about 1/2" thick.
- Mix up the Fruit Filling: Toss all fruit filling ingredients together in a 10-inch cast-iron skillet (no need to grease it). Any similar size oven-safe baking pan or dish will work. Make sure everything is well combined and that there are no large clumps of the sugar or flour hiding under all the fruit. Set aside.
- Mix up the Buttermilk Biscuits: In a large or medium bowl, whisk together the flour, baking powder, salt, sugar, and cinnamon. Cut your Danish Creamery Salted European-Style Butter into large chunks and add to the dry ingredients. Cut the cold butter into the dry ingredients using a pastry cutter, until the butter pieces are the size of blueberries or walnut halves, and are coated in flour. Add the buttermilk, and stir until everything is combined. If the mixture is too dry to form into a ball (see photos above), add more milk, 1 tsp at a time, until it comes together but isn't wet or sticky to the touch. It will still look a little craggly (see photo above). Flour your counter lightly, and gently press out the ball of dough with your hands until it's 1/2" to 3/4" thick. Use a 3" biscuit cutter or anything in your kitchen of the same size to cut out biscuits. You'll get 4-5 from this first go. Gather the scraps and press them back out to the same thickness, adding another light dusting of flour if it's getting a bit sticky. Cut 2 more biscuits. Use whatever scraps are left to make 1-2 more biscuits, which you can bake separately from the cobbler (for snacking).
- Assemble the Cobbler: Give the fruit filling one last stir, and place 7 of the biscuits on top of the fruit. Place the skillet in the fridge to chill for 5 minutes. Then, add a bit of heavy cream to a small bowl. Lightly brush the tops of the biscuits with heavy cream and sprinkle on a bit of raw sugar.
- Bake: Bake the cobbler for 46 to 50 minutes. The fruit filling should be bubbly all the way into the center of the cobbler, and the biscuits will be a deep golden brown. Let rest for about 10 minutes before serving.
- Serve + Store: Serve while nice and hot, with a scoop of vanilla bean ice cream! This is best when it's first out of the oven, but leftovers (once cooled down at room temp) can be stored in an airtight container in the fridge for 2-3 days and gently reheated.
Notes
Nutrition
Nutrition information is automatically calculated, so should only be used as an approximation.


Delicious and super easy! Recipe was simple to follow and the results were scrumptious! I halved the recipe since it was just my husband and me, and it came out perfectly. I did cover it towards the end of baking because the biscuits were browned on top but I could tell the fruit needed longer. It may have been due to the bowl I used to bake it in. But it still came out perfectly. I highly recommend this recipe.
Glad you enjoyed this recipe, Grace! The excess browning could’ve been from the baking dish as you mentioned or your oven may have some hot spots, which is common.
Made these for my husband & we both loved them! The recipe is super easy to follow along, I was able to make these while my newborn napped. I’ll definitely be making these again.
Thanks so much, Katherine! Glad you loved this cobbler.
I loved this recipe. It was fun and easy to follow. Will definitely make this again!
Thanks so much, Maya!