This post contains affiliate links. Please see our disclosure policy.
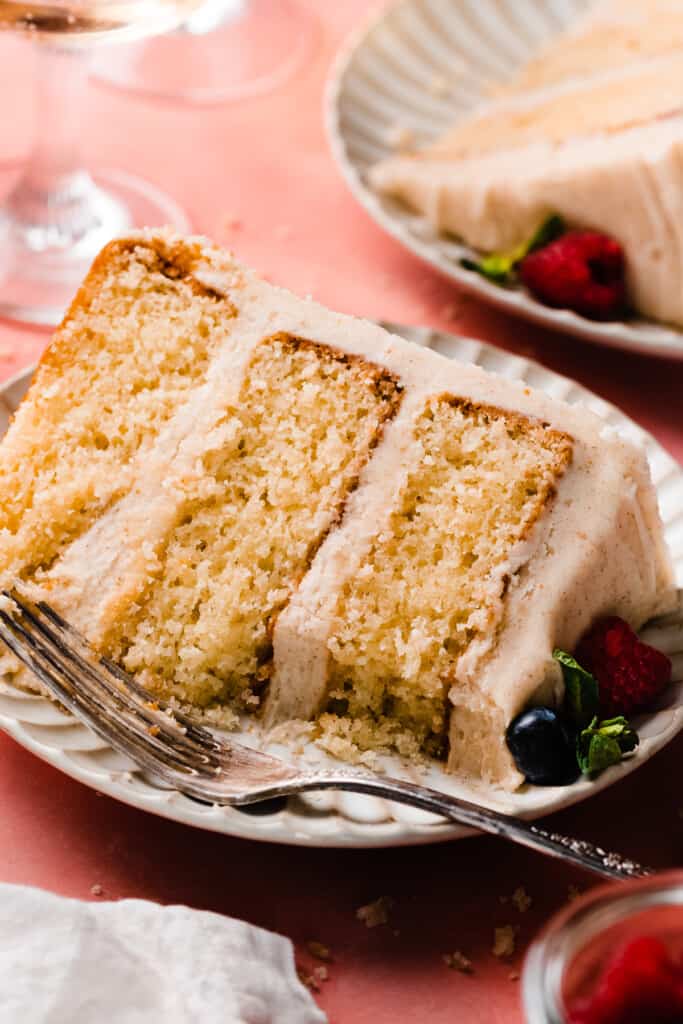
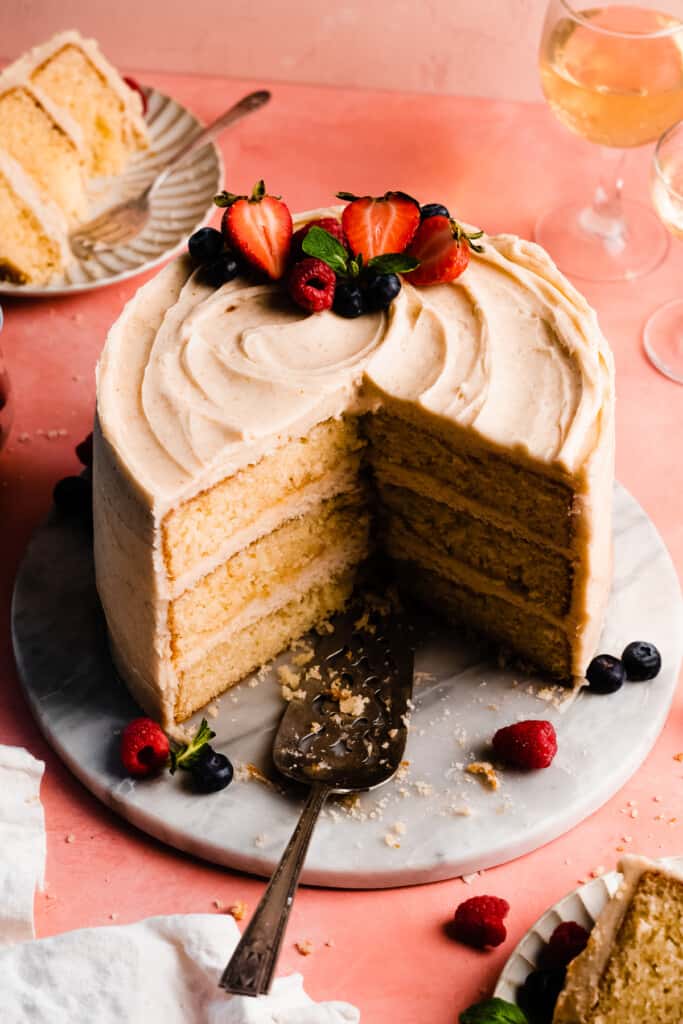
8-Inch Cake is the perfect, customizable cake recipe to have in your back pocket for all occasions! Three tender & fluffy vanilla cake layers are frosted in a luscious brown butter cream cheese frosting. Add any flavor of filling you like (caramel! chocolate! jam!) or swap in a chocolate frosting to customize this absolutely irresistible cake.

Table of Contents
- Why you’ll love this 8-Inch Cake:
- Ingredient Overview:
- Recipe Substitutions:
- How to Make this 8-Inch Vanilla Cake:
- Serving + Storing:
- Make-Ahead Tips:
- Expert Success Tips:
- FAQs:
- Filling & Frosting Variations:
- Special Tools:
- More Perfect Cake Recipes:
- Perfect 8-Inch Vanilla Cake with Brown Butter Frosting Recipe
Why you’ll love this 8-Inch Cake:
- Buttery Vanilla Cake – This vanilla layer cake tastes like the perfect bakery vanilla cake – it has a rich, buttery flavor and fluffy, moist cake layers.
- Unique Frosting Flavor – A silky brown butter cream cheese frosting is ultra creamy with warm, caramelly notes from the brown butter.
- Perfect Blank Canvas – This vanilla cake is the perfect blank canvas! Keep the flavors as is, or dress it up for special occasions by adding a fruit filling (try my orange curd!) between the layers, or by swapping the frosting for chocolate. See a complete list of filling & frosting options in the recipe variation sections farther down in this post.
Ingredient Overview:
- Butter – I prefer salted, but you can use unsalted butter if that’s your preference.
- Vegetable Oil – Using a combination of oil and butter gives this cake the best of both worlds – oil keeps the cake tender and moist, while butter adds flavor.
- Eggs – Use large eggs, at room temperature, for best results. We’re using whole eggs rather than just egg whites to add extra flavor & tender texture to this cake.
- Milk – I used 2% milk. I think skim and whole milk are fine as well. Lactose-free works beautifully also.
- Sour Cream – Use full-fat sour cream at room temperature.
- Cake Flour – Cake flour produces a lighter crumb in cakes, and I highly recommend using it! Spoon & level your flour for best results, or use a scale. Scooping the measuring cup directly in will lead to too much flour. 1 cup of cake flour weighs 110 grams, whereas 1 cup all-purpose flour weighs 130 grams. (Some people standardize at 120, 125, or 130 – I’ve chosen 130.) See a substitute for cake flour below, in ingredient substitutions.
- Vanilla Extract – Since the flavor in this cake comes from simple quality ingredients, be sure to use real vanilla instead of imitation vanilla for the best flavor.
Recipe Substitutions:
- Cake Flour Substitute – Make your own cake flour by spooning & leveling 1 cup of flour into a measuring cup, using a flat edge to level it off. Add to a mixing bowl, then remove two tablespoons (scoop & level them off). Add two tablespoons of corn starch, then sift this mixture twice. This is important to evenly mix the ingredients and to give the same light texture as cake flour.
How to Make this 8-Inch Vanilla Cake:
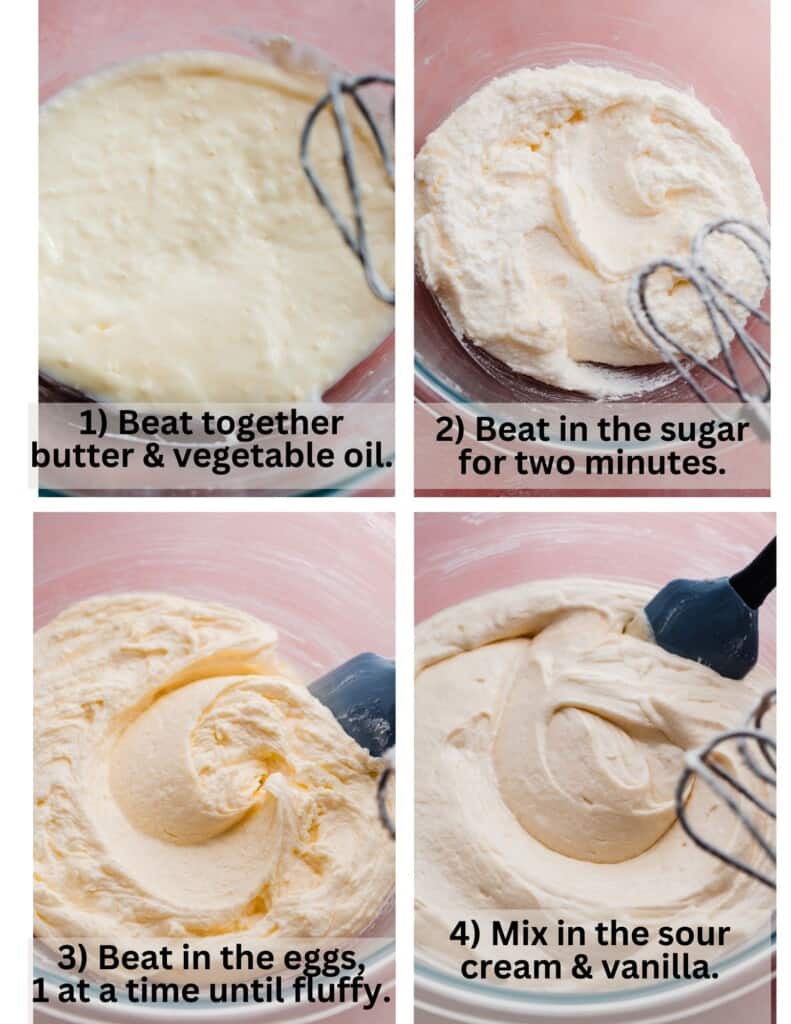
Step 1: Mix the Wet Ingredients. In a large mixing bowl, beat together butter & oil with a hand mixer (or stand mixer fitted with the paddle attachment) on high speed. Then, add the sugar & beat. Beat in the eggs, then the sour cream and vanilla.
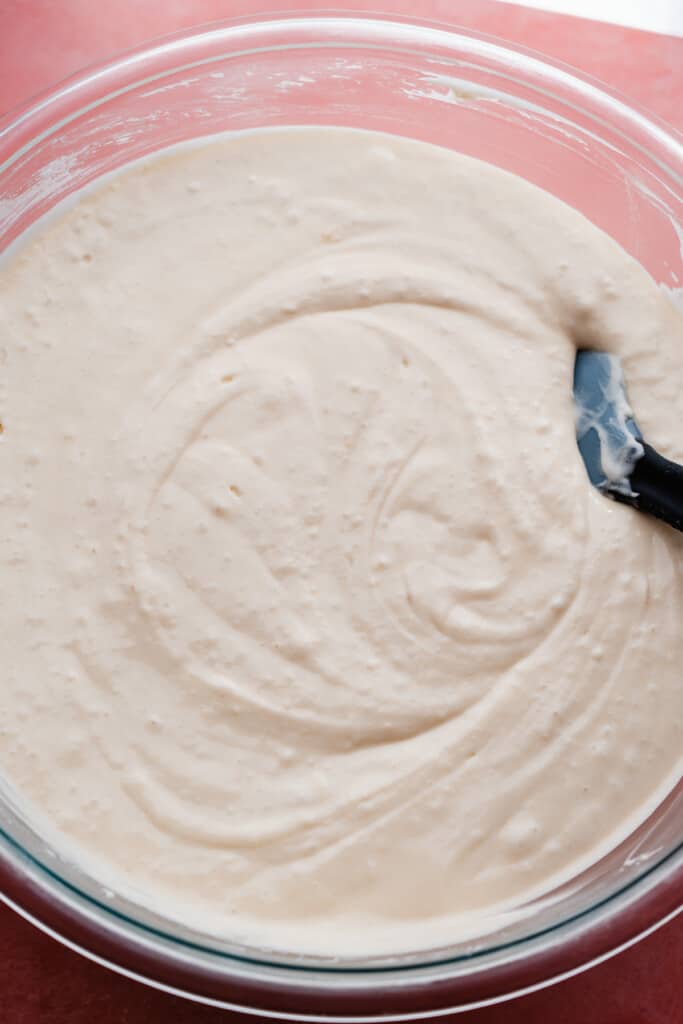
Step 2: Add Dry Ingredients. Add half of the flour mixture, then begin mixing on low, then add the milk, then the remaining dry ingredients. Mix just until a few streaks of flour remain. Stop the mixer and fold in the last few dry bits with a spatula – a few lumps are fine!
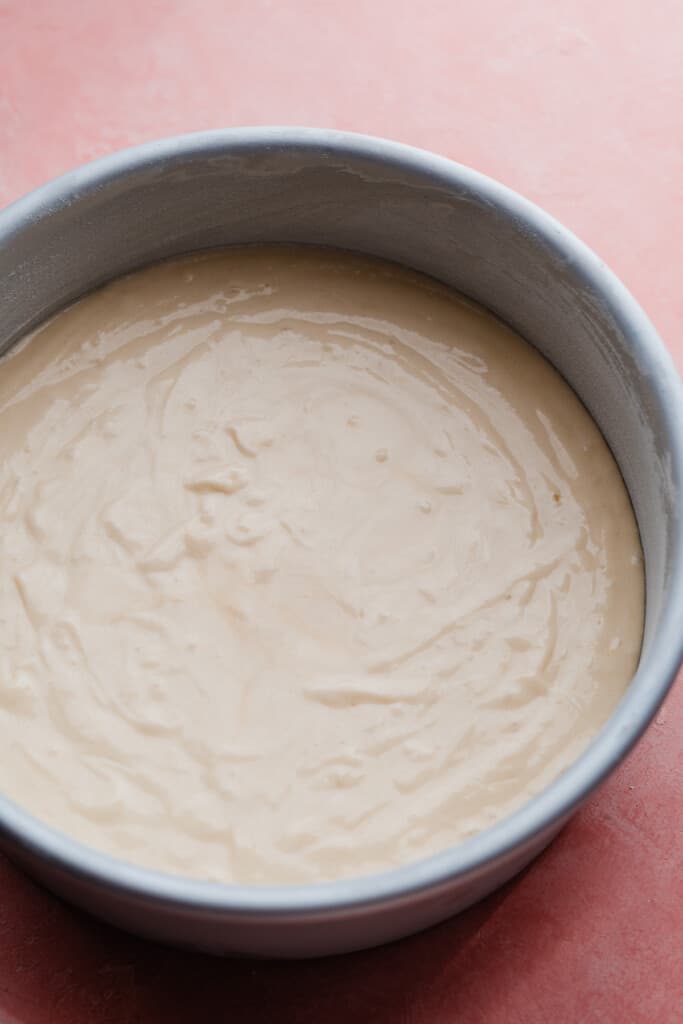
Step 3: Bake the Cake Layers. Divide batter between three prepared pans & bake as directed in the recipe card below. Let cool for 10 minutes before inverting to cool completely on a wire rack.
Step 4: Make the Frosting. Cream together butter, powdered sugar, salt, vanilla, a splash of milk, and cream cheese until smooth and creamy.

Step 5: Frost the Cake. Use a cake turntable with your cake stand placed on top of it. Frost the first cake layer. Place the second layer on top and chill for 10-15 minutes before repeating.
Crumb coat then frost the cake, creating swirls on top of the cake with the back of a spoon.

Serving + Storing:
Place the frosted cake in the fridge for 10-30 minutes so the frosting can firm up a bit before serving. Once the frosting is completely set in the fridge, you can cover the cake in plastic wrap. Or, keep the cake in a cake carrier.
If the cake has been in the fridge overnight, let it sit at room temperature for 20-30 minutes before slicing, so everything isn’t so solid from the fridge. Store sliced cake in the fridge for 2-3 days, in an airtight container (such as the cake carrier) with plastic wrap covering the cut portion of the cake.
Wrapping individual slices in plastic wrap and storing in an airtight container works, too! You can also freeze slices this way.

Make-Ahead Tips:
- Cake Layers – Cake layers can be baked, cooled at room temperature, and placed on dinner plates. Wrap well in plastic wrap and frost & assemble within 24 hours of doing this, for maximum freshness.
- Frosting – The frosting can be made up to 2 days ahead and stored in an airtight container in the fridge. Let sit at room temperature for 10-20 minutes before using, then mix with your mixer to get it back to a spreadable consistency before using.

Expert Success Tips:
- Oven Thermometer – An oven thermometer will tell you if your oven is actually running at the temperature you set it to. Your oven may not be accurate. Accurate oven temperature is crucial for most bakes, so I leave an oven thermometer in at all times to keep an eye on my oven’s calibration.
- Kitchen Scale – A food scale is the best way to make sure your flour is at the proper weight, since amounts will vary SO widely based on how you measure it, as well as the measuring cup you use, as they are not standardized.
- Not-too-sweet Frosting – I have a little trick to keep frosting from being too sweet (you know, that annoying tooth-ache that often comes from frosting?). I always add cream cheese to my frostings – this doesn’t make all my frostings true cream cheese frostings, since the quantity of butter still surpasses the amount of cream cheese.

FAQs:
Yes, you can halve this recipe and bake as two, 6-inch cake layers, or you can halve it and bake in an 8×8 or 9×9 square pan.
Yes! The amount of batter in the recipe will make three 8-inch cake layers, three 9-inch round cake layers, six 6-inch round cake layers, two 8×8 or 9×9 square cake layers, or one 9×13 sheet pan of cake. Your pan size will affect bake time – All these sizes will bake faster than 8-inch rounds, except the 9×13. Start with 22-26 minutes for the 9×13 but be prepared to go up to 35 minutes or so.
Yes you certainly can! I have no experience stacking tiered cakes, so I can’t advise you on the specific method, but this cake is tender, yet sturdy enough for that.
Filling & Frosting Variations:
- Frosting – If you want to skip the brown butter, you can – although it’s incredibly delicious! You can also use a more traditional cream cheese forward frosting, like this cream cheese frosting from my Pineapple Carrot Cake (omit the cinnamon if desired.). The creamy chocolate frosting from my Tuxedo Cake would be delicious here as well!
- Fillings – If you want to add a filling to this cake, you’ll need to pipe a border on each frosted layer before adding the filling in the center, and then the next cake layer on top. If using a filling, use 1/3 to 1/2 cup between each layer. If you use more than this, it may be too much for the cake to contain. Try the strawberry filling from my Strawberry Chocolate Cake or 10-Minute Salted Caramel Sauce as well. Any store-bought or homemade jams (strawberry, blueberry, etc.) will work as a filling, as long as you use no more than 1/2 cup between layers, and as long as it’s not runny.
Special Tools:
Affiliate links.
- Offset Spatula – Offset spatulas make assembling this delicious dessert so easy! They can also be used for spreading cake and brownie batters evenly in your pan.
- Cake Turntable – If you make at least a few cakes a year, a cake turntable makes the process a breeze!
More Perfect Cake Recipes:
- Salted Butterscotch Crunch Cake
- German Chocolate Cake
- Raspberry Chocolate Cake
- Mojito Cake
- Peanut Butter Chocolate Cake
- Better-Than-Bakery Vanilla Cupcakes
Did you make this recipe? Leave a comment & star rating!
Click the little stars in the header of the recipe card below to leave a comment & star rating, letting me know how you liked the recipe. I take all feedback seriously, & leaving a rating helps my small business immensely!

Perfect 8-Inch Vanilla Cake with Brown Butter Frosting
Ingredients
For the Cake
- 3 and 1/2 cups cake flour, spooned & leveled or weighed out , 385 grams *see note for substitute below
- 3/4 tsp baking soda, 5 grams
- 1 tbsp baking powder, 14 grams
- 3/4 tsp salt, 5 grams
- 1/2 cup salted butter, softened at room temperature , 113 grams
- 1/2 cup + 1 tbsp vegetable oil, 131 grams
- 2 and 2/3 cup granulated sugar , 543 grams
- 3 large eggs, at room temperature
- 1 large egg white, at room temperature
- 1 and 1/2 tbsp vanilla extract , 20 grams
- 3/4 cup full fat sour cream, at room temperature , 180 grams
- 1 and 1/2 cup milk, at room temperature , 240 mL
For the Frosting:
- 1 and 1/2 cups salted butter, 340 grams
- 16 ounces cream cheese, cold, use the full-fat blocks, 452 grams
- 6 and 1/2 cups cups powdered sugar, or up to 7 cups to taste, 748 grams
- 1 tbsp vanilla extract , 16 grams
- pinch of salt
Instructions
- Prep: Make sure all cold ingredients have come to room temperature. Preheat your oven to 350° F. Prepare three 8-inch cake pans. Use a paper towel to rub shortening all over the inside of each pan, coating them evenly and completely. Cut a round of parchment paper to fit inside each (tracing is the easiest way, or purchase parchment rounds). Place this on top of the greased pan bottom, then grease over the parchment paper as well. Add a handful of flour, and tap the pan around to evenly coat the entire inside with flour, tapping out the excess.
- Make the Cake Batter: In a medium bowl, whisk together the dry ingredients – flour, baking powder, baking soda, and salt.In a large mixing bowl, cream the softened butter for about 30 seconds, until creamy. Add the vegetable oil and beat together on medium high speed for 1 minute. Add the sugar and beat on high speed for 2 full minutes. The mixture will be fluffy. Scrape the sides of the bowl down throughout, to ensure everything is combined. Add the eggs, one at a time, beating on medium high speed between each addition, for 45 seconds. The mixture will be very fluffy. Add the sour cream and vanilla and mix on medium speed until just combined.Add half of the dry ingredients while the mixer is running on low speed. Add the milk when just a bit of the flour has disappeared into the batter, then add the remaining dry ingredients. Continue mixing on low, and stop when just a few streaks of flour remain. Turn off the mixer and use a spatula to gently fold in any last bits of flour. Some lumps is fine – do not over mix!3 and 1/2 cups cake flour, spooned & leveled or weighed out , 3/4 tsp baking soda, 1 tbsp baking powder, 3/4 tsp salt, 1/2 cup salted butter, softened at room temperature , 1/2 cup + 1 tbsp vegetable oil, 2 and 2/3 cup granulated sugar , 3 large eggs, at room temperature , 1 large egg white, at room temperature , 1 and 1/2 tbsp vanilla extract , 3/4 cup full fat sour cream, at room temperature , 1 and 1/2 cup milk, at room temperature
- Bake: Divide cake batter evenly between the prepared pans. (You can eyeball this or use a kitchen scale.) Bake the first two pans together, and then the 3rd pan on its own after the first two are done. This will ensure the most even bake. Bake the cakes for 24-28 minutes, rotating the pans halfway through (this helps them bake evenly). When done, a toothpick inserted into the center will pull out moist crumbs. Let cakes cool in the pans on cooling racks for 10 minutes. Then, invert onto cooling racks (peel off the parchment round) to cool completely.
- Make the Frosting: While the cakes cool, make frosting. Melt butter in a medium pot over medium high heat. Reduce the heat to medium once melted, and cook, stirring, until it begins to brown. It will bubble up, then get foamy, then it will start to turn golden brown. Pour into a clean bowl and set in the freezer to quickly cool for 15-20 minutes. It just needs to be room temperature – not hot.Add the slightly cooled butter to a large mixing bowl with the cold cream cheese and mix – start slow to avoid splatters, then turn up the speed once things are combined. The mixture will look lumpy at first, but it will smooth out after a minute or so. Mix in the powdered sugar, 2 cups at a time, mixing between each addition, and adding the vanilla and salt with the last bit of powdered sugar. (Add a splash of milk if you need it to help the powdered sugar incorporate.)1 and 1/2 cups salted butter, 16 ounces cream cheese, cold, 6 and 1/2 cups cups powdered sugar, or up to 7 cups to taste, 1 tbsp vanilla extract , pinch of salt
- Assemble & Frost the Cake: Place the first cake layer on a cake stand placed on a turntable. See note below if adding fillings. Place the second cake layer on top and spread the excess frosting peeking out from between the layers to begin your crumb coat. Chill for 10-15 minutes to set things so the layers don't slide around. Repeat with the second layer. Add the final layer upside down (for a flat top!) and give the cake a thin amount of frosting on top and on the sides. Use a cake scraper to smooth out and remove excess. This is your crumb coat, so don't fret if it isn't perfect. Pop the cake in the fridge for 15-20 minutes to set the crumb coat. Then, apply the remaining frosting, using the cake scraper to smooth the top and sides of the cake. Create pretty swirls on top with the back of a spoon. Let the cake in the fridge for about 20 minutes or until frosting is set, before slicing & serving. Note about Fillings: If using any fillings (see recipe variations section just a bit above the recipe card in the blog post), pipe a border of frosting around each cake layer (keep it just a bit in from the edges so it doesn't spill out) and use 1/3 to 1/2 cup of your desired jam or fruit filling. Place the next cake layer on top and be sure to let things chill before continuing so things don't slide around.
- Serve & Store: Slice and serve once the frosting is set, as mentioned above. Store leftovers in the fridge in an airtight container, with plastic wrap pressed over the cut portion of the cake, for 3-4 days. Or, wrap individual slices well in plastic wrap, and store these inside an airtight container in the fridge for 3-4 days. Individual slices can be double plastic wrapped and placed in a ziploc bag with the air pressed out, and frozen for 1-2 months. Thaw in the fridge overnight before serving.
Notes
Nutrition
Nutrition information is automatically calculated, so should only be used as an approximation.


Hi! I just wanted to let you know that the US measurement says 1.5 cups of milk but the metric says 240mL- these are significantly different measurements! Which one is the correct one? Thanks!
Hi Sophie! My apologies- it’s 1 and 1/2 cups of milk which should say 360 mL. Thanks for catching that! Let me know how you like the recipe!
Can the egg white be from the carton ?
Hi Laura! That should be fine. Let me know how you like the recipe!
Can I freeze the cakes ? Like if I have a birthday coming up ? Before decorating ofc
Hi Rose! Yes you can. Wrap them well in a few layers of plastic wrap, then foil. Thaw on the counter for a few hours before decorating and assembling. Let me know how you like the recipe!
Me encantan tus recetas, gracias por compartir
Hello! I want to try this recipe but I’m noticing you use salted butter & put 3/4 tsp of salt. Will that be too much salt?
Hi Nely! No, it won’t be. However, if you prefer to use unsalted butter you certainly can. Just add a small pinch of salt (like 1/8 tsp or less) in that case. Let me know how you like the recipe!
Hi! I’m wondering if I’m able to substitute the sour cream with greek yogurt instead?
Hi Natalia! In theory yes, but it can make the cake a little dense. I’d recommend plain yogurt vs greek if you can help it. Let me know how you like the recipe!
Great cake recipe, I use less sugar and it still comes out moist and decadent.
So glad to hear you enjoyed this recipe, Vanessa!
This frosting is EVERYTHING. This is a true vanilla dream cake. So good.
PS this frosting is amazing on homemade cinnamon rolls.. addictive!
Thanks Steph!
So glad to hear you enjoyed this recipe, Katelyn!
If I want to make this recipe as a 2 layer 9×13 cake should I double or triple recipe? Would that affect the baking process?
Hi Anaiyah! One batch of this recipe as written makes a 9×13 cake. So, if you want two 9×13 layers, you’d need to make the recipe twice. I recommend making the recipe two separate times instead of doubling it because that would be a huge volume of batter and you’d need an incredibly large mixing bowl for it, and I also think it would be hard to properly incorporate the dry ingredients without over mixing in such a large quantity of batter. Let me know how you like the recipe!