This post contains affiliate links. Please see our disclosure policy.
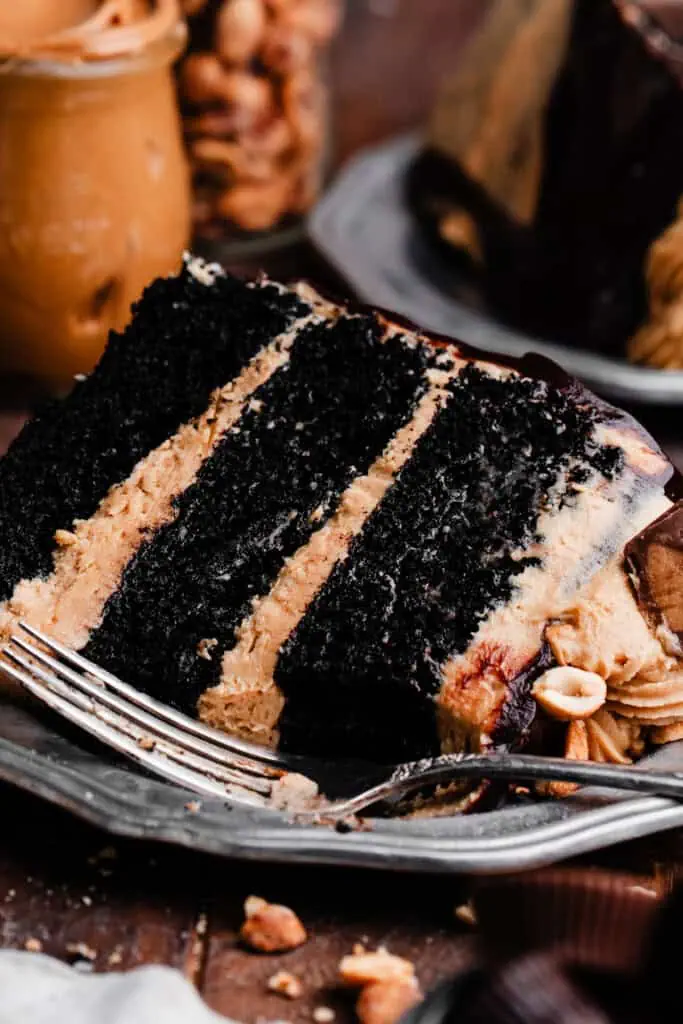
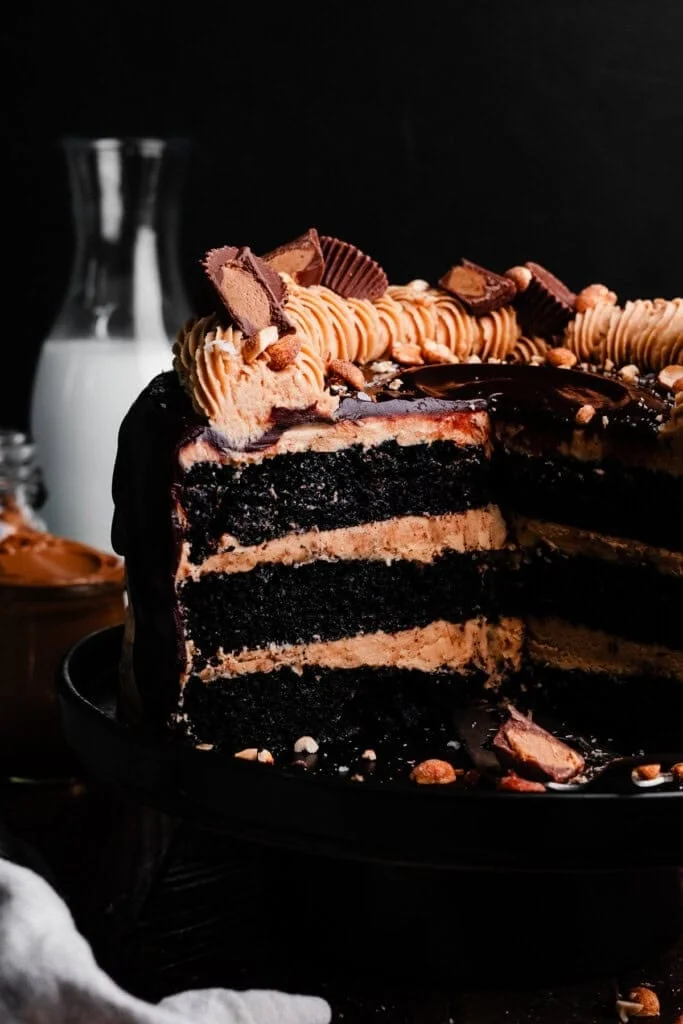
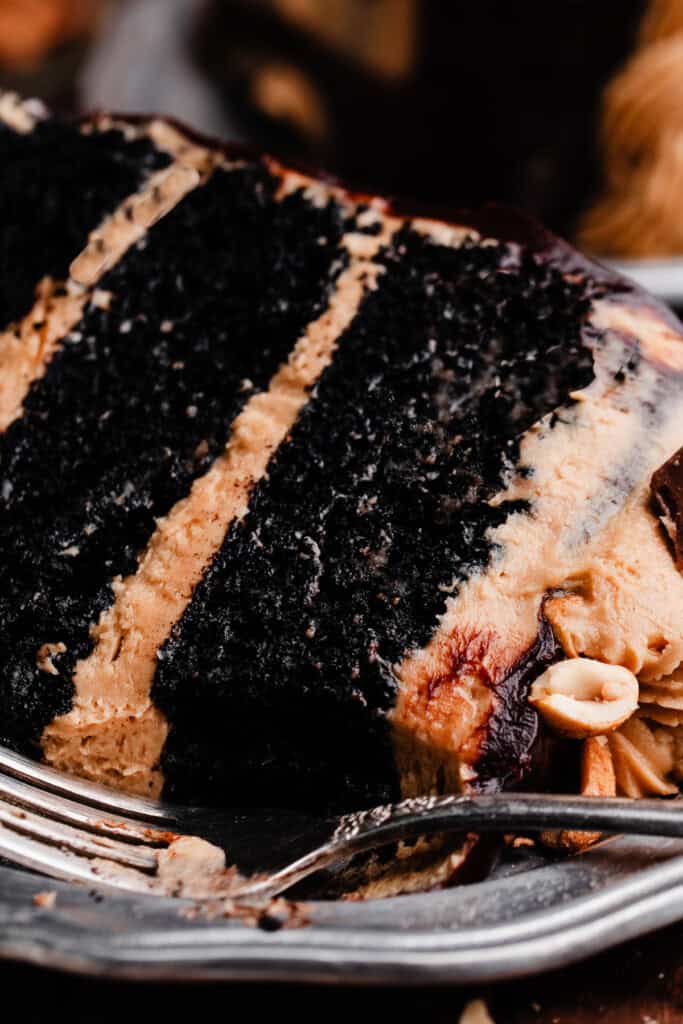
Peanut Butter Chocolate Cake is the most indulgent cake! Rich, moist layers of chocolate cake are frosted with peanut butter frosting, covered in a chocolate ganache drip, and topped with mini peanut butter cups. This cake stays moist in the fridge for 7 days (!!) and tastes like a dessert you’d get at a fancy restaurant.

Table of Contents
Why you’ll love this Peanut Butter Chocolate Cake:
- Rich & Moist Chocolate Cake – This chocolate cake is easy-to-make, while still being incredibly rich and moist (it stays moist for 5-7 days in the fridge!)
- Luscious Peanut Butter Frosting –
- Easy Chocolate Drip – With my tips, anyone can achieve a beautiful chocolate drip on a cake! Yes – even if you haven’t done it before.
Ingredient Overview:
As always, the full recipe with measurements & directions can be found in the recipe card at the bottom of this post. Use the table of contents (back at the top, below the first image, to navigate).
- Butter – I always use salted buter for the best flavor, but feel free to use unsalted butter if you prefer. We’re using this instead of vegetable oil in this cake to add extra richness!
- Peanut Butter – I recommend traditional (not natural) peanut butter (creamy, not crunchy) for the best results.
- All-purpose flour – Spoon your flour into the measuring cup, then level it with a flat utensil for best results, or use a scale. Scooping the measuring cup directly into your flour will lead to too much flour, and a potentially dry bake.
- Eggs – Use large eggs, at room temperature.
- Cocoa Powder – I love black cocoa powder, but any dutch process cocoa powder will work.
- Buttermilk – Use buttermilk and not a substitute for the best results.
- Chocolate – Use good-quality semi-sweet chocolate (preferably baking bars or melting wafers) for the chocolate drip!
Recipe Substitutions & Variations:
- Gluten-Free/Dairy-Free – I have not tested a gluten-free or dairy-free version of this cake.
- Nut Allergies – I think another nut butter could taste good in the frosting, in place of the peanut butter, but you may need to increase the salt and sugar quantities (to taste). Sunflower butter could work as well, for a nut allergy. Or – make my Biscoff Cake (made with tons of cookie butter!) for a completely nut-free option!
How to Make this Peanut Butter Chocolate Cake Recipe:
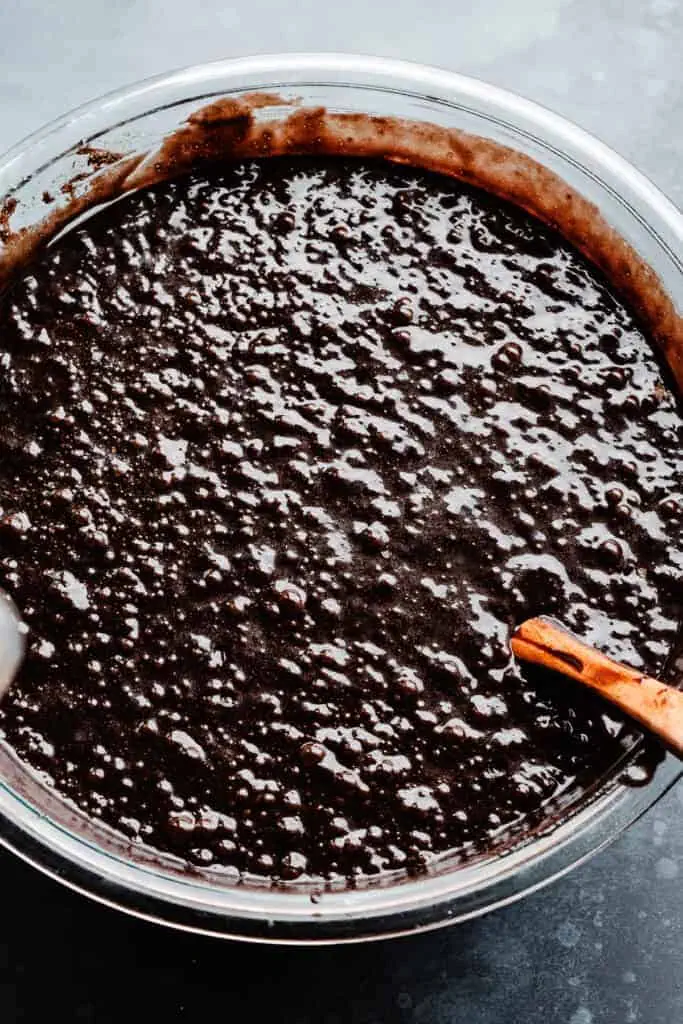
Step 1: Make the Cake Batter. Whisk together the dry ingredients, then mix in the wet ingredients until just combined. Scrape the sides of the bowl well to make sure everything is incorporated.
Step 2: Bake Cake Layers. Divide the batter between greased and parchment paper-lined cake pans. Bake as directed in the recipe card below. Cool in the pans on a wire rack for 10 minutes before inverting layers. Let each layer of cake cool completely before frosting.

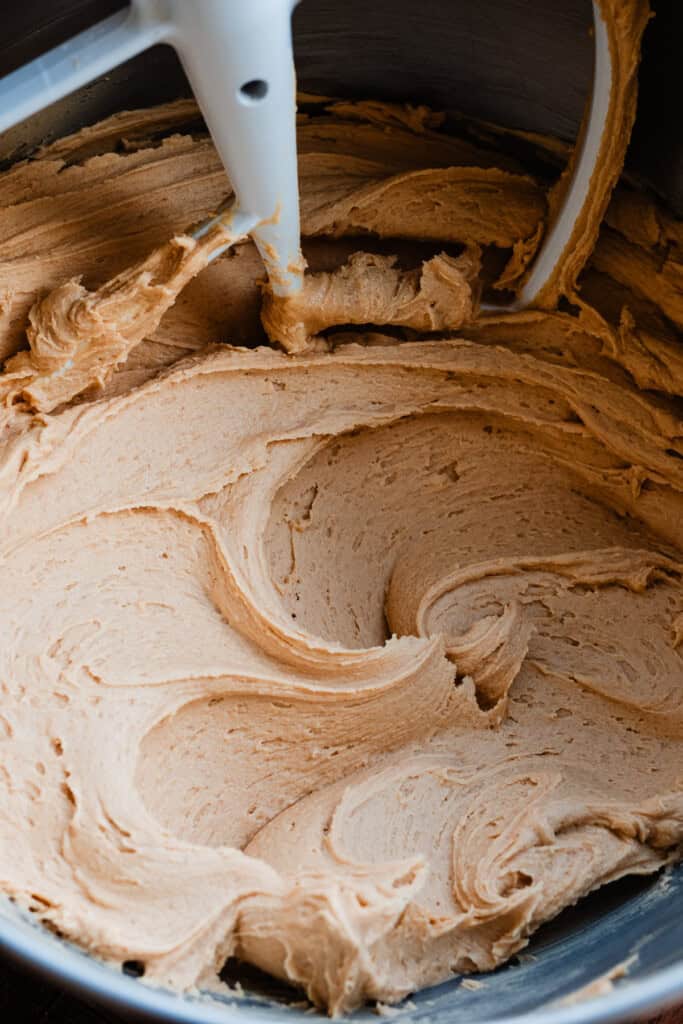
Step 3: Make the Frosting. In a large mixing bowl or in the bowl of a stand mixer, beat together butter, peanut butter, powdered sugar, heavy cream, vanilla, and salt. Taste and adjust the sugar/salt as desired.
Step 4: Assemble the Cake. Once cake layers are completely cooled, spread a layer of frosting over the first cake layer. Add the second cake layer. Pop in the fridge to chill for 10 minutes or so.
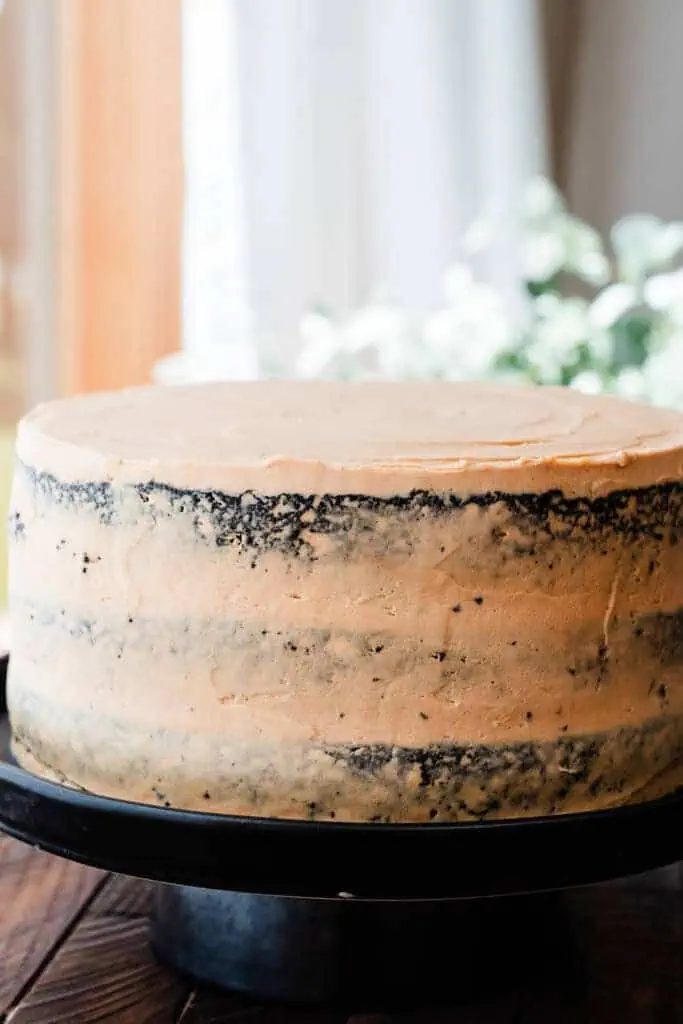
Repeat with the second cake layer, then add the third layer. Frost the outside of the cake with the remaining frosting. Let chill in the fridge for at least 30 minutes.
Step 5: Make the Chocolate Drip. Heat heavy cream until simmering, then pour over chopped chocolate. Stir until smooth. Once it’s not hot, pour over your cake, using an offset spatula to push it over the edges while you spin the cake on a turntable.
This creates a beautiful waterfall drip! Use this on any of my layer cakes, like my Chocolate Truffle Cake or my Strawberry Chocolate Cake.
Serving + Storing:
Let the cake chill in the fridge for 20-30 minutes to set the drip, then pipe swirls on top of the cake with leftover frosting. Top with mini peanut butter cups and chopped peanuts. Slice and ENJOY!
Love elegant looking layer cakes? Try my Strawberry Chocolate Cake or my Tuxedo Cake, next!
Expert Baking Tips:
- Oven Thermometer – An oven thermometer will tell you if your oven is actually running at the temperature you set it to. Your oven may not be accurate. Accurate oven temperature is crucial for most bakes, so I leave an oven thermometer in at all times to keep an eye on my oven’s calibration.
- Kitchen Scale – A food scale is the best way to make sure your flour is at the proper weight, since amounts will vary SO widely based on how you measure it, as well as the measuring cup you use, as they are not standardized.
FAQs:
You can scale this recipe in a few ways! Cut the recipe in half and bake in two 8-inch cake pans, or make 1/3 of the recipe and bake in one 8 or 9-inch cake pan. You can also bake the full recipe in a 9×13 pan if you want a sheet cake. Half a batch of this recipe will make 24 cupcakes.
Yes, but be sure to fill the liners only 2/3 full or the cupcakes will overflow and bake into flat puddles on top. The full recipe will make about 38-42 cupcakes.
Special Tools:
Affiliate links.
- Offset Spatula – Offset spatulas make cake assembly so easy! They can also be used for spreading cake and brownie batters evenly.
- Cake Turntable – If you make at least a few cakes a year, a cake turntable makes the process a breeze!
- Piping Tip – I used a Wilton 6B tip to pipe the swirls on top.
More Peanut Butter Chocolate Recipes to Love:
- Peanut Butter Chocolate Cheesecake
- Peanut Butter Blondies
- Peanut Butter Tart
- No-Bake Peanut Butter Pie
- Bakery-Style Peanut Butter Chocolate Cookies
- Buckeye Brownies
Did you make this recipe? Leave a comment & star rating!
Click the little stars in the header of the recipe card below to leave a comment & star rating, letting me know how you liked the recipe. I take all feedback seriously, & leaving a rating helps my small business immensely!

Peanut Butter Chocolate Cake
Ingredients
For the Cake Batter
- 1 and 1/2 cups hot water, 355 grams
- 1 cup black cocoa powder, or dutch process cocoa powder – 111 grams
- 1 tbsp espresso powder
- 3 cups all-purpose flour, spooned & leveled or weighed out , 381 grams
- 1 and 1/2 cups granulated sugar , 315 grams
- 1 and 1/2 cups light brown sugar, packed, 330 grams
- 3 tsp baking soda, 16 grams
- 1 and 1/2 tsp baking powder, 5 grams
- 3/4 tsp salt
- 1 and 1/2 cups buttermilk, at room temperature , 364 grams
- 3/4 cup vegetable oil, 164 grams
- 3 large large eggs, at room temperature
- 1 tbsp vanilla extract
For the Frosting:
- 2 cups salted butter, softened at room temperature , 452 grams
- 2 cups creamy peanut butter, 500 grams
- 7 cups powdered sugar, or more to taste, 805 grams, or more to taste
- 2-3 tbsp heavy cream, 30-45 grams
- 1 tbsp vanilla extract
- pinch of salt
For the Chocolate Drip
- 4 ounces semi-sweet chocolate, finely chopped, 113 grams
- 1/2 cup heavy cream, 4 ounces, 120 grams
- 1-3 tsp vegetable oil
- mini peanut butter cups, for garnish
- chopped peanuts, for garnish
Instructions
- Prep: Preheat your oven to 350℉. Prepare three 9-inch cake pans. Use a paper towel to rub shortening all over the inside of each pan, coating them completely. Cut a round of parchment paper to fit inside each. Place this on top of the greased pan bottom, then grease over the parchment paper. Add a handful of flour, and tap the pan around to evenly coat the entire inside with flour, tapping out the excess.
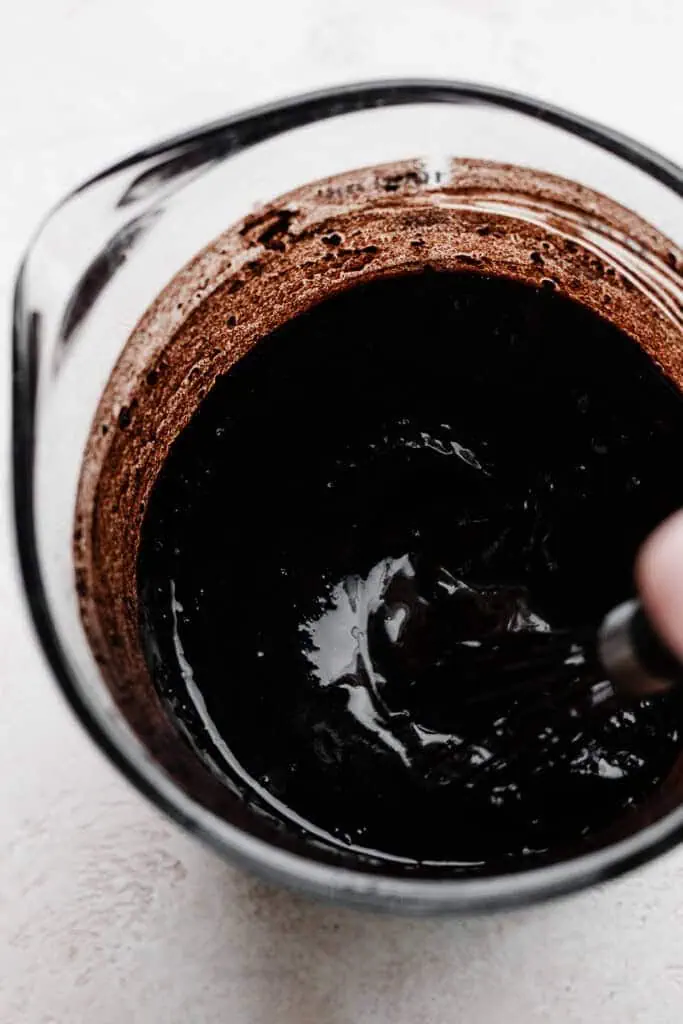
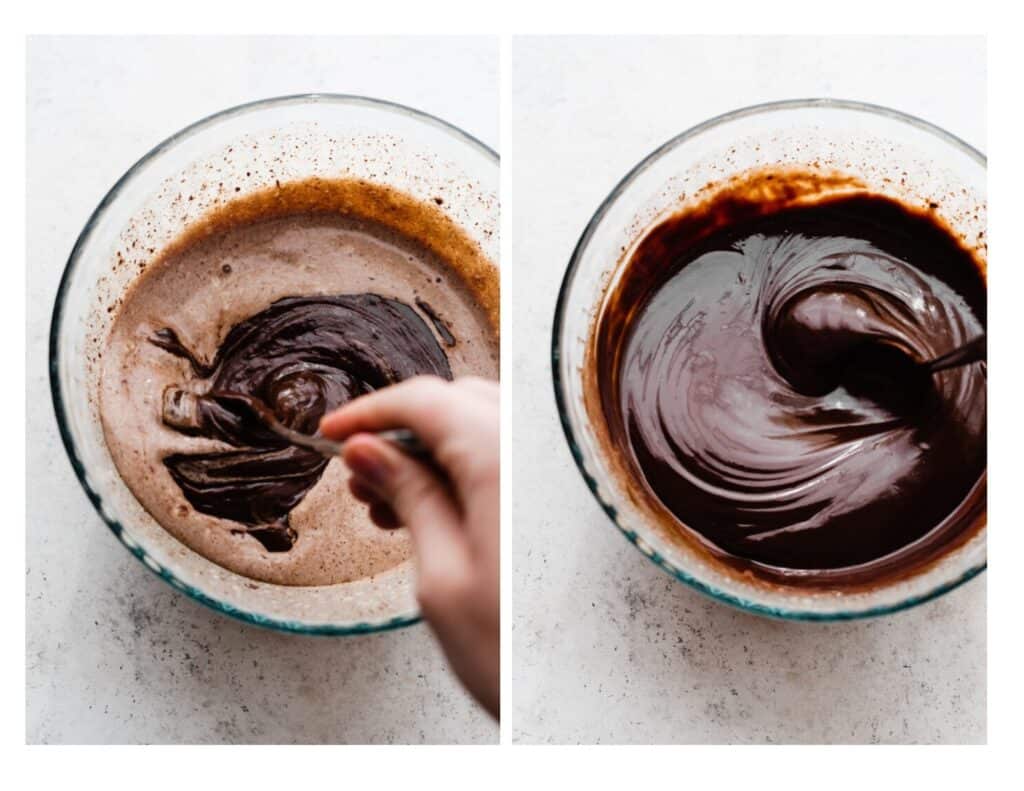
- Make the Cake Batter: Add the hot water to a large glass measuring cup or bowl (a 4-cup is ideal if you have it – the buttermilk, oil, and vanilla will be getting added to this in a bit so make room!). Whisk in the cocoa & espresso powder until completely dissolved. Set aside. In a large bowl, whisk together the flour and sugars, breaking up any lumps of brown sugar as best you can. Then, whisk in the baking soda, baking powder, and salt. Check that the water & cocoa mixture is just lukewarm (not hot!), and if it is, whisk in the oil, buttermilk, and vanilla. In one of the measuring cups you just dirtied that's now empty, add the eggs and lightly beat with a fork. Pour the cocoa liquid mixture and the lightly beaten eggs over the dry ingredients. Whisk gently to combine, making sure to get any dry bits hiding in the bottom of the bowl. (I like to lift up the bowl and look through the clear glass bottom and sides to check for this, haha!).1 and 1/2 cups hot water, 1 cup black cocoa powder, 1 tbsp espresso powder, 3 cups all-purpose flour, spooned & leveled or weighed out , 1 and 1/2 cups granulated sugar , 1 and 1/2 cups light brown sugar, packed, 3 tsp baking soda, 1 and 1/2 tsp baking powder, 3/4 tsp salt, 1 and 1/2 cups buttermilk, at room temperature , 3/4 cup vegetable oil, 3 large large eggs, at room temperature , 1 tbsp vanilla extract
- Bake: Divide the batter evenly (735 grams of batter per pan) among your three prepared pans. Bake at 350℉ for 24 to 28 minutes. A toothpick inserted into the center of the cake will pull out moist crumbs.Let cakes cool in the pans placed on wire racks for 10 minutes, then run a butter knife around the edges to loosen, and invert onto the cooling racks to cool completely while you make the frosting.
- Make the Frosting: In a large mixing bowl or in the bowl of a stand mixer fitted with the paddle attachment, beat the butter until creamy, about 60 seconds. Beat in the peanut butter until creamed with the butter. Mix in the powdered sugar in a few additions, using heavy cream as needed to help it combine. Mix in the vanilla, and a pinch of salt. Taste and add more powdered sugar and/or salt if desired.2 cups salted butter, softened at room temperature , 7 cups powdered sugar, or more to taste, 2-3 tbsp heavy cream, 1 tbsp vanilla extract , pinch of salt, 2 cups creamy peanut butter
- Assemble: Spread a small dollop of frosting on your cake plate to secure the cake. Place the first cake layer on this, and place the cake plate on top of a cake turntable. Spread 1 and 1/2 cups of frosting (366 grams) over the layer, going beyond the edge a smidge. Place the second cake layer on top and Spread any frosting "overhang" between the two layers to seal them together. Chill for 5-10 minutes to set things so the layers don't slide around. Repeat with the second layer. Add the final layer upside down for a flat top, and give the cake a thin layer of frosting on top and on the sides. Use a cake scraper to smooth out and remove excess. This is your crumb coat, so don't fret if it isn't perfect. Pop the cake in the fridge for 20-30 minutes or until the frosting is set. Then, frost the top and sides of the cake sparingly (for the naked cake look) with the remaining frosting, smoothing things with the cake scraper or offset spatula. If you want a heavier layer of frosting on the outside, just know you won't have enough left to pipe the border on top of the cake. Up to you!Pop into the fridge while you make the drip.
- Make Chocolate Drip: Add finely chopped chocolate to a small bowl. Heat heavy cream in a small saucepan over medium high heat until simmering. Pour over the chocolate, let sit for 4 minutes, then stir until completely smooth. Add 1-3 tsp vegetable oil to get a smooth, pourable consistency. Check this by letting chocolate drip off a spoon back into the bowl – it should run off in an unbroken stream.Set cake on a turntable. Pour the chocolate onto the center of the top of the cake, then spin the cake slowly while pushing ganache to the edges, and over, with an offset spatula to create drips. Let chill 20-30 minutes, until ganache is set.Use remaining frosting to pipe a border on top, if desired. (I used the Wilton 6B tip). Place peanut butter cups and chopped peanuts on the frosting as garnish.4 ounces semi-sweet chocolate, finely chopped, 1/2 cup heavy cream, 1-3 tsp vegetable oil, mini peanut butter cups, for garnish, chopped peanuts, for garnish
- Serve & Store: Chill another 20 minutes or so to ensure the frosting you piped on last is set. Store leftover cake in the fridge in an airtight container or cake carrier, with plastic wrap pressed tightly over the cut portion of the cake to help prevent drying out. Leftovers keep well for 5-6 days in the fridge.
Notes
Nutrition
Nutrition information is automatically calculated, so should only be used as an approximation.

Made these for my husbands birthday today! He was trying to eat the batter on me!!! These are so good! I turned them into cupcakes! Wish I could post a pic! Thanks!
Husbands will do that, lol!! So glad to hear this was a hit, Theresa!
i made it for my sisters birthday and it turned out so yum!!
So glad to hear you enjoyed this recipe, Giuli!
Excellent! This cake is perfect as is. Sooo so good. I made this for my husband‘s birthday for Thanksgiving and he said it’s the best cake he’s ever had. He’s 62 so he’s had a lot of cake. Everyone loved it. We were all so impressed with the cake, we didn’t get pictures of any of the other food but the cake lol! I wish I could post a picture.
So glad to hear this was a hit, Carma! Thanks so much for taking the time to leave a review!
I made this cake for my dad’s birthday and he LOVED it! He said the frosting tastes like Reese’s peanut butter. This was the first layer cake I made and the directions on this recipe are *chefs kiss* – which is great for a beginner. I would definitely make this again!
So glad to hear you enjoyed this recipe, Zoie! Thanks for the rave review.
Love the recipe. Can this be made as a 9×13 or as cupcakes? If so how many cupcakes do you estimate it would make? Thank You!
Hi Mark! Thanks so much! I believe it would make 48-56 cupcakes. You’ll want to make sure you only fill the liners 1/2 to 2/3 of the way full as they can spill over fairly easily with this recipe. You may want to halve the recipe if you don’t want that many cupcakes. And, I think just 2/3 of a batch of this recipe would be plenty for a 9×13 pan. I haven’t baked the full quantity of batter in a 9×13, and I worry that the full 3 layers worth would overflow from that size pan. Happy baking!