This post contains affiliate links. Please see our disclosure policy.
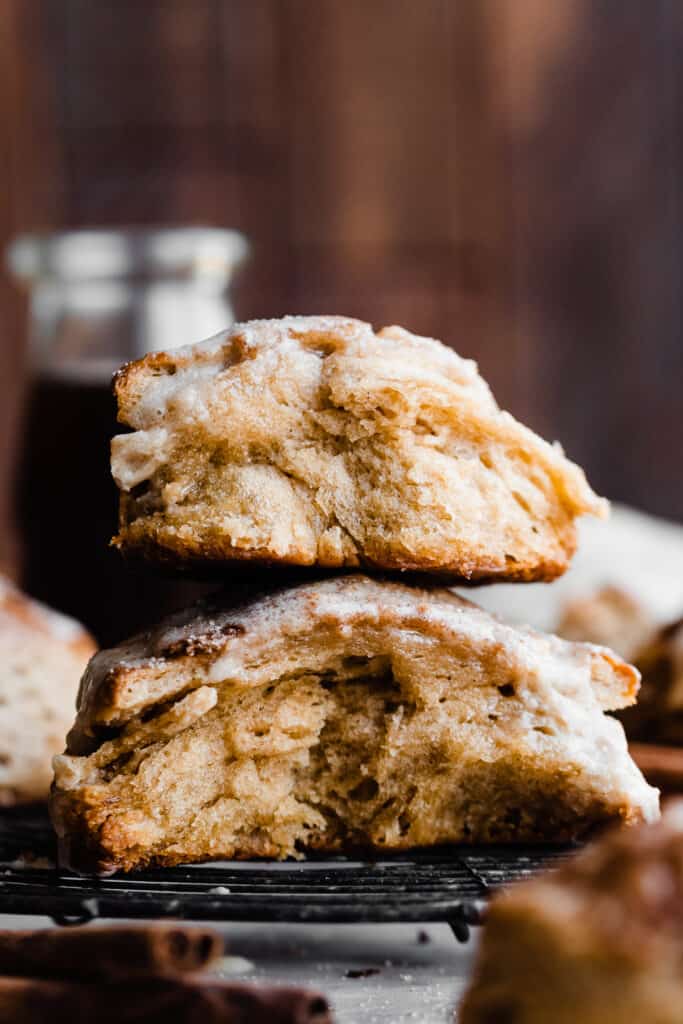
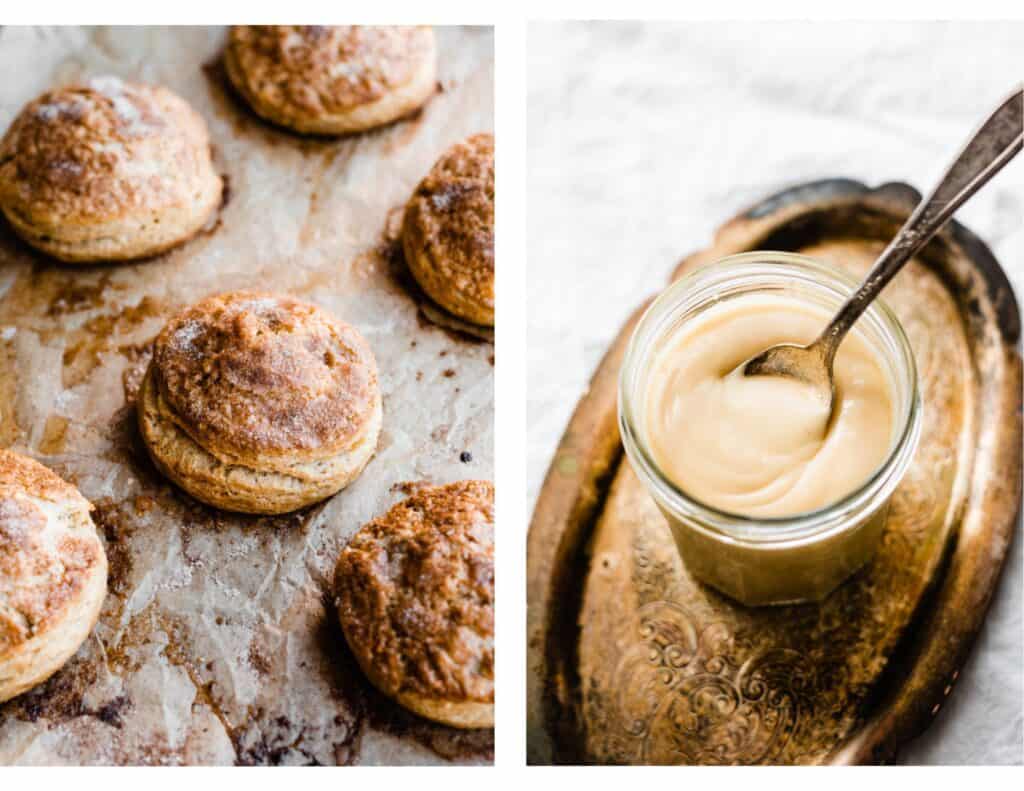
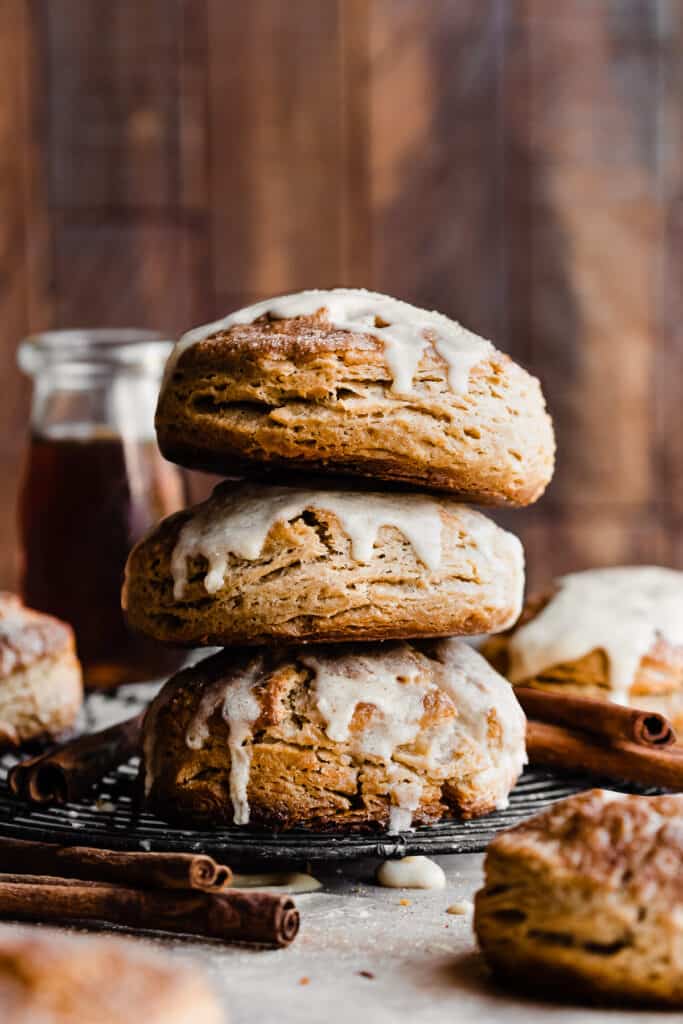
Maple Biscuits are the perfect cozy brunch bake! They’re extra tall and flaky, with crisp edges, pillowy soft insides, and tons of maple flavor from real maple syrup. Top them with a buttery maple glaze for ultimate fall bliss.

This recipe doesn’t necessarily fall under the easy recipes category, but as long as you read the full recipe directions before you begin, and follow them closely, you’ll have success!
Why you’ll love these Maple Biscuits:
- Real Maple Syrup – This is not a drill people, it’s fall and we’re using real, pure maple syrup to flavor these homemade biscuits! It’s the best part.
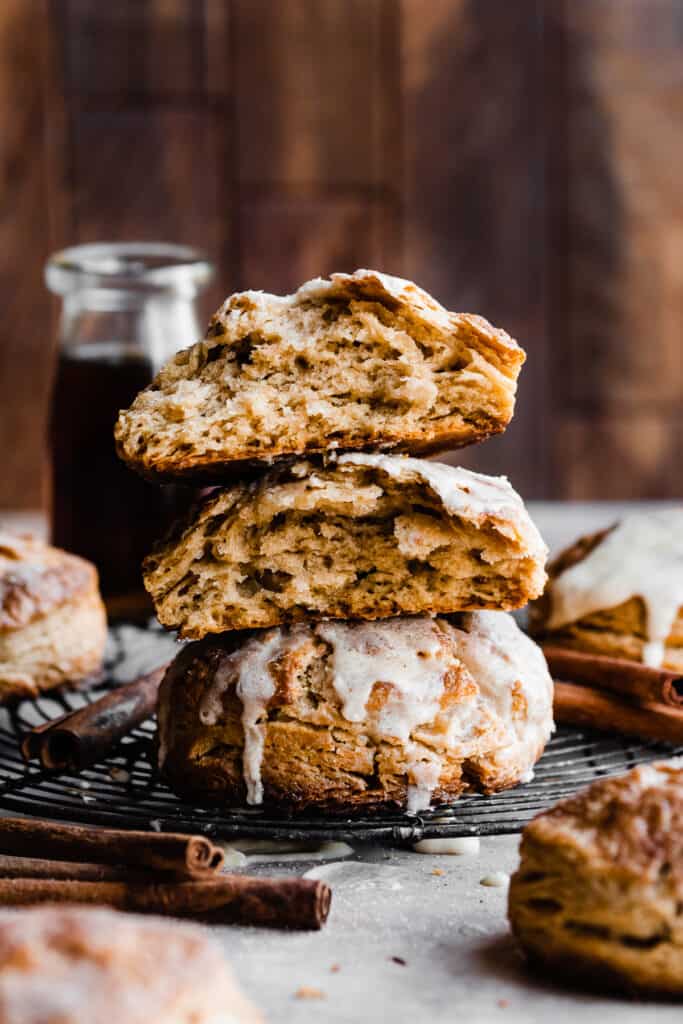
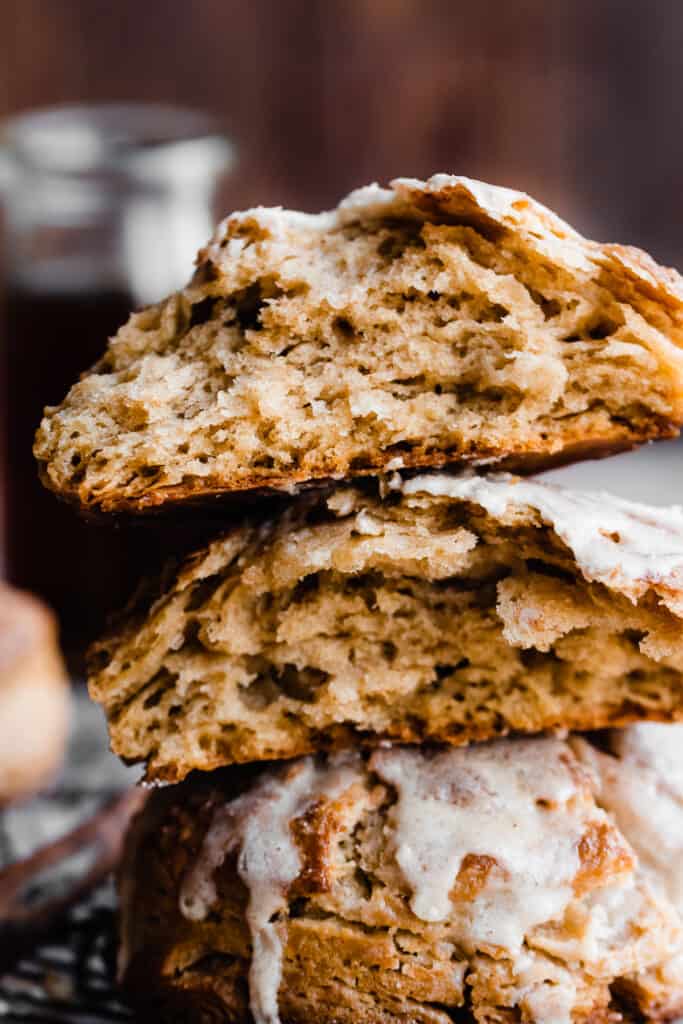
- Flaky Biscuits – These tender biscuits bake up tall and flaky, with a crisp cinnamon sugar top.
- Maple Glaze – Finish them off with a buttery maple glaze – it gets melty over the warm biscuits and is SO incredibly delicious.
Ingredient Overview:
- Butter – I always use salted buter for the best flavor, but feel free to use your preference.
- Maple Syrup – Use real maple syrup in this recipe – nothing compares to the taste of the real stuff!
- Baking Powder & Soda – Using leavening agents in combination with all the dough folds gives these biscuits extra rise and super fluffy, flaky layers!
- Milk – I used 2% milk.
Recipe Variations:
- Dairy-free – Theoretically, this recipe would work with dairy-free milk and dairy-free butter sticks, but I haven’t tested it.
- Cozy Spices – Try cardamom for a modern twist, or maple sugar in place of the cinnamon.
- Buttermilk – Use buttermilk instead of regular milk to make these as more traditional buttermilk biscuits.
- Other Toppings- Top your biscuits with maple cream o instead of the glaze, if desired. Make a maple butter by adding some maple syrup to softened butter to spread inside the biscuits.
How to Make this Maple Biscuit Recipe:
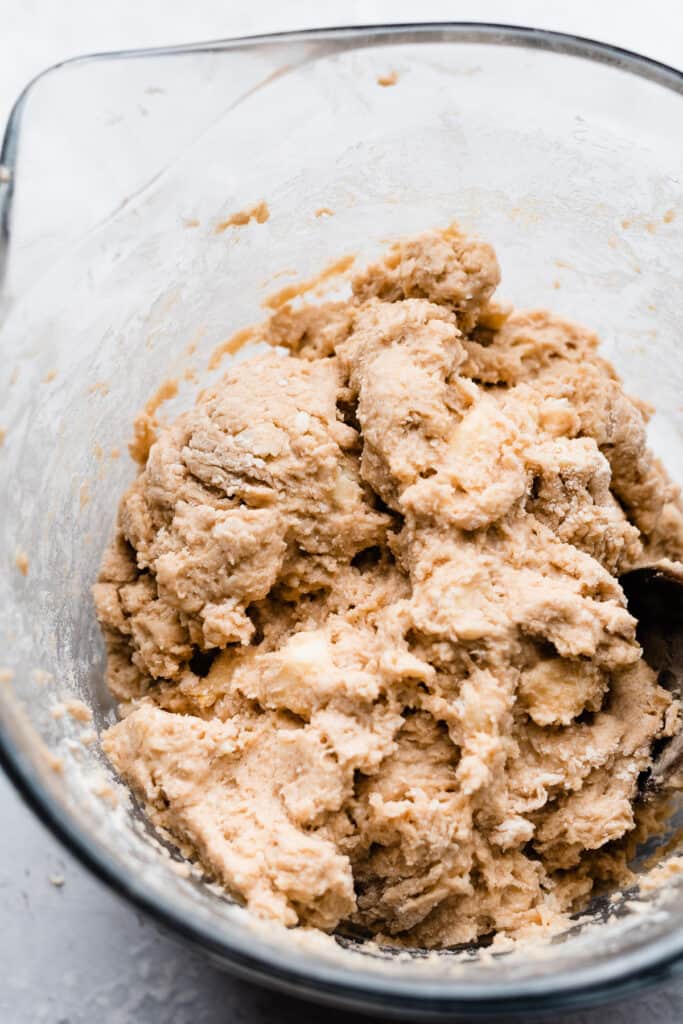
Step 1: Make the Dough. Stir together the flour, sugar, baking powder, baking soda, salt, and cinnamon in a large bowl. Cut in the cold butter. Stir in the egg, milk, maple syrup, and vanilla extract.
You’ll have a slightly wet, shaggy dough. Allow it to chill 30 minutes.
Step 2: Roll Out and Fold the Dough. Pat the dough into a thick rectangle on a clean work surace, then fold it in thirds like you’re folding a letter. Then, rotate the dough 90 degrees and roll the dough back out.
Repeat this process 3 more times. (These steps are pictured below, from left to right, top to bottom).
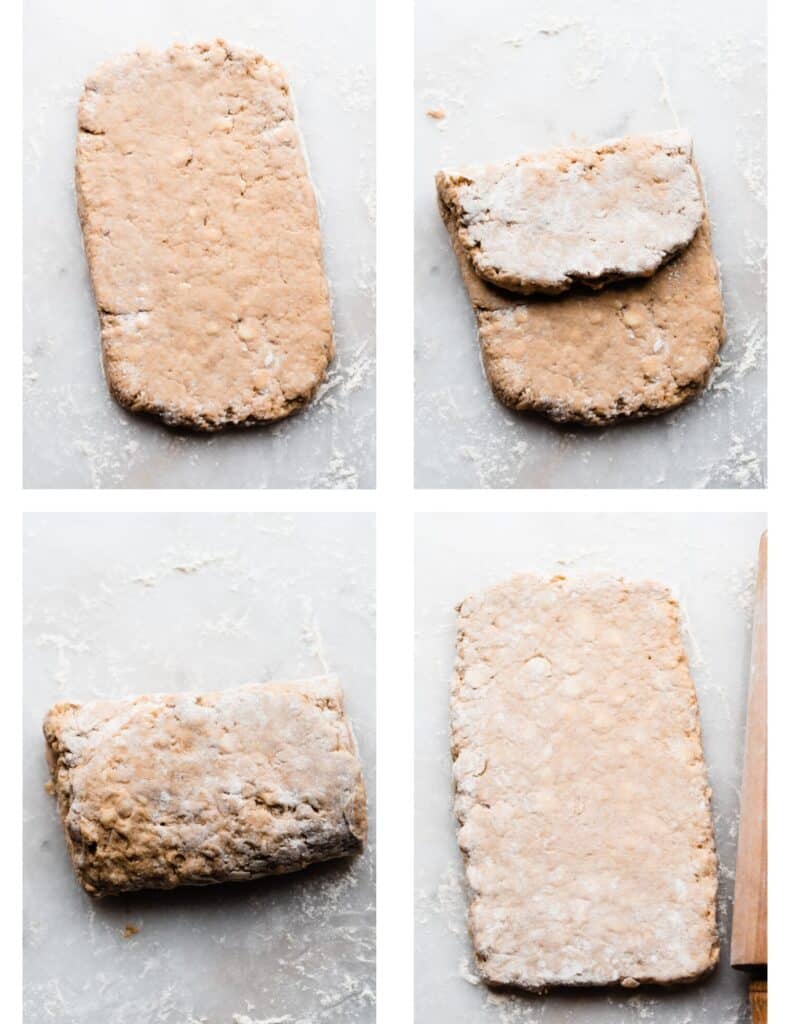
Step 3: Cut your Biscuits. Pictured below left is what the dough will look like after all the folds and roll-outs are complete. Roll the dough to a rectangle that’s 3/4″ on the final go, and use a biscuit cutter or similar size cookie cutter to cut your biscuits.

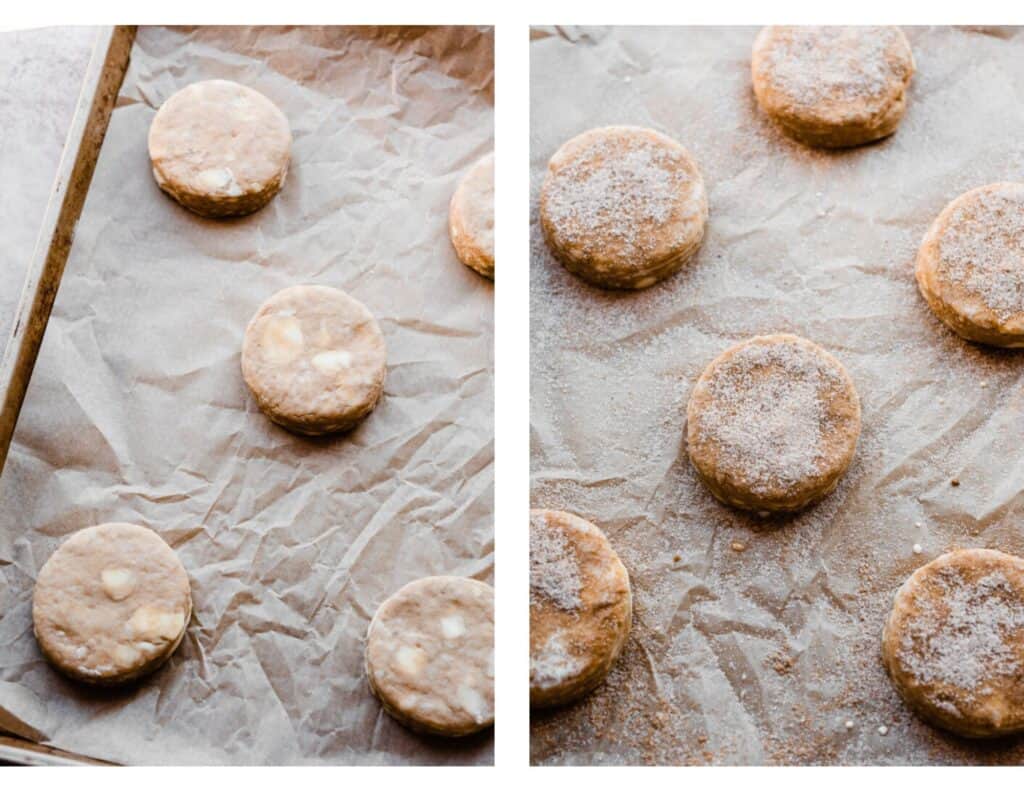
Step 4: Bake the Biscuits. Place biscuits on a lined baking sheet and brush with heavy cream and top with cinnamon sugar. Bake as directed in the recipe, until the biscuits are golden brown and crisp on top.
(Note – i made a mistake with my dough thickness on this batch, so they didn’t come out quite as tall as normal. the photo at the beginning of the post is accurate to how tall they will be.)
Step 5: Maple Glaze. Whisk together melted butter, maple syrup, powdered sugar, vanilla, and a pinch of cinnamon to make the maple glaze. Drizzle over the warm biscuits, and dig in!
Serving + Storing:
Serve these biscuits warm from the oven, with the maple glaze. I recommend enjoying these on the first day – the tops will lose their crispness on the second day, but re-warming them in the oven will help.
Love maple syrup? Try my Maple Bacon Cupcakes or my Brûléed Maple Pie!
Expert Success Tips:
- Dough Folds – This is the only slightly complicated part of this recipe. To keep things simple, I recommend using scrap paper to write down “1, 2, 3, 4” to signify each of the folds. Cross each number off as you go so you don’t lose track.
- Tall Biscuits – Do not twist your biscuit cutter when cutting out the biscuits, as this can seal off the edges and prevent as much of a rise. Avoid over-handling the edges of the biscuits, too.
- Real Maple Syrup – As a Wisconsin gal, I take my maple syrup seriously. So, when I say to use the real stuff, I mean it! 🙂 I do not recommend using artificial maple syrup (it’s really corn syrup with artificial flavors) in this recipe. Check your labels if you’re unsure – the real thing will have one ingredient listed – pure maple syrup.
- Oven Thermometer – An oven thermometer will tell you if your oven is actually running at the temperature you set it to. Your oven may not be accurate. Accurate oven temperature is crucial for most bakes, so I leave an oven thermometer in at all times to keep an eye on my oven’s calibration.
- Kitchen Scale – A food scale is the best way to make sure your flour is at the proper weight, since amounts will vary SO widely based on how you measure it, as well as the measuring cup you use, as they are not standardized.
FAQs:
Yes! Prepare the dough through the step where you cut out the biscuits. Then, place them in an airtight container in a single layer to chill in the fridge for up to 24 hours. Bake them straight from the fridge, as directed in the recipe card below, the next day.
You may have missed a step in the folding process, or they weren’t thoroughly chilled before going into the oven. Even if you lose a bit of rise, they’ll still taste amazing!
Special Tools:
- Pastry Cutter – A pastry cutter makes cutting butter into dry ingredients super easy for biscuits, pie crust, scones, and more.
- Biscuit Cutter – Use a biscuit cutter like this, or a similar size round cookie cutter.
More Fall Baking Recipes to Love:
- Apple Cider Donuts
- Pumpkin Streusel Muffins
- Salted Caramel Apple Galette
- Maple Bacon Cupcakes
- Banana Cake with Maple Cream Cheese Frosting
- Pumpkin Cupcakes with Brown Butter Frosting
Did you make this recipe? Leave a comment & star rating!
Click the little stars in the header of the recipe card below to leave a comment & star rating, letting me know how you liked the recipe. I take all feedback seriously, & leaving a rating helps my small business immensely!

Maple Biscuits with Buttery Maple Glaze
Ingredients
For the Biscuits:
- 2 and 3/4 cups all-purpose flour, 357 grams
- 3 tbsp granulated sugar , 40 grams
- 1 tbsp + 1 tsp baking powder
- 1/2 tsp baking soda
- 1 and 1/2 tsp salt
- 1 tbsp cinnamon
- 3/4 cup salted butter, cold, 1 and 1/2 sticks or 170 g
- 1 large egg
- 2/3 cup milk, 160 grams
- 1/4 cup real maple syrup, 60 grams
- 1 and 1/2 tsp vanilla extract
For Topping the Biscuits:
- 1 tsp cinnamon
- 2 tbsp granulated sugar , 26 grams
- heavy cream
For the Buttery Maple Glaze
- 4 tbsp salted butter, melted, 57 grams
- 2 tbsp real maple syrup, 30 grams
- 1 cup powdered sugar , 115 grams
- 2 tsp vanilla extract
- pinch of salt
- pinch of cinnamon
Instructions
- Make the Dough: Whisk the dry ingredients together in a large mixing bowl. Cut the cold butter into large cubes and add to the dry ingredients. Cut the butter in with a pastry cutter until you have chunks about the size of walnut halves. Beat an egg in the same measuring glass as you’ll use for the milk, and pour it into the bowl with the dry ingredients and butter. Then add the milk, 1/4 cup maple syrup, and vanilla. Stir everything together, making sure to get any dry bits hiding at the bottom of the bowl. Cover and chill this shaggy dough in the fridge for 30 minutes.Dump out the chilled dough onto a lightly floured surface. It will be fairly moist – sprinkle it lightly with flour. Before you begin the process outlined below, I recommend writing #1, #2, #3, and #4 on scrap paper so you can keep track of the dough folds. Cross each number off as you pass it. With floured hands, gently pat the dough into a rectangle about ¾ inch (19 mm) thick and about 2 times longer than it is wide, pushing any stray pieces into place as best you can. It does not need to be perfect. With the long side positioned vertically, fold each side in thirds like a letter (see photos in blog post above). Flip the dough over, flour your rolling pin & counter, and gently roll this back into a rectangle about 1/2 inch (13 mm) thick, and about two times longer than it is wide. Flour underneath and on the dough again as needed – it will likely try to stick to your counter a bit between each turn. Repeat this process 3 more times, for a total of four times, but, on 4th time, roll it back to ¾ inch (19 mm). Chill the dough on a cookie sheet, covered, for 30 minutes.2 and 3/4 cups all-purpose flour, 3 tbsp granulated sugar , 1 tbsp + 1 tsp baking powder, 1/2 tsp baking soda, 1 and 1/2 tsp salt, 1 tbsp cinnamon, 3/4 cup salted butter, cold, 1 large egg, 2/3 cup milk, 1/4 cup real maple syrup, 1 and 1/2 tsp vanilla extract
- Prep: Preheat oven to 400° F (204° C). Line a baking sheet with parchment paper or a silicone baking mat. Stir together the cinnamon sugar for topping in a used measuring cup.
- Cut out the Biscuits + Bake: Cut out biscuits using a 3-inch (8 cm) biscuit cutter, flouring it between each use to prevent sticking. Do NOT twist the cutter. This can seal off the edges, preventing the biscuits from rising. Once you get 5-6 biscuits from the initial piece of dough, gently smush the scraps back together and cut out 1-2 more (you may have to push the scraps together two times to cut out 2 more). Place biscuits on your prepared baking sheet, brush the tops with a light layer of heavy cream, and sprinkle with the cinnamon sugar. It may seem like a lot of cinnamon sugar, but use it all. Bake for 14-17 minutes. If any of your biscuits are larger (my scrap piece biscuits sometimes were), they might need an extra 1-3 minutes. You will be able to see patches of wet dough on the top if they aren’t done. You can also gently lift the biscuit open from the side with a knife to check the doneness – you shouldn’t see any wet dough spots.1 tsp cinnamon, 2 tbsp granulated sugar , heavy cream
- Make the Glaze: While the biscuits bake, make the glaze. Melt the butter in a small bowl, then whisk in the 2 tablespoons maple syrup, powdered sugar, vanilla extract, salt, and cinnamon.4 tbsp salted butter, melted, 2 tbsp real maple syrup, 1 cup powdered sugar , 2 tsp vanilla extract , pinch of salt, pinch of cinnamon
- Serve + Store: Let biscuits cool a few minutes before topping with the glaze. You MUST enjoy these while they’re nice and warm! They’re absolutely the best on the first day and will only be crisp on the first day, but leftovers can be stored in an airtight container at room temp for an extra day or two. Reheat leftovers in the oven.
Notes
Nutrition
Nutrition information is automatically calculated, so should only be used as an approximation.
Delicious! This is the third recipe I have made from bluebowl and once again it’s amazingly delicious! You are a gift to us bakers! I followed the recipe as is. I have tried other maple biscuit recipes and they were not as savory. And the glaze sends it over the top-just when you thought they couldn’t get any better here comes the glaze. If you are thinking about making these stop thinking and make them!! You and your family will be glad you did. Thank you so much for sharing this recipe with us!
Thanks so much!!
Delicious!! This is the second recipe I have tried off of bluebowl and once again it is delicious. I don’t ever want a regular biscuit for breakfast ever again. You are a blessing to us bakers. Thank you sooooo much for sharing this recipe. I have tried other maple biscuit recipes and they were not savory. If you are thinking about trying this recipe do not look any further or try any other maple biscuit recipe..this is the one!
Thanks so much! I appreciate your kind words. 🙂
Delicious!! This is the second recipe I have tried off of bluebowl and once again it is delicious. I don’t ever want a regular biscuit for breakfast ever again. You are a blessing to us bakers. Thank you sooooo much for sharing this recipe. I have tried other maple biscuit recipes and they were savory. If you are thinking about trying this recipe do not look any further or try any other maple biscuit recipe..this is the one!
Thanks for the rave review, Mommy Baker! Your kind comment made my day. 🙂 I’d love to hear what other recipe you’ve tried of mine – please be sure to leave a star rating & comment on that one as well!
Hi! I actually forgot I wrote a review and wrote another one…that’s what those biscuits will do to you..lol. I have actually tried 3 of your recipes and they all were great and devoured very quickly! I tried the peach cupcakes with cinnamon cream cheese. I left a rating there-5 stars. I also made the peach cobbler cheese cake earlier this month, in which my family devoured so fast that I forgot I made it. I will rate that one. It’s a definite 5 star. I cannot wait to make more from your site. Your grandma and mother taught you well! By the way I am a Wisconsin gal also.
As thanks so much for trying those recipes and for your feedback! 🙂 Always nice to connect with another Wisconsin gal. Happy baking!
Okay, if you haven’t made these yet then why are you waiting! They are customizable to taste depending on how much glaze you want to use, but this recipe was just simply amazing overall!
I didn’t have any heavy cream so I just mixed some butter and milk together which seemed to work fine as a substitute 🙂
Thanks for your review, Chris! Glad you enjoyed these.