This post contains affiliate links. Please see our disclosure policy.
Swiss Meringue (or homemade marshmallow fluff!) is the perfect topping for so many desserts! It’s made with simple ingredients – egg whites, granulated sugar, cream of tartar, salt, and vanilla. Although this is a simple recipe, it’s important to read through the recipe thoroughly before starting, so you are set up for success! I’ve tinkered with this technique for years, and have learned exactly what to do and not do for perfectly stable meringue.

Why you’ll love this Swiss Meringue Recipe:
- Super Sturdy – The swiss method of making meringue yields a super sturdy meringue that’s perfect for filling layer cakes, piping onto desserts, and topping cheesecakes or pies with!
- Simple to Make – There is a lot of information in this post and in the recipe card, but this truly is a simple recipe. I’ve given you the most possible information to ensure you can succeed on your first try. I experimented and learned about meringue over the course of a few years, and I’m sharing all my knowledge (so you can skip all the recipe flops!) in this comprehensive post.
- No Raw Eggs – The eggs are cooked with the sugar until they reach 175 degrees F, and eggs are safe to eat at 160 degrees F, so no need to worry about raw egg whites!
Ingredient Overview:
As always, the full recipe with measurements & directions can be found in the recipe card at the bottom of this post. Use the table of contents (back at the top, below the first image, to navigate).
- Granulated sugar – Granulated sugar provides sweetness and stabilization.
- Eggs – Use large eggs. Separate them while cold (it’s easier when cold!), and then let the egg whites come to room temperature in a bowl on your counter.
- Cream of Tartar – This helps provide stability while also giving a bit of tartness to balance the sweet flavor. Don’t skip it!
- Salt – A pinch of salt also balances the sweetness.
- Vanilla – You can use vanilla extract or vanilla bean paste. I prefer vanilla bean paste here, because I like to see the little flecks of vanilla in the white meringue. Do use pure vanilla extract for the best flavor, as there’s not much else providing flavor here.
Recipe Variations:
- Gluten-free – This recipe is naturally gluten-free!
- Dairy-free – This recipe is naturally dairy-free!
- Other Substitutes – I don’t recommend making any substitutions to this recipe as these are the precise ingredients and amounts needed for the meringue to properly stabilize.
- Flavor Variations – Erin McDowell’s Cookbook “The Book on Pie” has directions for making delicious flavor variations. I highly recommend it!
How to Make this Swiss Meringue Recipe:
Step 1: Prepare. Before beginning, read the recipe thoroughly. You’ll need to wash your bowl, whisk, and beaters or whisk attachment with hot water and vinegar to ensure no fat residue from previous bakes remains.
Little flecks of butter or egg from previous uses can cling to the utensils and a bit of fat is enough to destabilize meringue. You also need a metal bowl that can sit in a saucepan above a few inches of simmering water without touching it.
Step 2: Begin the Meringue. In your selected, clean, bowl, combine egg whites, granulated sugar, cream of tartar, and salt.
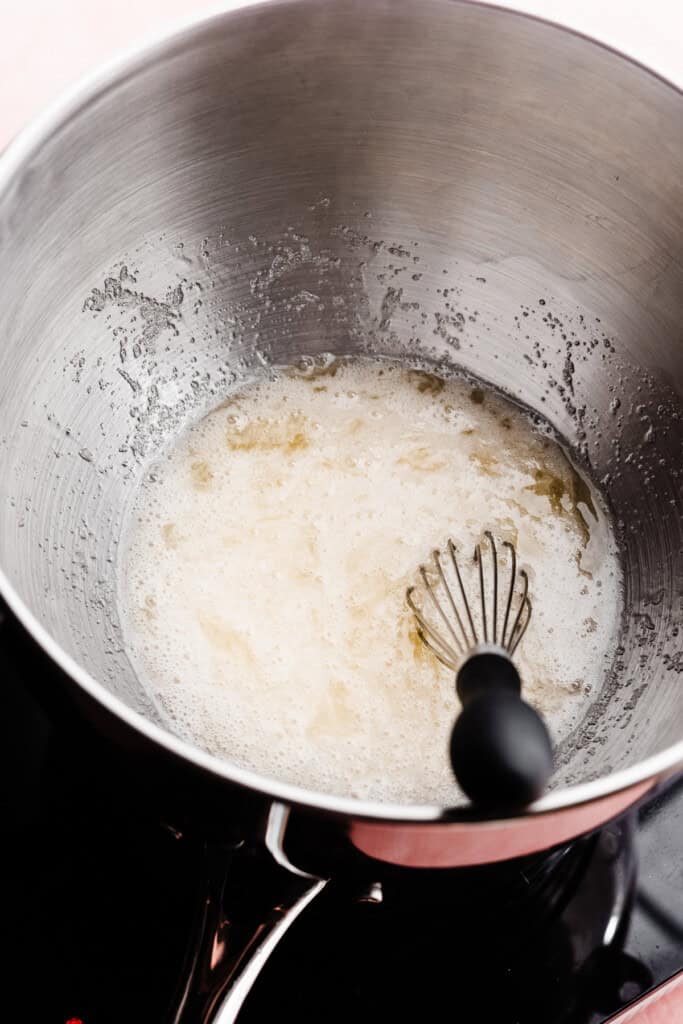
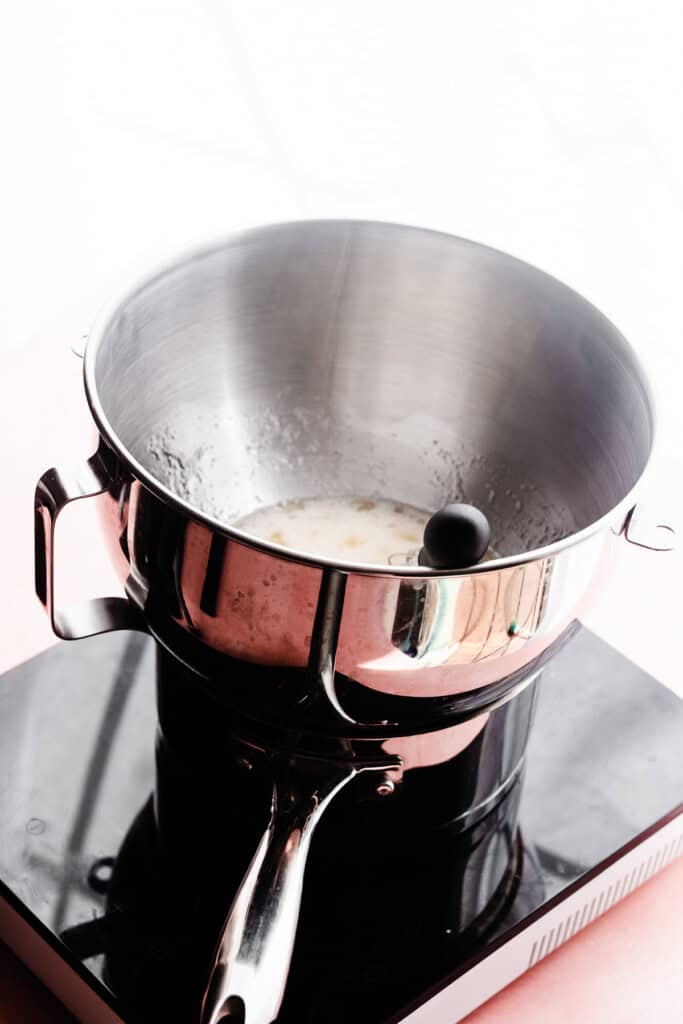
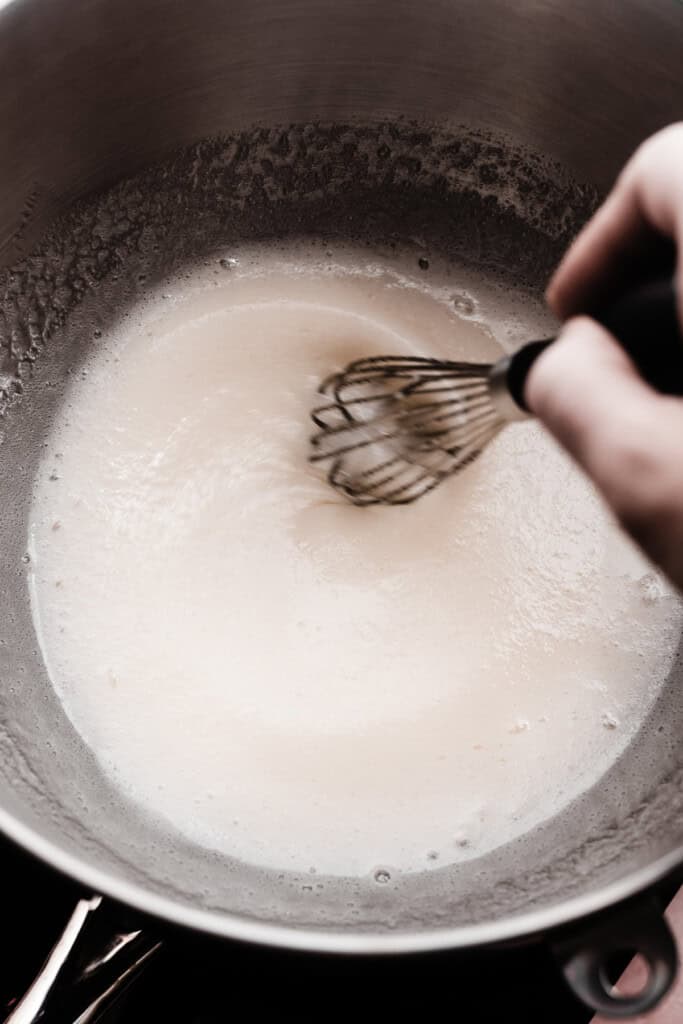
Step 3: Cook the Meringue. Place the bowl over your saucepan with 1-2 inches of simmering water (on low heat), and cook, whisking constantly, for about 8 minutes or until the mixture registers 175 degrees F.
The mixture will look milky. This stage is important as it dissolves the sugar granules so you don’t have a grainy meringue, but it also helps stabilize the eggs while the sugar dissolves, ensuring the mixture will whip up properly.
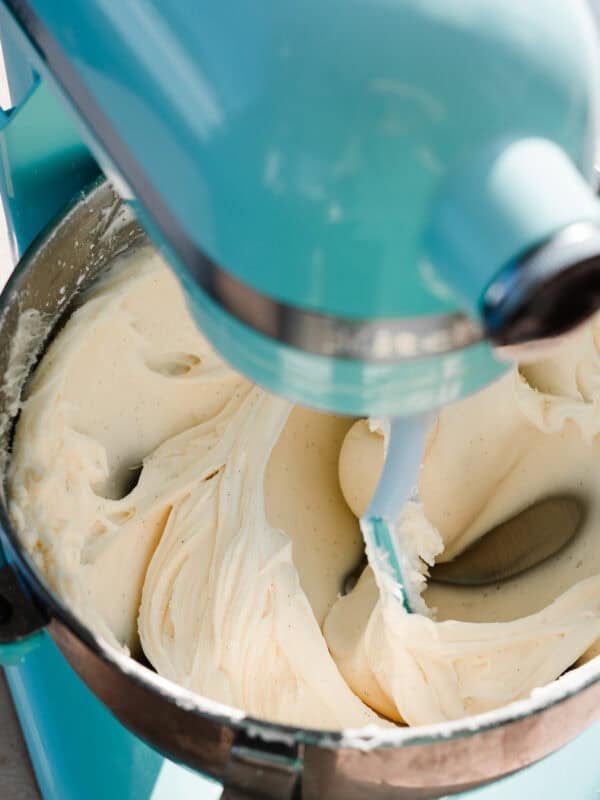
Step 4: Whip. If using the bowl of your stand mixer, pop it into the mixer, or simply get out your hand mixer.
Add the vanilla, and beat the mixture on high speed for 2-3 minutes (for a smaller batch) or for 4-5 minutes (for the larger batch pictured here).
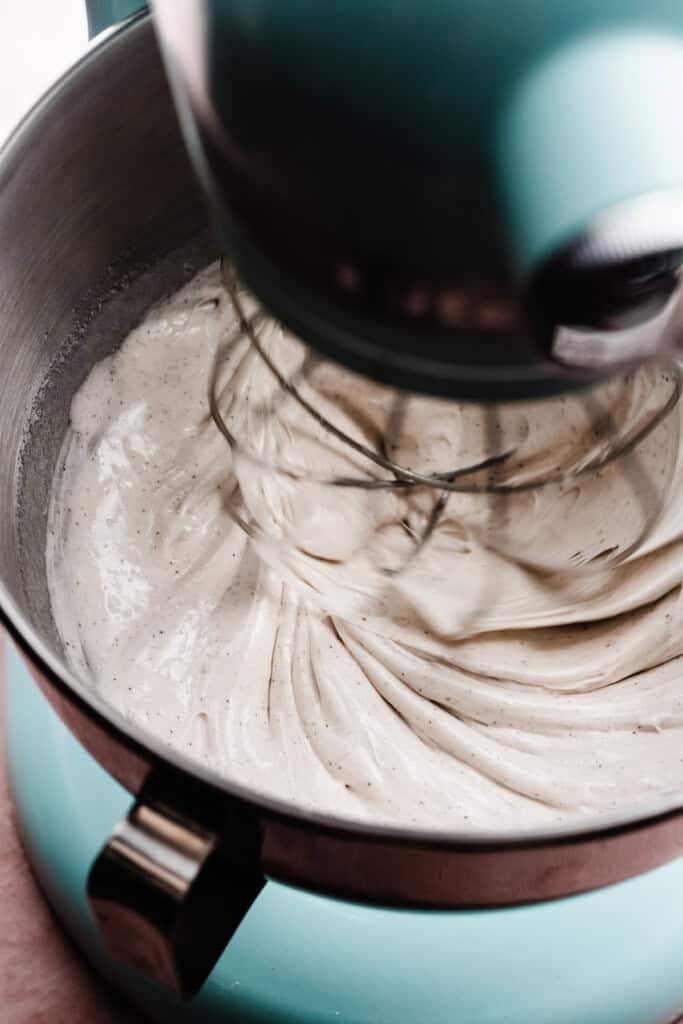
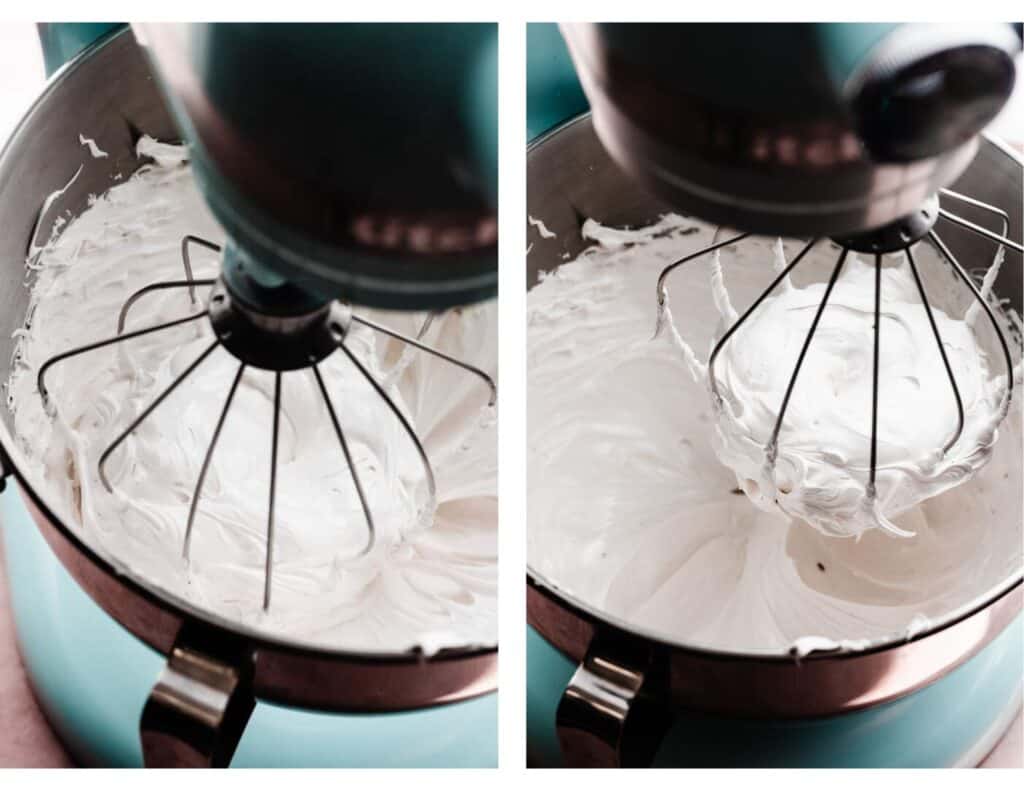
Step 5: Finish Mixing. As you mix, the mixture will grow up the sides of the bowl, and will look super silky smooth, but then will start clumping up inside of the whisk attachment. This is a good sign that it’s ready.
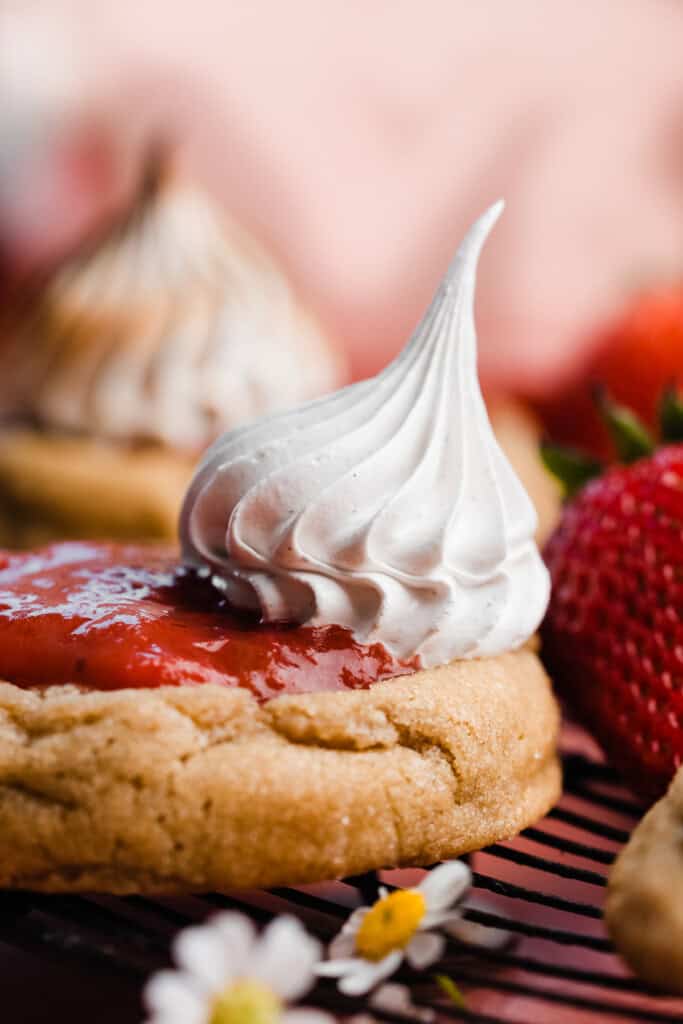
You can check this by gently removing the whisk attachment and holding it upright – the points of the meringue should hold upright, or have just the *slightest* bit of wobble or flop. (See very first photo at the top of this page!)
Serving + Storing:
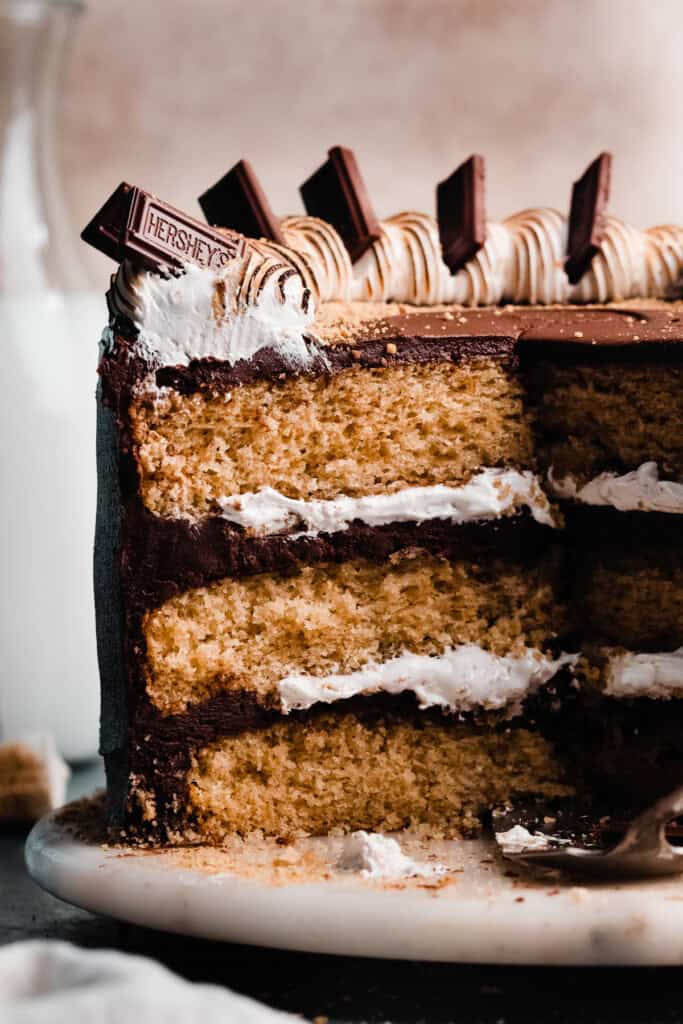
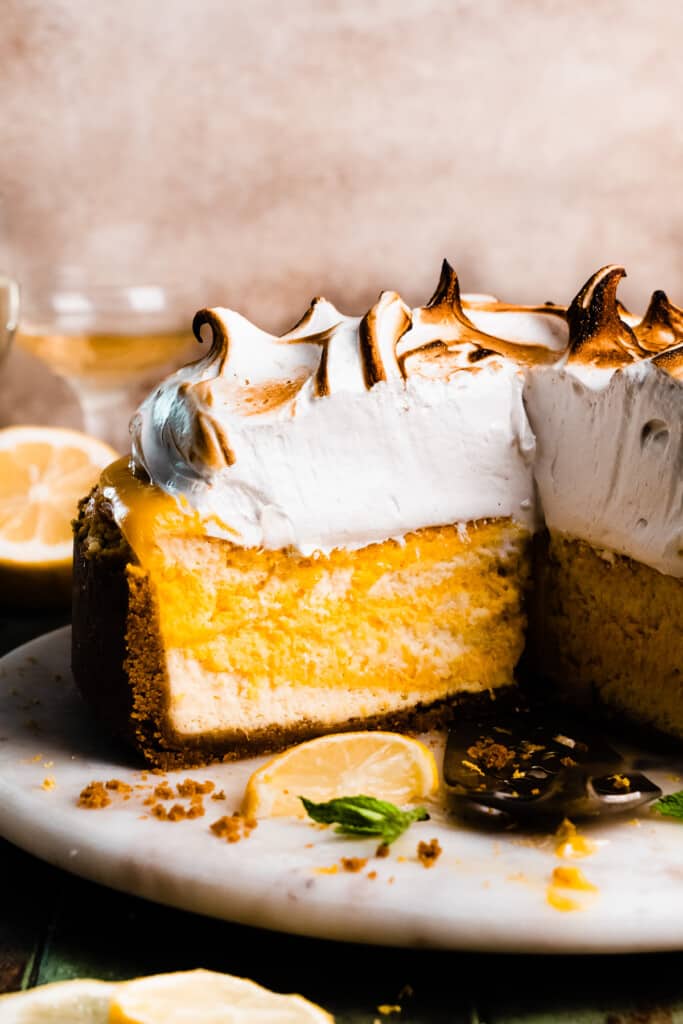
Once your meringue is made, you’ll want to use it immediately. It’s not something that can be made ahead. Spread it on top of Lemon Meringue Cheesecake or pie, or pipe it onto cookies or my S’mores Cake.
Torch it with a kitchen torch, then serve the dessert immediately! Note: If you’ve properly stabilized your meringue, like in all my photos here, it should hold up once you’ve topped a dessert with it.
So, if it appears as stable as mine does, you can place the meringue topped dessert in the fridge for about 4-6 hours before serving, and it will hold up.
Expert Recipe Tips:
- Read the Recipe Before Beginning – Please, set yourself up for the best possible success by reading the recipe entirely before beginning! This ensures that you are prepared, have all your utensils cleaned and your ingredients ready to go.
- Clean Your Utensils – Be sure to give your utensils that extra rinse with hot water and white vinegar. Dry them well with a clean towel (or let them air dry). This ensures there’s no fat residue (butter, egg yolk, etc.) left behind from previous uses, even if the dishes have already gone through your dishwasher.
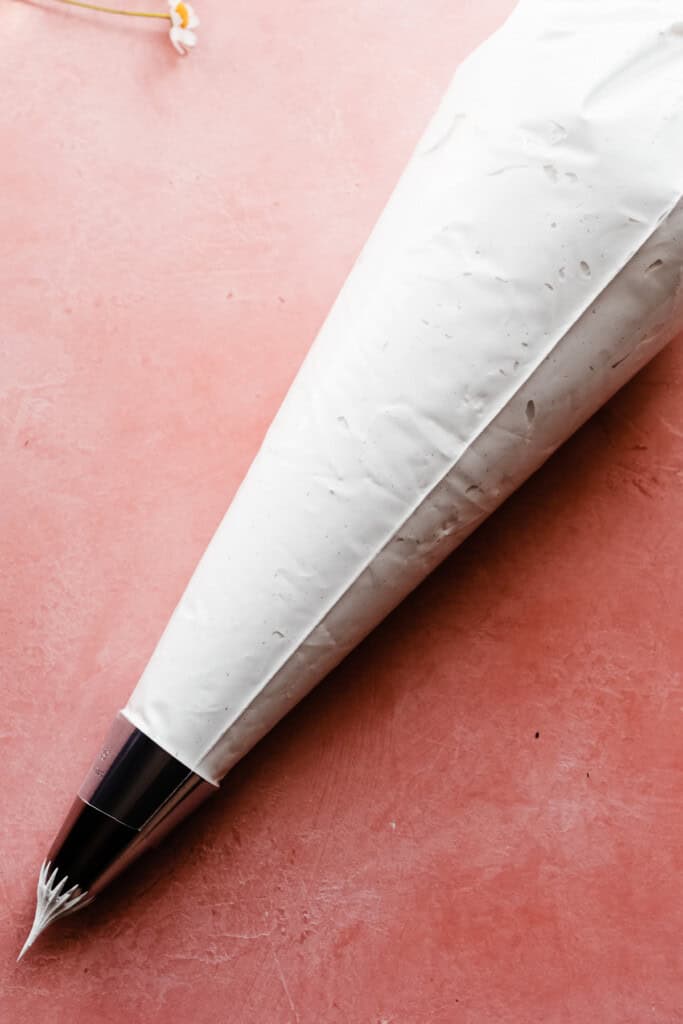
Piping Swiss Meringue:
To pipe swiss meringue, simply fit a piping bag with your preferred tip and pipe the meringue onto your cupcakes, cheesecakes, pie, or cookies. I used a Wilton 6B here (you can see what that looks like in the S’mores Cake photo above and on the cookie photo towards the top of this post).
FAQs:
You can scale this recipe down, but I don’t recommend doubling it as I haven’t tried it myself. You can make any scaled down version of this recipe (a half batch, a quarter batch, etc.) easily. However, I haven’t tried making a larger batch than this recipe is written for and I’m not sure if it would still stabilize properly.
No! This needs to be made just before you intend to use it. It can’t just sit around in the mixing bowl, as it will begin to destabilize and get weepy. Once it’s immediately added onto your dessert, however, it will hold up.
Nope! Simply use a metal bowl that can sit over a pot with a few inches of water, without touching the water.
Yes! Simply add a few drops of gel food coloring with the vanilla. I recommend gel because it’s highly concentrated and you won’t end up adding a ton of extra liquid to get a rich color.
I don’t recommend carton egg whites – they’re not as fresh and may not stabilize properly.
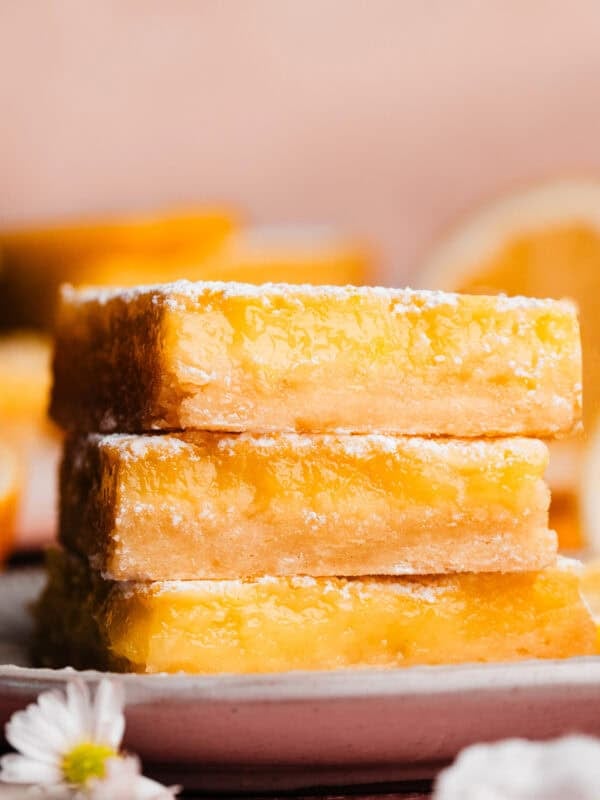
You can freeze them or use them in any recipe that calls for egg yolks (like lemon bars!). Freeze them in an ice tray so you have individual portions, then transfer to a freezer safe bag and freeze for up to 1 month. Thaw in the fridge before using.
There are 3: French Meringue, Italian Meringue, and Swiss. French Meringue is made by slowly adding sugar to egg whites as they are whipped – no cooking or heat is involved. Italian Meringue is made by slowly pouring hot sugar syrup into your egg whites while you whip with a mixer.
Special Tools:
- Metal Bowl – You’ll need a metal bowl that can sit inside of a small or medium saucepan without touching the 1-2 inches of simmering water.
- Whisk – You’ll need a whisk to make this recipe.
- Instant-Read Thermometer – An instant read thermometer is essential for knowing when your egg mixture has cooked to the correct temperature. (It’s also easier to read than a candy thermometer – you don’t need both kinds!)
- Kitchen Torch – You know those cute little hand held kitchen torches? They crap out after a couple uses – don’t waste your money on those cheap things. Buy this Bernzomatic Trigger Start Torch and a few Propane Tanks to go with it – it’s a much higher-quality torch and has lasted me for years! It’s perfect for torching your meringue.
Recipes to Use Swiss Meringue in:
Note that Swiss Meringue is not the same as Swiss Meringue Buttercream – check out this Swiss Meringue Buttercream Recipe if you’d like to make that!
Did you make this recipe? Leave a comment & star rating!
Click the little stars in the header of the recipe card below to leave a comment & star rating, letting me know how you liked the recipe. I take all feedback seriously, & leaving a rating helps my small business immensely!

Swiss Meringue
Ingredients
- 4 large egg whites, at room temperature*, It's easier to separate them while cold, then let them come to room temperature in a bowl.
- 1 cup granulated sugar , 210 grams
- 1/2 tsp cream of tartar
- 1/8 tsp salt
- 2 tsp vanilla bean paste
Instructions
- Prep: Make sure you read the note below the directions on cleaning your utensils with vinegar before beginning. Get out everything you need before starting, including your cheesecake. Place your cheesecake on a serving plate, and spread a thin layer of lemon curd on top. I have had better success making meringue in a stand mixer, but if you're confident with your hand mixer, you can use it as well. Try to avoid making this on a humid day as that can wreak havoc on the meringue's stability.
- Make the Meringue: Add an inch or so of water to a small/medium saucepan. Make sure your bowl doesn't sit in the water. Test it by setting the bowl on the pot, over the water, lifting off and seeing if the bottom is wet. If you have a stand mixer, you can use it's metal bowl. In your selected bowl, whisk together room temperature egg whites, granulated sugar, cream of tartar, and salt. Set the bowl over the pot of water. Turn the heat to low, then cook, whisking constantly until an instant thermometer holds steady at 175℉. (Mine was registering between 175℉ and 180℉ depending on where I stuck the thermometer without hitting the bottom of the bowl. Keep going until you don't see any reading below 175 ℉.) This will take about 8 minutes, but go by temp, not by time. Remove from the heat immediately, and add the vanilla.Electric Mixer: Beat with a hand mixer on high speed for 4-5 minutes. We're looking for a thick mixture with stiff peaks.Stand Mixer: Mix with the whisk attachment on high speed (I like to keep it between 8-9, not at 10) for 4-5 minutes. The mixture will grow up the sides of the bowl, and is ready when it seems to have stopped growing, and is balling up inside the whisk attachment (it will almost look a tad clumpy, as opposed to smooth & silky). When you lift the whisk attachment out and flip it so the bottom is pointing up, the meringue should stand stiffly up, with only the slightest bit of the tip top strand of meringue flipping over.4 large egg whites, at room temperature*, 1 cup granulated sugar , 1/2 tsp cream of tartar, 1/8 tsp salt, 2 tsp vanilla bean paste
- Serve & Store: Immediately pipe the meringue onto your desired dessert (or simply pile it into the center, for a cheesecake or pie, and gently swirl it with the back of a spoon!). Use a kitchen torch to toast it, and serve. If done properly, the meringue will hold it's shape perfectly when added to a dessert, and sliced into. The meringue should also hold up on your leftover dessert, stored in the fridge for about 2-3 days.
Notes
Nutrition
Nutrition information is automatically calculated, so should only be used as an approximation.

This will be the 3rd cheesecake I’m making (s’mores) from your recipes. The peach cobbler and pecan pie cheesecakes have been huge successes! First time trying this meringue. Hope it works out! Thanks!
Thanks so much for trusting my recipes, Misty! Please be sure to leave reviews on those cheesecake recipes as well – it’s super helpful to show other readers that the recipes are solid! 🙂 And Let me know how you liked this meringue!
Hi Stephanie,
Your Swiss meringue recipe looks delightful. I am making a lemon meringue pie for Father’s Day. Can I put the pie under the broiler to slightly brown the meringue?
Thanks for your help,
Sharon
Hi Sharon! I think that would be fine. Please let me know how you like the recipe!