This post contains affiliate links. Please see our disclosure policy.
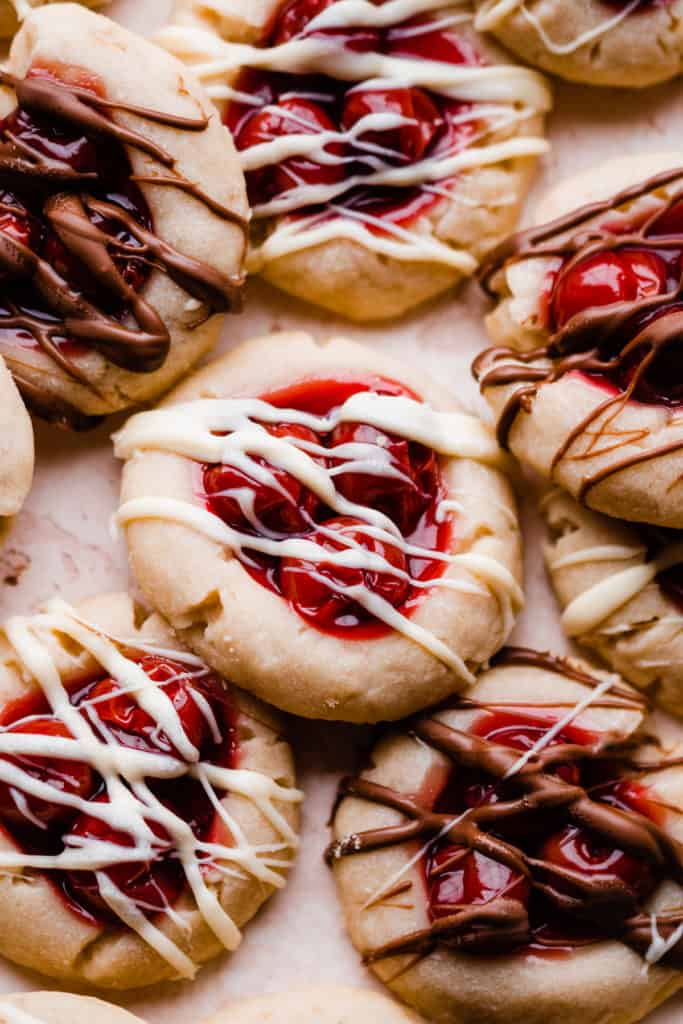
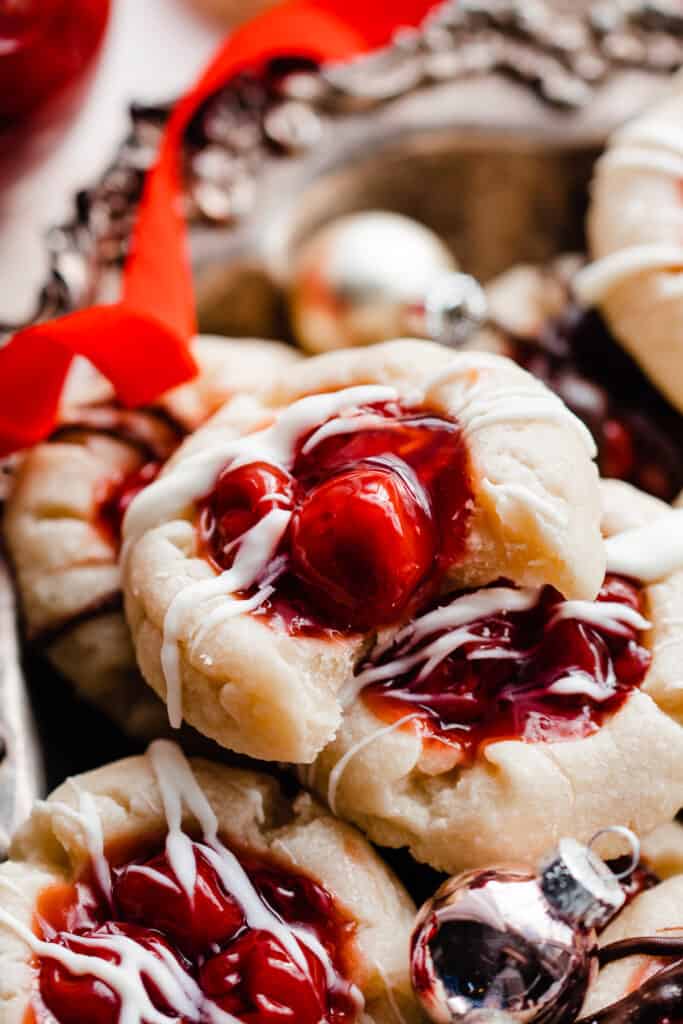
Cherry Cookies are made with a simple 5-ingredient dough and require no chill time! The cookie base is buttery and soft, and its complemented perfectly by the sweet cherry pie filling. Drizzle a little chocolate on top, and wonder where these incredible cookies have been all your life!

“These are amazing and so easy to make if you’re an amateur baker like I am!! My family constantly bugs me to bring these now, they’re THAT good 😋” – Lexy
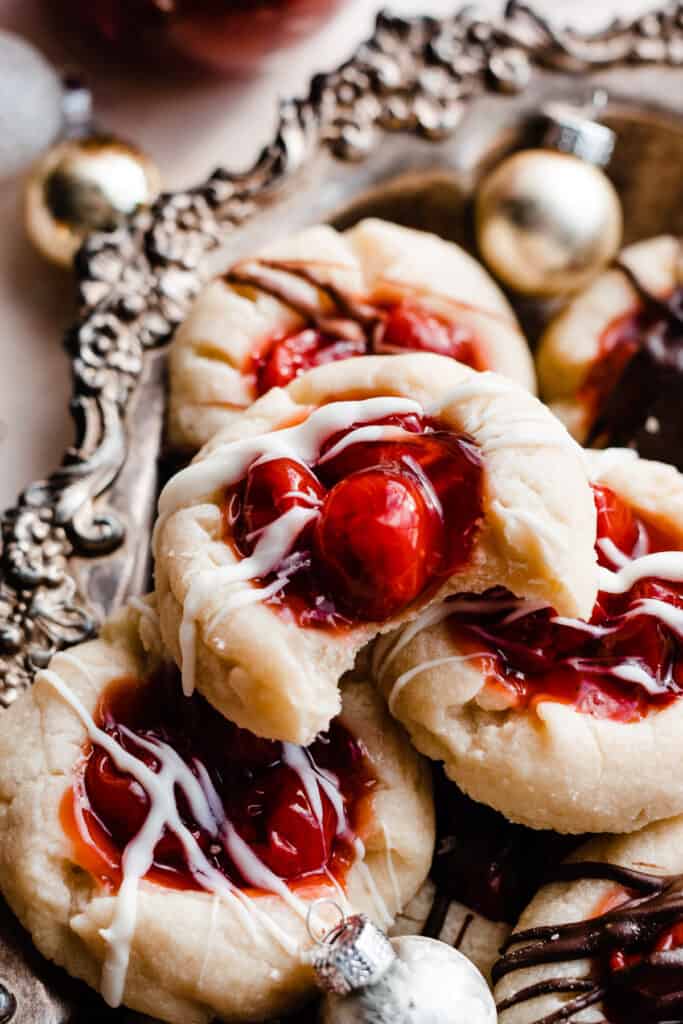
I hope you love this easy recipe as much as we do! They’re the perfect cookie – we’ve got bright color, a burst of cherry flavor, and of course – chocolate. This recipe makes a perfect addition to any holiday cookie trays you might be dropping off for friends + family this year. These also make a fabulous Valentine’s day cookie!
Why you’ll love these Cherry Cookies:
- Cherry Filling – These cherry pie cookies are full of sweet cherry filling.
- Buttery Shortbread Cookies – The slightly sweet shortbread cookie base has a buttery soft texture.
- No Chill – These cookies require no chill time, but can also be made ahead! See details below.
Ingredient Overview:
As always, the full recipe with measurements & directions can be found in the recipe card at the bottom of this post. Use the table of contents (back at the top, below the first image, to navigate).
- Butter – I always use salted butter for the best flavor, but feel free to use unsalted butter if you prefer.
- Flour – Spoon & level your flour for best results. Scooping the measuring cup directly in will lead to too much flour. Or use a scale, and weigh 130 grams of all-purpose flour per cup.
- Cherry Pie Filling – This can be found in the baking aisle at most grocery stores.
- Almond Extract – A teaspoon almond extract in the dough compliments the cherry flavor beautifully!
Recipe Substitutions & Variations:
- Dairy-free – Use dairy-free butter and chocolate to make this recipe dairy-free.
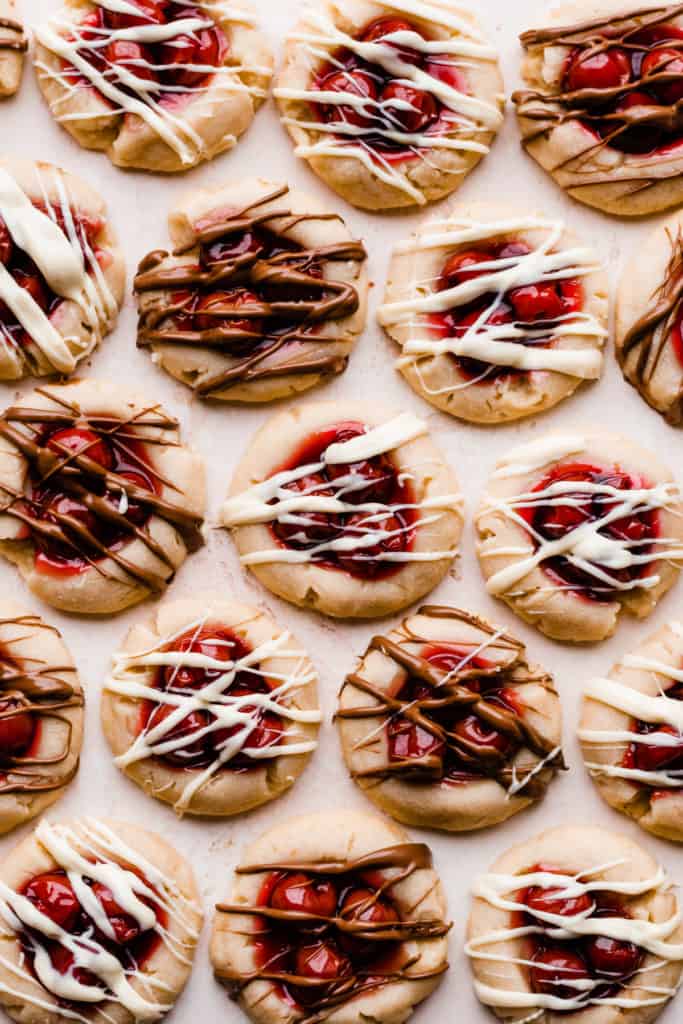
- Chocolate – Use milk chocolate, white chocolate, semi-sweet or dark chocolate. Any of these works beautifully! Melting wafers or chopped baking bars are preferable to white chocolate chips.
- Almond Extract – You can leave this out if desired.
- Other Flavors – This recipe works with other pie fillings like blueberry, strawberry, etc.
How to Make Cherry Cookies:
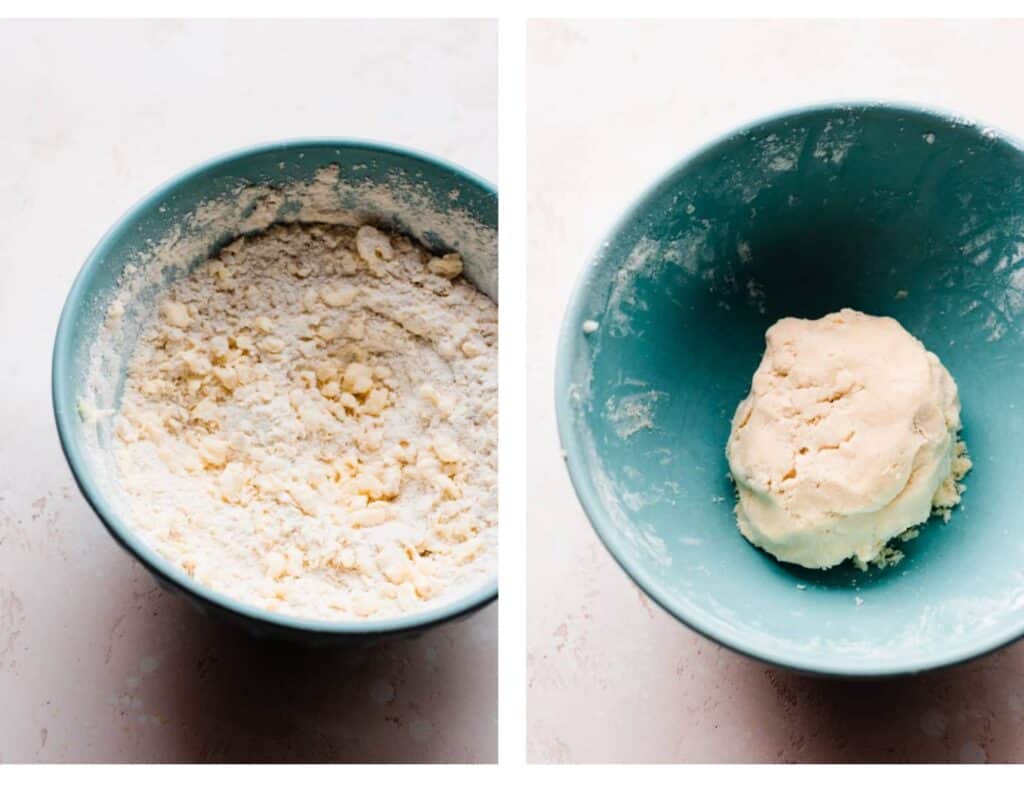
Step 1: Make the Dough. In a large bowl, cream softened butter with vanilla and almond extracts. Add flour and powdered sugar, and mix until a crumbly mixture forms.
At this point (see photo below), you’ll need to go in with clean hands and work the crumbly mixture into a dough. It will come together!
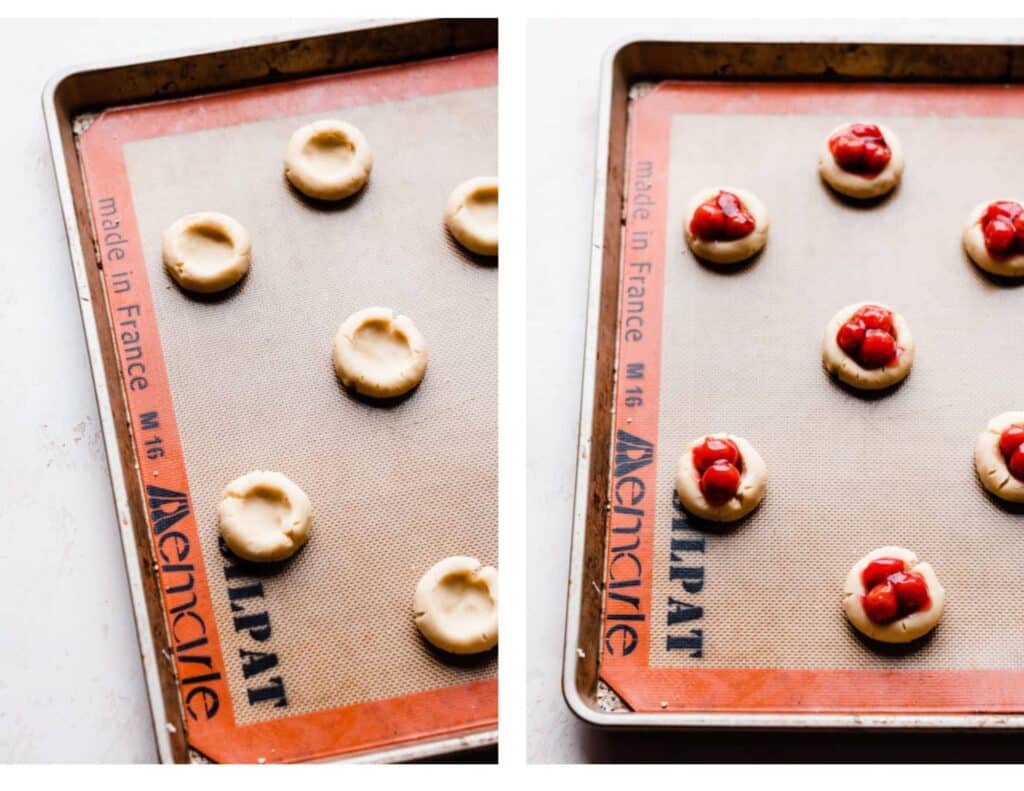
Step 2: Shape & Fill the Cookies. Divide the dough into balls about Press an indent into each cookie ball with your fingertip or a 1 tsp measuring spoon, and then fill the indents with cherry pie filling!
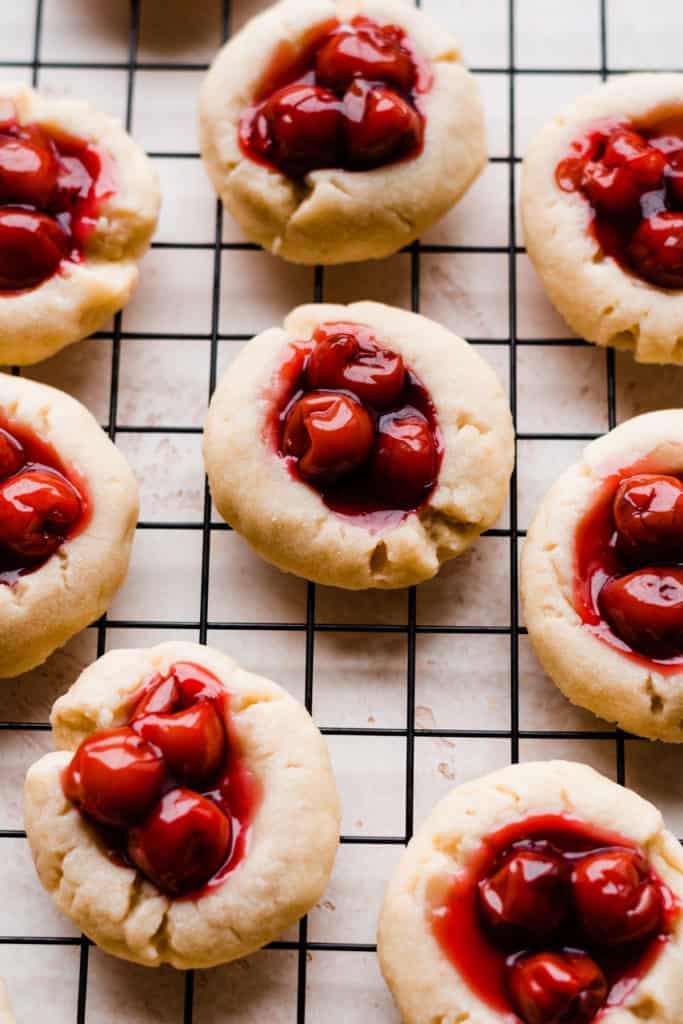
Step 3: Bake the Cookies. Bake as directed in the recipe card below. Let the cookies cool for a few minutes on a baking sheet (they’ll be a bit soft and delicate at first), then transfer to a wire rack.
Step 4: Drizzle with Chocolate. Drizzle the cooled cookies with any flavor of chocolate you like to make these delicious chocolate cherry cookies.
Serving + Storing:
Store these chocolate covered cherry cookies in an in an airtight container in the fridge for up 5-6 days. They hold up a bit better in the fridge than at room temperature.
Can’t get enough of cherries? Make my Black Forest Cookies next!
Expert Success Tips:
- Chocolate – Place a cookie sheet under the cookies to catch any chocolate drips. You can re-use whatever falls onto the (clean) baking sheet. Pop the cookies in the fridge to help the chocolate set up quickly.
- Cherries – I find that 3-4 cherries is about all you can fit into these, since they are a smaller cookie. Often, a bit more space in the center will open up once the cookies have baked, so you can squeeze in an extra cherry here and there.
- Dough Balls –Reduce the amount of cracks in the baked cookies by making sure you roll the dough balls really well, to keep them as smooth as possible. And, embrace the imperfections! 🙂
- Oven Thermometer – An oven thermometer will tell you if your oven is actually running at the temperature you set it to. Your oven may not be accurate. Accurate oven temperature is crucial for most bakes, so I leave an oven thermometer in at all times to keep an eye on my oven’s calibration.
- Kitchen Scale – A food scale is the best way to make sure your flour is at the proper weight, since amounts will vary SO widely based on how you measure it, as well as the measuring cup you use, as they are not standardized.
FAQs:
Yes! The cookie dough can be made and kept in the fridge wrapped or in an airtight container for 2-3 days before shaping and baking. Same with the shaped cookies, without the cherry filling. You can also freeze the shaped cookies without the cherry filling in an airtight container for 2-3 months. Thaw in the fridge overnight or bake from frozen, adding the cherry filling at that time.
Yes, see note in the box directly above.
Yes, you absolutely can.
I don’t recommend using maraschino cherries, because the liquid coming off of them will be too runny for the dough. With the cherry pie filling, there’s no need to blot the maraschino cherry juice off chopped cherries with paper towels, or anything fussy like that. It’s just ready to use!
Yes – but not raw. You’ll need to cook them into a sauce or compote on the stove – try my Homemade Cherry Compote.
More of My Favorite Cookies:
- Bakery-Style Peanut Butter Chip Chocolate Cookies
- Key Lime Slice & Bake Cookies
- Blueberry Lemon Cookies
- Peanut Butter & Jelly Thumbprint Cookies
- Funfetti Cake Batter Cookies
- Triple Chocolate Chunk Cookies
- Monster Cookies

Did you make this recipe? Leave a comment & star rating!
Click the little stars in the header of the recipe card below to leave a comment & star rating, letting me know how you liked the recipe. I take all feedback seriously, & leaving a rating helps my small business immensely!
Cherry Pie Cookies
Ingredients
- 1 cup salted butter, softened , 2 sticks, or 16 tbsp, or 226 grams
- 1 tsp vanilla extract
- 1/4 tsp almond extract, optional
- 2 cups all-purpose flour, spooned & leveled or weighed out , 260 grams
- 3/4 cup powdered sugar, 86 grams
- pinch of salt
- 1 can cherry pie filling
- 4 ounces milk or white chocolate, for decorating, 113 grams
Instructions
- Prep: Make sure your butter has been softened at room temperature. Preheat your oven to 325° F. Line baking sheets with parchment paper or a silicone baking mat.
- Make the Cookie Dough: Cream the buter in a medium bowl with an electric mixer (or stand mixer) until creamy. Mix in the vanilla until just incorporated. Add the flour, powdered sugar, and pinch of salt and begin to mix. The mixture will be VERY crumbly and will seem dry, and you will wonder how it's going to form cookie dough (see photos above). This is normal. After you've reached that dry crumbly stage, it's time to get in there with (clean!) hands and continue mixing the dough, until you're able to form the dough into a ball that holds together.1 cup salted butter, softened , 1 tsp vanilla extract, 1/4 tsp almond extract, 2 cups all-purpose flour, spooned & leveled or weighed out , 3/4 cup powdered sugar, pinch of salt
- Shape & Fill the Cookies: Roll cookie dough balls about 1 tbsp or 35 grams in size. Place balls a few inches apart onto a prepared baking sheet, and use your thumb to make an indent in each one. (If the dough cracks a bit around the edges when you make the indent, don't fret – that's normal. Try to roll the balls really smooth to limit this.) Spoon 2-3 cherries from the cherry pie filling into each indent.1 can cherry pie filling
- Bake: There's no dough chilling in this recipe! Bake the cookies for 12-14 minutes. (I usually have to do the full 14). The cookies will be soft right out of the oven, so let them cool about 10 minutes on the baking sheet before transferring to a cooling rack.
- Decorate: Drizzle cooled cookies with melted white chocolate, milk chocolate, or any type of chocolate you like!4 ounces milk or white chocolate, for decorating
- Serve + Store: Enjoy immediately! Store in an airtight container in the fridge for up to a week. If layering in a container, be sure to let the chocolate set first, and use parchment or wax paper between layers.
Nutrition
Nutrition information is automatically calculated, so should only be used as an approximation.

These are super simple to make and delish!!! Love this recipe
So glad to hear it, Selina! 🙂
This recipe was incredibly easy and delicious! The cookies aren’t super sweet and can easily be modified with other fillings. I will be adding these to my holiday baking every year. Thank you for this!
Thanks for your kind review, Angela! Happy baking & happy holidays! 🙂
Easy to follow & super yummy! Thanks for another great recipe!
Thanks, Tori!
These cookies look amazing! I can’t wait to make them! Can they be frozen?
Hi Cathy! If you want to freeze either the dough or the baked cookies, I recommend doing it without the cherry filling. Freeze the dough in the shaped cookies, then add the filling to the frozen dough and bake from frozen. Or, you should be able to bake the cookies without the filling, then add the filling later if you want to freeze the baked cookies. Hope that helps! Let me know how you like these.
The bit of chocolate just makes it, this is a great cookie recipe for left over filling!
Thanks, Sophie! Happy baking! 🙂
These cookies were so easy and SO absolutely delicious!
Thanks, Leann! 🙂
Looks good, must try to make this at xnas.
Thanks, Ana! Let me know how you like these. 🙂
This is the first recipe for cookies that I ever made that actually made exactly the number of cookies it said it made … so YAY … my oven which is usually dead on took a full 16 minutes to cook these … I also found that if you thumbprint them right after rolling into a ball they did not crack …these are delicious and am looking forward to sharing them later today … and I managed to drag them off my pan onto the cooling rack leaving them on the parchment paper and drizzled with chocolate there was one less thing to cleanup. Thanks for the wonderful recipe!
So glad you loved these cookies! Thanks for taking the time to leave that kind comment. 🙂 Happy baking!
I love the way you explained and had pics of every step.my recepy is similar to yours but use regular sugar .next time I will follow yours .I also use different jams on them but I will certainly try them with the cherries and chocolate. They look much prettier.
Thanks, Rita! Glad you found the post helpful. 🙂 Happy New Year!
I made these this morning for our neighbors. The dough was crumbly but it does come together with ease . I had no cracks in mine which was surprising , I did bake mine as well for the full 14 minutes . They are so good , I’ll definitely be keeping them on my baking rotation.