This post contains affiliate links. Please see our disclosure policy.
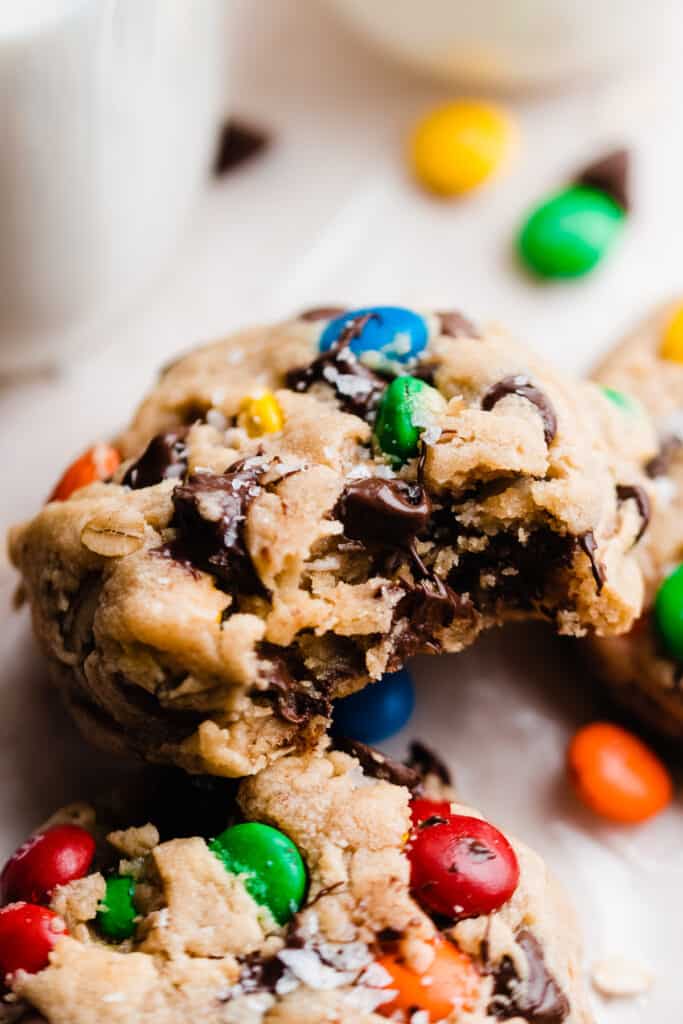
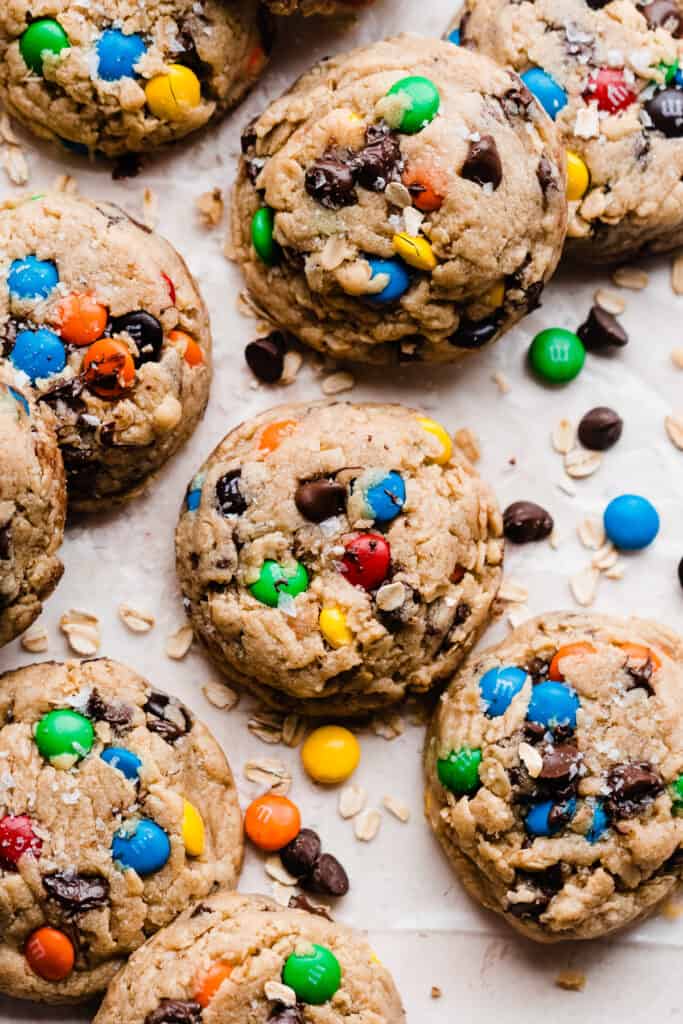
Bakery-Style Monster Cookies are thick with crisp edges and a perfectly soft center. These easy, no chill cookies are loaded with peanut butter, oats, m&ms, and chocolate chips, and come together in one bowl. These are truly the best monster cookies!

This post was originally published April 20, 2022 but I just re-published it with extra tips, along with make-ahead & freezing tips. The recipe has not changed.
Why you’ll love this recipe:
- Giant Cookies – These cookies are so big! They’re just like the big bakery-style cookies we all love.
- Tons of Mix-Ins – I did not skimp on the mix-ins. These cookies are loaded up with peanut butter, m&ms, chocolate chips, and oats.
- Soft & Crisp – These cookies have soft centers and crisp edges – in other words, they are the best cookies!
Ingredient Overview:
Monster Cookies are typically made with a peanut butter cookie base, and loaded up with oats, m&ms, and chocolate chips! Besides those mix-ins, you’ll need a few other simple ingredients, which yield an incredibly delicious cookie!
- Butter – I love salted butter, but you can use unsalted if you prefer.
- Peanut Butter – I used a regular peanut butter (like Jif) rather than a natural peanut butter. For an even more peanut-buttery cookie, try my Peanut Butter & Jelly Thumbprints or my Peanut Butter Blossoms next!
- Oats – Be sure not to skip the oats, as they help provide the stability these cookies need to bake up properly. Use old-fashioned whole rolled oats, not quick oats.
- Vanilla extract – Use real vanilla extract for the best flavor!
- Brown & Granulated Sugars – Using a mix of brown and white sugar keeps these cookies super soft and flavorful.
Ingredient Substitutions:
- M&Ms – I used regular m&ms, but feel free to use mini m&ms, peanut m&ms, or even peanut butter m&ms to amp things up a bit!
- Chocolate Chips – I used semi-sweet chocolate chips, but you could use milk chocolate or a mix of semi-sweet and milk.
- Dairy-Free – Use non-dairy butter sticks and dairy-free chocolate to keep this recipe dairy-free.
- Gluten-Free – Theoretically, this recipe will work with a gluten-free 1:1 flour blend, but I haven’t tested it. If you do decide to try it out, let me know how it works! Be sure to use gluten-free oats, too.
How to Make these Monster Cookies:
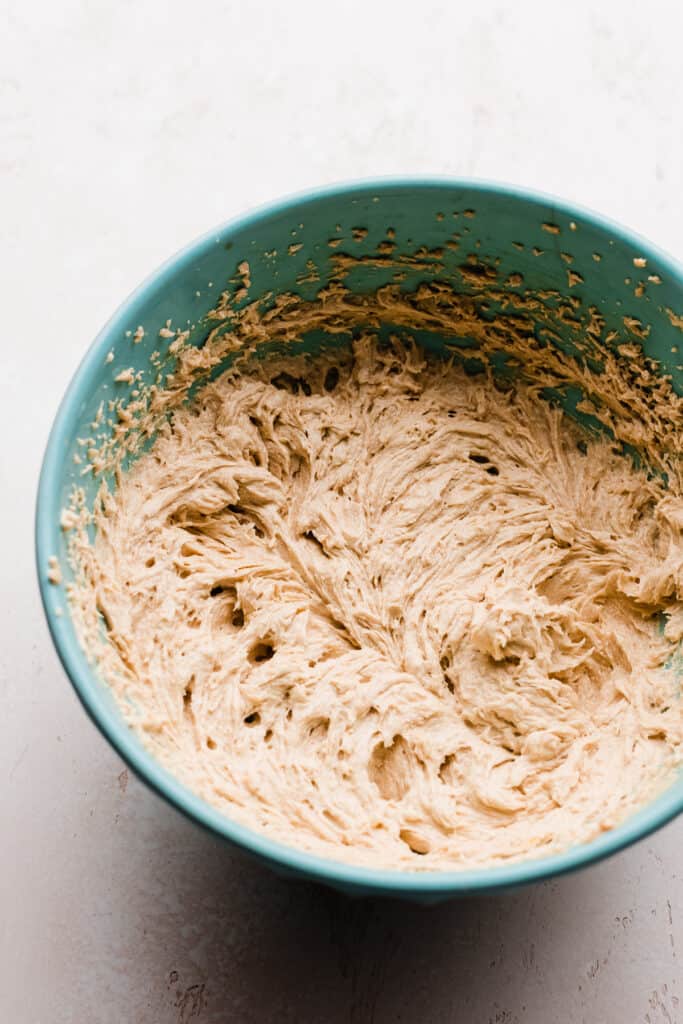
Step 1: Cream the butter and peanut butter together in a large bowl. Then, mix in the sugars until fluffy. Add the eggs and vanilla. Add dry ingredients into the wet ingredients. No need to use a separate bowl for something this simple!
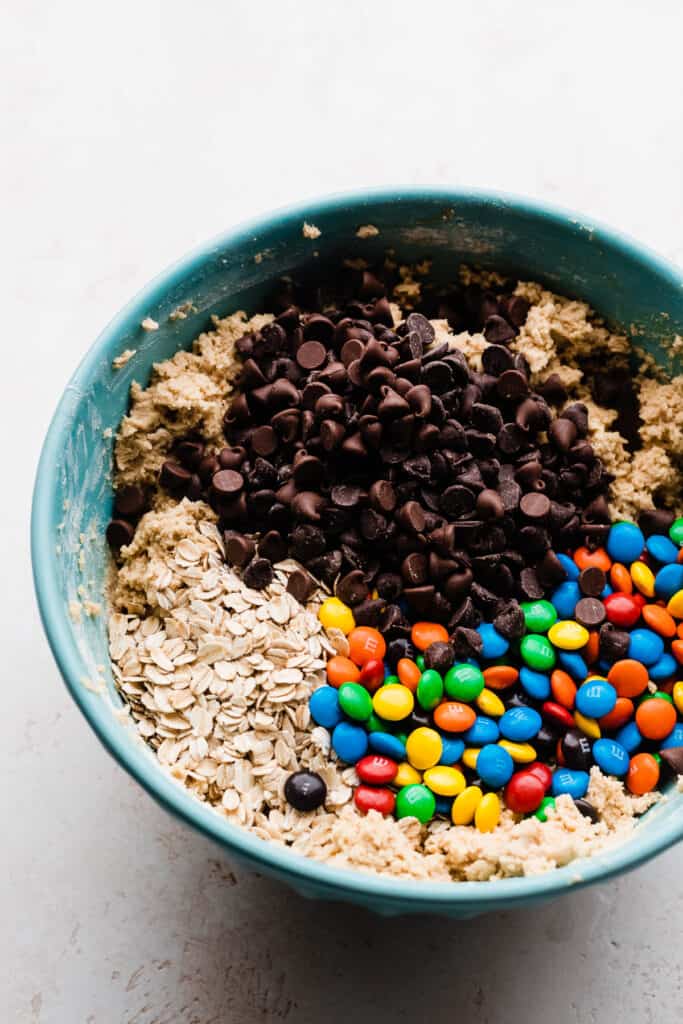
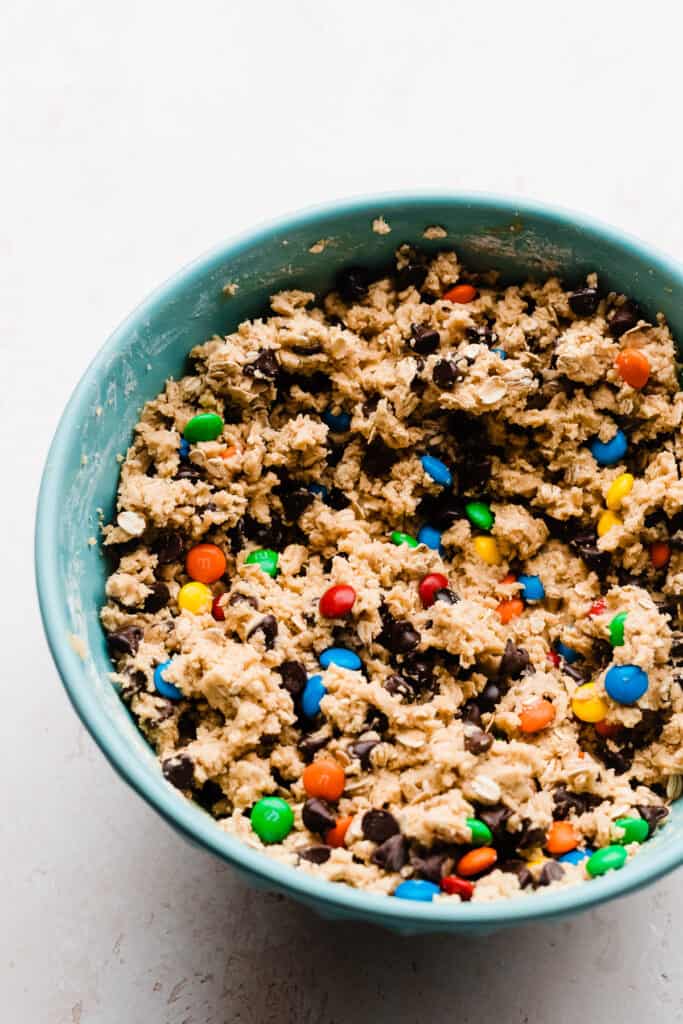
Step 2: Add your mix-ins: the oats, m&ms, and chocolate chips.
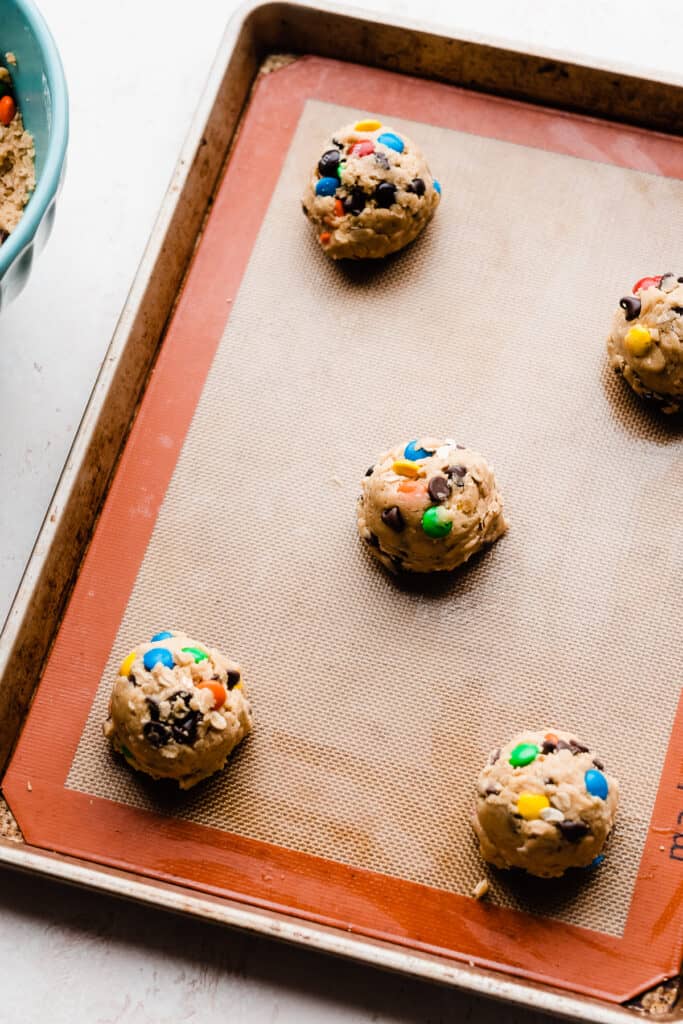
Step 3: Mix everything into the dough until it’s well incorporated. Now for the reallyy good news! These cookies are NO CHILL! Scoop them into dough balls that are 4 ounces or 4 tablespoons of dough, and bake for 8-12 minutes at 350 F.
Serving + Storing:
Enjoy these chewy cookies warm from the oven, or let them cool on a wire rack first.
Store cooled cookies in an airtight container at room temperature for 4-5 days. See dough freezing tips below. Have extra M&Ms? Make my Fudgy M&M Brownies!
Expert Success Tips:
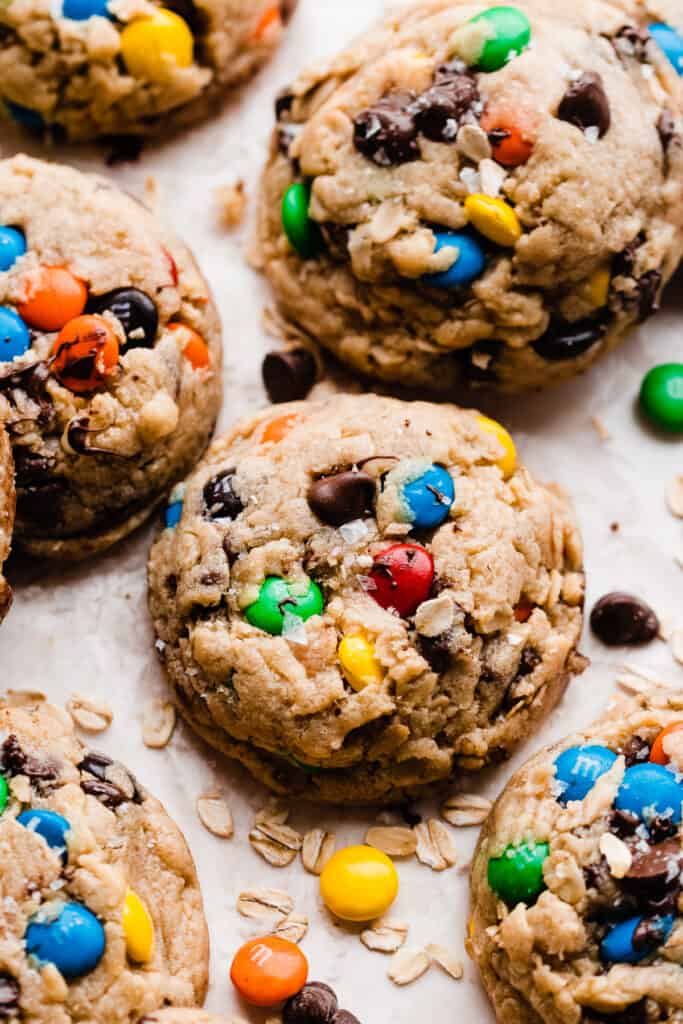
- Extra Mix-Ins – Be sure to top your cookie dough balls with a few extra m&ms and chocolate chips – this makes all the mix-ins visible so you get a really bakery-worthy looking cookie.
- Make-Ahead Tip – You can scoop the dough into balls, and store them in an airtight container for 1-3 days for baking at your leisure.
- Baking Time –This may seem like a short bake time given the size of these dough balls, but it really is the perfect amount to keep these nice and soft on the inside, while still being fully baked. And, they will set up more as they cool. Follow the recipe for the best result.
- Kitchen Scale – A food scale is the best way to make sure your flour is at the proper weight, since amounts will vary SO widely based on how you measure it, as well as the measuring cup you use, as they are not standardized.
- Oven Thermometer – An oven thermometer will tell you if your oven is actually running at the temperature you set it to. Your oven may not be accurate. Accurate oven temperature is crucial for most bakes, so I leave an oven thermometer in at all times to keep an eye on my oven’s calibration.
FAQs:
These cookies are thick & large – just like a cookie you’d get at a bakery. They’re a bit larger than you may typically make cookies, and are closer in size to what you might purchase from a bakery. Besides the size, these are thick, and have a bit of crisp ness to the edges, while the center is perfectly soft.
Because of the oats and peanut butter, these cookies don’t spread much in the oven. You can smush the cookies down a bit with the bottom of a glass or measuring cup once they’re baked to spread them out a bit (that’s what I’ve done in the cookies pictured).
Yes! Even though this is a no chill cookie dough, you can still freeze the dough balls and bake from frozen, as with most cookies. There are details about how to do this in the recipe card below.
Recipe Variations:
- Mix-Ins – Have fun with the mix-ins! Feel free to try a different type of m&m candies, or add peanut butter chips, butterscotch chips, or even dried fruit or nuts. You could even try an alternative to nut butters if you have an allergy, like sun butter.
- Gluten-Free and Dairy-Free – See the notes above in the ingredients section about making this recipe gluten and dairy free.
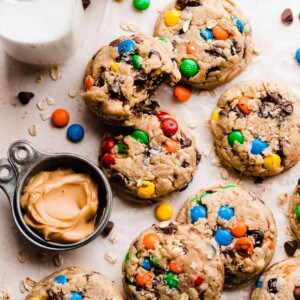
Be sure to enjoy these soft, chewy Monster Cookies while they’re warm from the oven, with all their gooey, melty, chocolatey goodness. A tall glass of cold milk is a must! These will be a hit anywhere you take them.
More Cookie Recipes to Love:
- Bakery-Style Peanut Butter Chip Chocolate Cookies
- Key Lime Slice & Bake Cookies
- Blueberry Lemon Cookies
- Peanut Butter & Jelly Thumbprint Cookies
- Funfetti Cake Batter Cookies
- Cherry Pie Cookies
- Triple Chocolate Chunk Cookies
Did you make this recipe? Leave a comment & star rating!
Click the little stars in the header of the recipe card below to leave a comment & star rating, letting me know how you liked the recipe. I take all feedback seriously, & leaving a rating helps my small business immensely!
Bakery-Style Monster Cookies
Ingredients
- 1 cup salted butter, softened at room temp, (2 sticks, 16 tbsp, or 226 grams)
- 1/2 cup creamy peanut butter
- 3/4 cup granulated sugar, 158 grams
- 3/4 cup light brown sugar, packed, 165 grams
- 2 large eggs
- 1 tsp vanilla extract
- 2 and 3/4 cups all-purpose flour, spooned & leveled or weighed out , 358 grams
- 1 tsp baking soda
- 1/4 tsp salt
- 1 cup old fashioned whole rolled oats, 104 grams
- 1 and 1/4 cup m&ms
- 1 cup semi-sweet chocolate chips, Or a mix of milk and semi-sweet, 177 grams
Instructions
- Prep: Pre-heat oven to 350° F. These cookies don't require any chilling, but you can chill them for up to 48 hours in the fridge, in an airtight container! Line a few cookie sheets with parchment paper or silicone baking mats.
- Make the Cookie Dough: Cream the butter in a very large mixing bowl, with an electric mixer on high speed until well creamed. Add the peanut butter and mix until creamed with the butter. Add the sugars and mix on high until creamed with the butters, at least 1 minute. Add eggs and vanilla and mix until just combined.1 cup salted butter, softened at room temp, 1/2 cup creamy peanut butter, 3/4 cup granulated sugar, 3/4 cup light brown sugar, packed, 2 large eggs, 1 tsp vanilla extract
- Finish the Cookie Dough: Add the flour, salt, and baking soda and mix just until the dry ingredients disappear into the dough, scraping the sides of the bowl to get everything incorporated. Add the oats, m&ms, and chocolate chips last, and mix on low speed to distribute throughout the dough.2 and 3/4 cups all-purpose flour, spooned & leveled or weighed out , 1 tsp baking soda, 1/4 tsp salt, 1 cup old fashioned whole rolled oats, 1 and 1/4 cup m&ms, 1 cup semi-sweet chocolate chips
- Scoop into Balls: Scoop the dough into balls using a large cookie scoop. Be sure to use one that holds 4 tbsp of dough, or use a scale to weigh your dough into balls that are 4 ounces or 115 grams each. (Here's the scoop I use – it's actually an ice cream scoop but it works perfectly!)Optional Chill: See make-ahead tips below. You can also quick chill the cookie dough balls in the freezer for 20-30 minutes if they're spreading more than you like.
- Bake: Place the dough balls on your lined cookie sheets, leaving a couple inches of space between each. I can fit about 6 on a cookie sheet. Bake for 10-13 minutes. The edges will seem set, but the cookies may not spread much -that's normal with this recipe! The cookies will bake faster on a dark cookie sheet vs. a light one. They will also need more time if you have other things or more than one pan in the oven at a time. Use the back of a measuring cup to flatten the cookies out a bit when out of the oven. Note: Some people have been saying their cookies appear raw and need more time – these cookies do look underdone even when they are baked. If in doubt, bake a test one and let it rest for 20-40 minutes before breaking into it. I bake my cookies such that they are NOT raw, but will be soft and gooey fresh from the oven, and they will set to the perfect soft baked consistency once completely cool. Remember that the residual heat of the pan will keep cooking the cookies a bit once they're out of the oven, and they will appear more gooey inside before they cool. But, I've also updated the bake time to be a bit longer than the original 8-9 minutes.
- Serve + Store: Enjoy immediately! Or, as soon as they're cool enough to handle, but these are fabulous warm from the oven! Let cookies cool on a cooling rack completely before storing in an airtight container. Cookies last 3-5 days at room temp.
- Make-Ahead Tips: Fridge: Cookie dough can be made, scooped into balls, and kept in an airtight container in the fridge for 1-3 days, and baked as desired. Freezer: Cookie dough balls can also be frozen in an airtight container for about 2 months. No need to thaw – simply bake from frozen for the same time as directed above. Note that cookies that have been chilled may not spread at all – that's normal! I press down on them gently with the back of a measuring cup to spread them a bit.
Notes
Nutrition
Nutrition information is automatically calculated, so should only be used as an approximation.

This recipe always turns out and is such a hit and everybody loves them!!😍
Thanks so much, Tara!
These are perfect. A great balanced cookie! They are not too sweet and they have a great texture.
So glad to hear you enjoyed this recipe, Tracy!
Maybe the best cookies I’ve ever made. Ever.
So glad to hear you enjoyed this recipe, Sarah!
Wow, so delicious! My family loved these. Thank you for the recipe!
Glad to hear that, Donna! Happy baking!
Love this recipe. I grew up on bakery style cookies and have been searching for cookies that were not flat discs. This recipe is delicious and comes out exactly like the picture on the recipe. My little ones love them!!
Thanks so much for taking the time to leave a review, Jana! Happy baking!
Can you just omit the peanut butter if someone has peanut allergies?
Hi Margie! I would recommending subbing another nut butter or sunflower butter (as a nut-free alternative) instead, as the peanut butter helps provide some of the cookie structure and it may spread way too much without it. Please let me know what you end up trying!
To make it peanut-buttery, can I add a dollop of peanut on the cookies before they bake?
Hi Leah! I don’t see why not – I would test it by doing that on just one cookie first, and baking it to see how it goes. Let me know how you like them and how that fun variation turns out!
I see that I selected the 32 cookie conversion (double). So that does equal 5 1/2 cups. Funny that it coverted to 4 and 1.5 cups. Threw me off. Thanks. Can’t wait to try these.
That is odd! Thanks for checking. Please let me know how you like the recipe!
For the flour, it says 4 and 1.5 cups flour. So, 5 1/2 cups?
Hi Chris – not sure what you’re looking at, this recipe calls for 2 and 3/4 cups of flour. Let me know if you need any further help & happy baking!
Works perfectly with gluten free “Cup4Cup” flour! Easy and delicious recipe to add to the collection!
Thanks so much for letting me know these worked well with gluten-free flour, Julia! That’s super helpful to know for myself and other readers. Glad you enjoyed the recipe – thanks for taking the time to leave a review!