This post contains affiliate links. Please see our disclosure policy.
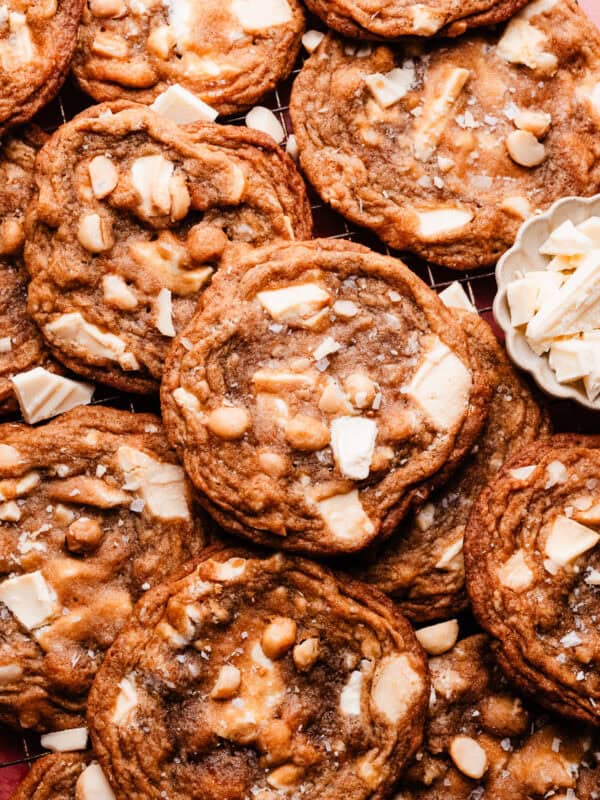
Caramelized White Chocolate is an easy way to amp up the flavor of any dessert! Roasting white chocolate in the oven gives it nutty notes of caramel and a much more complex flavor. This is a one-ingredient recipe, that requires no work other than stirring chocolate every 10 minutes or so. The finished product is delicious in cookies, brownies, hot chocolate, or used in ganache for cakes and cheesecakes!

Table of Contents
Why you’ll love Caramelized White Chocolate:
- Impressive Treat – This is an easy way to amp up your next dessert! Add caramelized white chocolate to cookies, brownies, or even frostings to amp up the flavor.
- Easy Recipe – There’s practically nothing to this recipe – just stirring the white chocolate every 10 minutes or so, and letting the oven work it’s magic.
- One Ingredient – Only one ingredient is needed for this recipe – good quality white chocolate!
Ingredient Overview:
As always, the full recipe with measurements & directions can be found in the recipe card at the bottom of this post. Use the table of contents (back at the top, below the first image, to navigate).
- White Chocolate – Use a high quality white chocolate baking bar here, like Ghirardelli, Baker’s, or Lindt. Don’t use white chocolate chips, as those have stabilizers added to help prevent them from melting in the oven when used in cookies, for example. You can find the baking bars like this in the baking aisle of the grocery store, or even in the candy aisle near the higher end candy bars. You’re basically looking for a bar that has a high amount of cocoa butter – this is essential to the caramelization process. Make sure you are using real white chocolate – not white candy coating, candy melts, anything labeled “chocolate melt”, or almond bark.
Ingredient Substitutions:
- Gluten-free – White chocolate is naturally gluten-free.
- Dairy-free – I haven’t tested this with a dairy-free white chocolate, so I’m not sure it would work the same without the milk solids being present in the chocolate.
How to Make this Caramelized White Chocolate Recipe:
You can also do this on the stovetop – see instructions below these directions, under “recipe variations”.
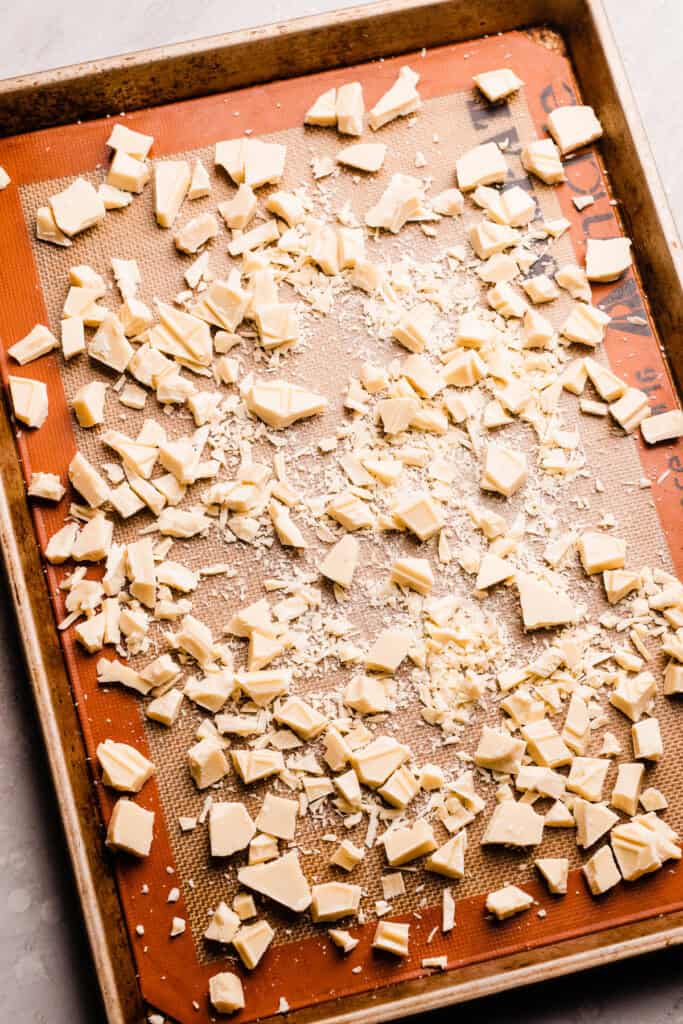
Step 1: Chop the Chocolate. Roughly chop your white chocolate and place it in an even layer on a rimmed baking sheet lined with a silicone baking mat.
(If you don’t have a baking mat, use a bare pan – but choose one that’s in good shape, not tarnished or rusty.) Don’t use a sheet of parchment paper, it’ll just tear.
Step 2: Melt it in the Oven. Pop the sheet pan in a 255 degree F oven for 10 minutes, then remove and spread the chocolate around with an offset spatula or rubber spatula until melted.
Spread the melted chocolate into an even, thin layer and return to the oven to caramelize in 10-minute intervals.
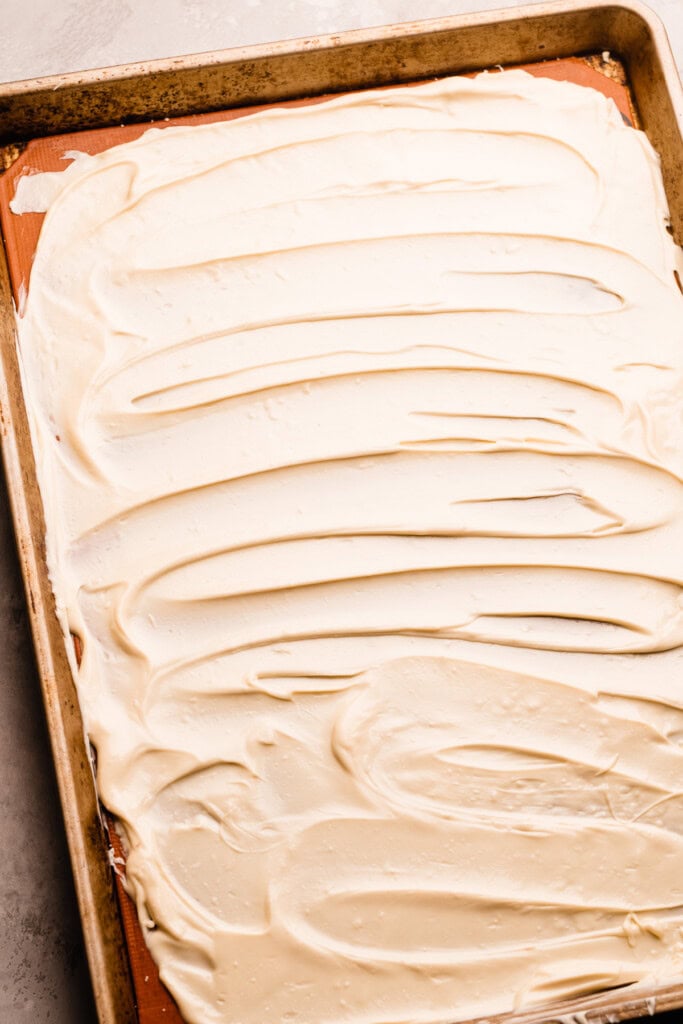
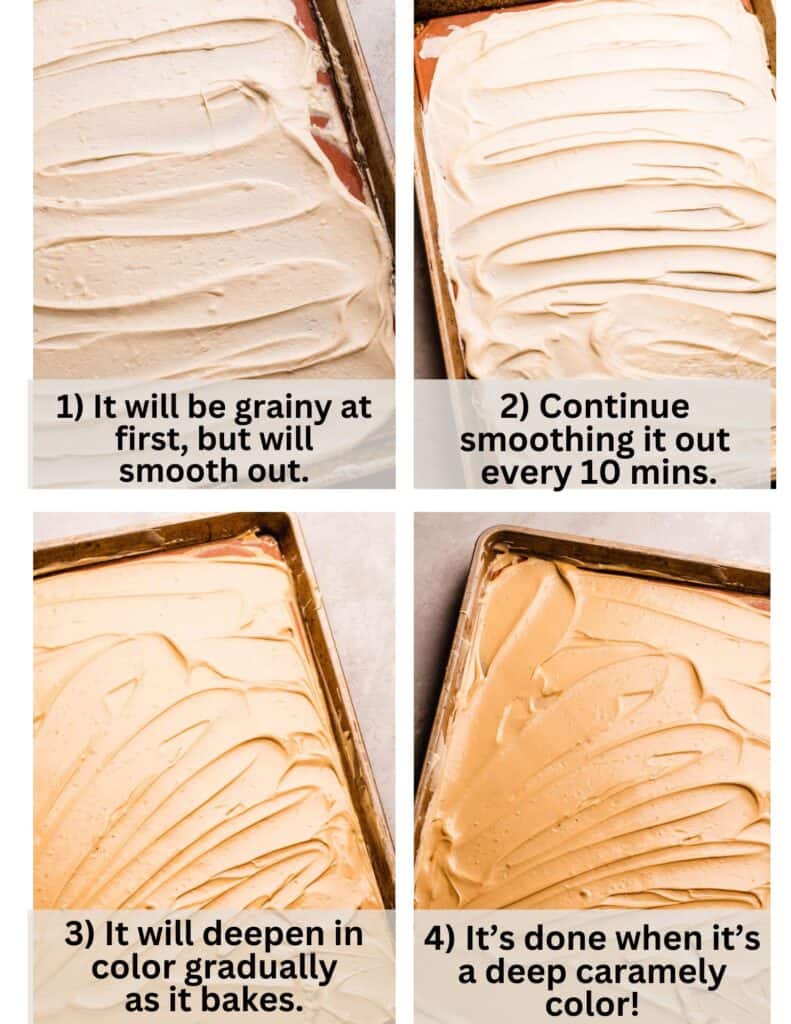
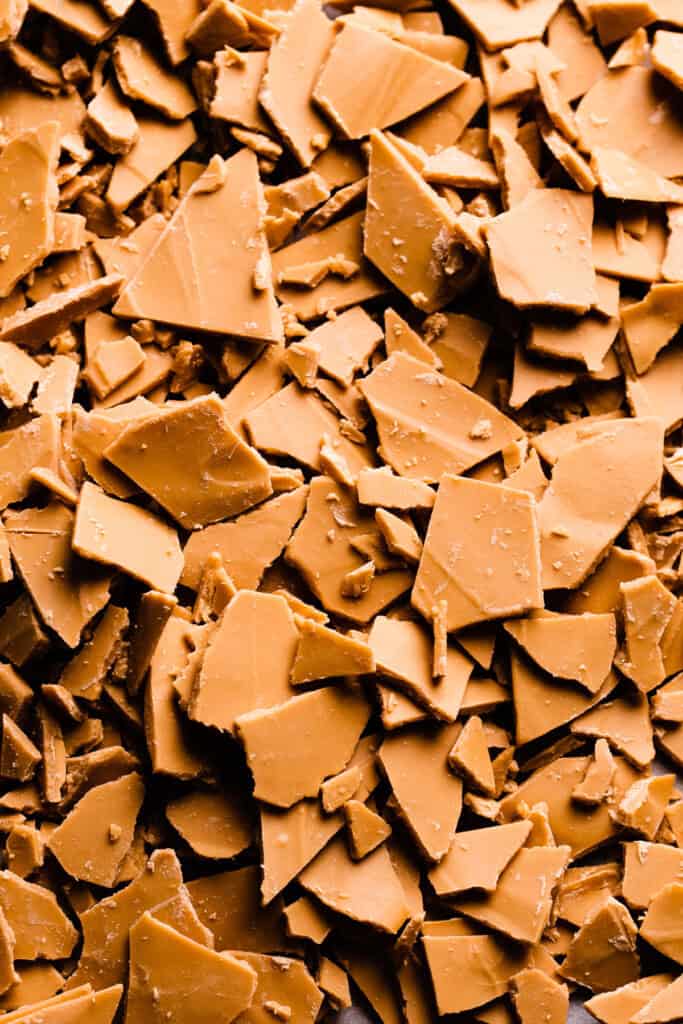
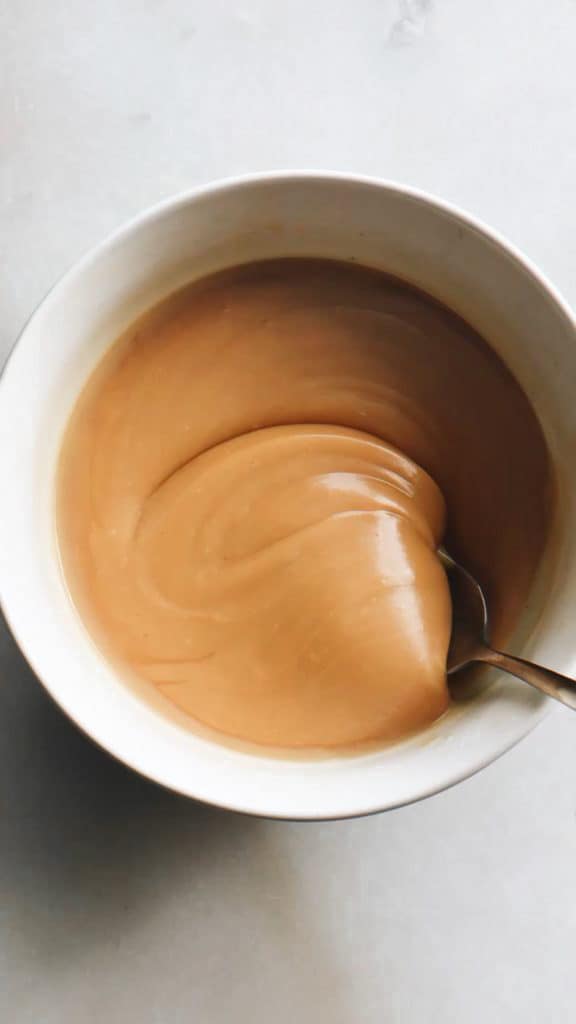
Step 3: Stir – Melt – Stir – Melt. Remove the chocolate from the oven every 10-12 minutes to scrape and stir it around so it caramelizes evenly. At the beginning, it may appear a bit grainy, but will smooth out as you continue roasting. It will gradually turn into a deep caramel or golden brown color.
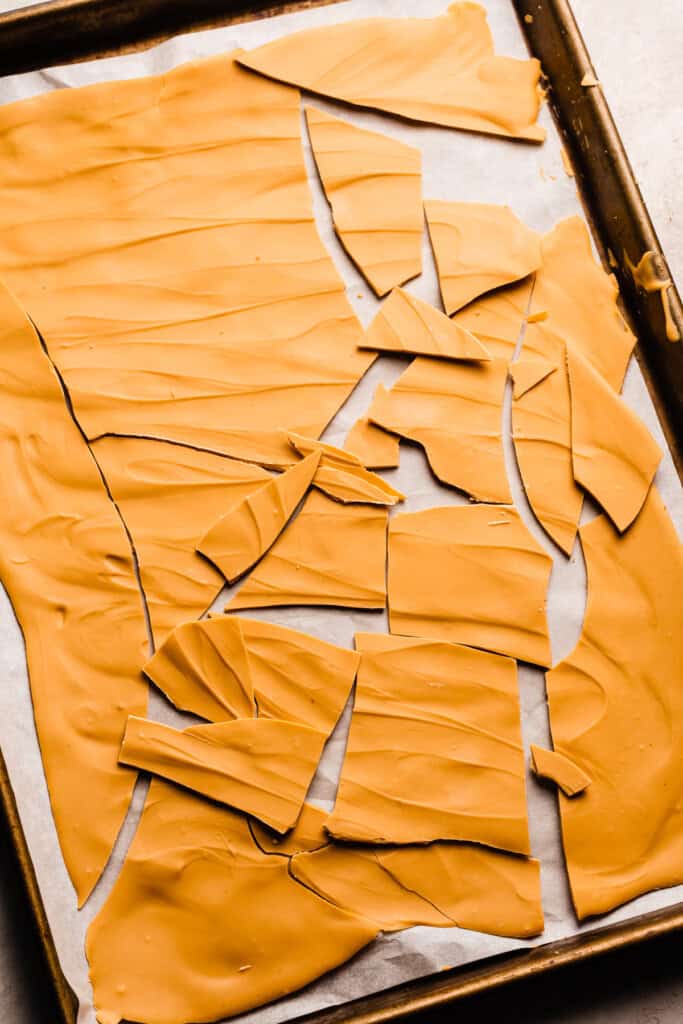
Step 4: Chill the Chocolate. Spread the chocolate evenly one last time (but make a thicker layer this time), and pop it into the fridge or freezer to harden. Once hard, break into chunks! It’s ready to use.
Serving + Storing:
Store the finished caramelized white chocolate chunks in an airtight container in the freezer or fridge (not at room temperature) for months!
Recipe Variations:
- Stovetop Method – Add your chopped white chocolate to a saucepan and melt over low heat, stirring continuously. Continue cooking and stirring over low heat for 20-30 minutes, until the same color is reached as in my photos above. Be sure to fold the chocolate from the bottom of the pan up and over the top so nothing burns, and it caramelizes evenly. When it’s done, remove from the pan straight away so the hot pan doesn’t continue cooking the chocolate.
- Microwave Method – You can apparently do this in the microwave as well, although I haven’t tried it myself. Microwave the chopped chocolate for 20-second intervals until melted, then melt for 45 seconds to 1 minute at a time, stirring well between each interval. Once the chocolate begins to turn colors, reduce the time to 25 to 30 second intervals, still stirring and scraping well between each. This takes 5-10 minutes, and is faster than the other methods, but it’s easier to burn the chocolate in this method.
Expert Success Tips:
- Oven Thermometer – An oven thermometer will tell you if your oven is actually running at the temperature you set it to. Your oven may not be accurate. Accurate oven temperature is crucial for most bakes, so I leave an oven thermometer in at all times to keep an eye on my oven’s calibration.
- Avoid Seized Chocolate – Make sure all your utensils are completely dry before you begin – even a few drops of water mixing with the white chocolate can cause it to seize (become clumpy & unpleasant)
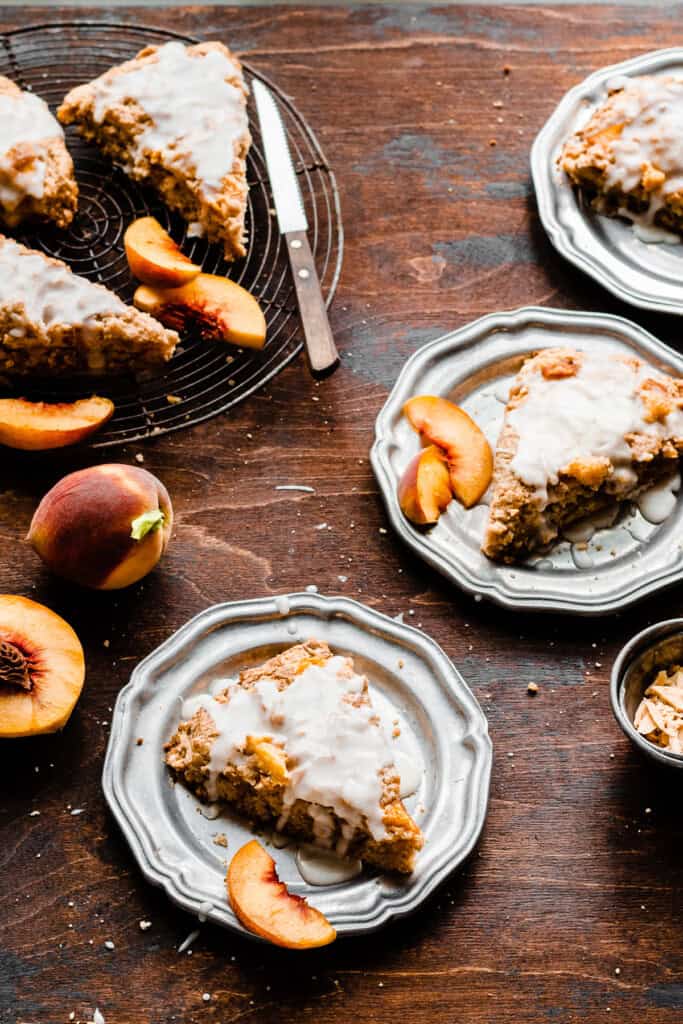
Pictured below are the Caramelized White Chocolate & Peach Scones from my cookbook, “The One-Bowl Baker”.
FAQs:
Yes! Once you’ve broken it into desired size pieces, it actually keeps very well in the freezer (or the fridge) in an airtight container.
If you double it, you’ll need to split the chocolate between 4 pans, which will likely be hard to fit into your oven at one time. And if you halve it, you can place all the chocolate on one pan.
Plain white chocolate can be too sweet for some people and often gets a bad rap, but once caramelized it takes on a caramely, nutty, almost butterscotch like, or dulce de leche like flavor that’s much deeper and more complex. It’s absolutely incredible!
Valrhona chocolate is credited with the invention of caramelizing white chocolate! Thank you, Valrhona! (This is not sponsored, although I wish it was, hehe!)
A bit of quick digging online shows that people have attempted this with milk chocolate, but I haven’t tried it myself.
If you cooked it until it’s the color of “natural peanut butter” as David Lebovitz says, but it’s grainy – you likely over-baked it. He recommends pushing it through a fine mesh sieve to remove the small lumps.
Special Tools:
- Baking Sheet – You’ll need a half sheet (standard size) cookie sheet for this recipe.
- Silicone Baking Mat – You don’t need a silicone baking mat for this recipe, but I do think it makes things go a little smoother, and you can use it for baking anything where you’d line the pan with parchment paper.
- Offset Spatula – An offset spatula makes spreading the chocolate a breeze – I also use it for frosting cakes and spreading batters. It’s an essential baker’s tool!
Recipes to use Caramelized White Chocolate in:
- Strawberries & Cream Scones – Replace the white chocolate in this recipe with the caramelized version.
- Red Velvet Brownies – Add 1/2 cup of the chocolate chunks, or omit the oreos and use 1 cup.
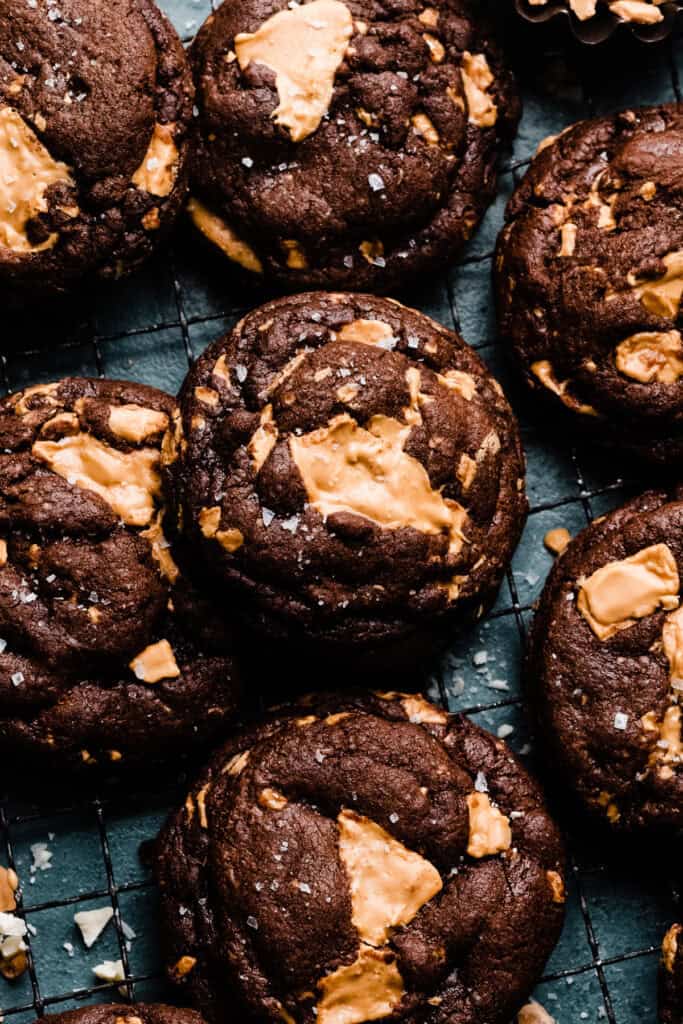
- Chocolate Caramelized White Chocolate Cookies
- 5-Ingredient Brownies – Add 1 cup of caramelized white chocolate pieces to the brownies for a fun twist.
- Triple Chocolate Skillet Brownie – Do the same as in the recipe above!
- Red Velvet Cookies – Use the caramelized white chocolate chunks in place of the white chocolate chips!
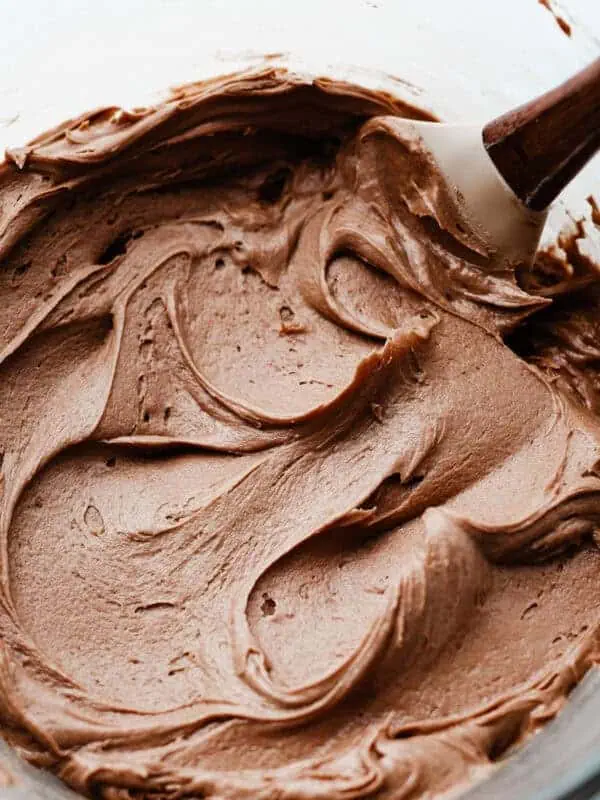
- Caramelized White Chocolate Ganache – Use the recipe in my White Chocolate Cake recipe to combine your chocolate with heavy cream to make a luscious ganache!
- Caramelized White Chocolate Bar – Pour the melted chocolate into these fun silicone molds to make homemade candy bars! These ones make smaller pieces, perfect for gifting.
Did you make this recipe? Leave a comment & star rating!
Click the little stars in the header of the recipe card below to leave a comment & star rating, letting me know how you liked the recipe. I take all feedback seriously, & leaving a rating helps my small business immensely!

Caramelized White Chocolate
Ingredients
- 12 ounces good-quality white chocolate*, *Use a good quality eating chocolate (Valrhona, Callebaut, or Lindt) or a good quality baking bar like Ghirardelli or Baker's. Don't use white chocolate chips – they have stabilizers that prevent them from melting in the oven.
Instructions
- Prep: Preheat your oven to 255℉. Roughly chop your white chocolate into small pieces and place it on a completely dry silicone mat lined, rimmed cookie sheet in a single layer. If you don't have a silicone baking mat, use a bare baking pan (with a rim!) that isn't tarnished or rusty. Note: Water is the enemy of white chocolate and will cause it to seize up! Make sure all utensils are clean & dry.
- Melt the Chocolate: Pop the pan of chopped chocolate into the oven for 10 minutes, then remove the pan and spread & scrape the chocolate around with an offset spatula until melted. Spread it back into an even, thin layer and return to the oven to caramelize in 10 minute intervals.
- Caramelize the White Chocolate: Remove the chocolate from the oven every 10-12 minutes to scrape and stir it around so it caramelizes evenly, repeating this process for 50 to 70 minutes total. Be sure to spread the chocolate back into an even thin layer each time you return it to the oven. In the beginning, it may appear a bit grainy or chalky at times, but will smooth out as you continue roasting it. It will gradually turn from white, to off white, to a light beige, into a deep caramely butterscotch color. When it reaches that deep golden color, it's done! (See photos in blog post above for reference.)
- Finish: Spread the caramelized chocolate into a slightly thicker layer (think chocolate bar thickness) on a new pan (or let your pan cool down to room temp – don't stick a piping hot pan in your fridge) and pop the pan in the fridge or freezer until the chocolate hardens. Then, break it into chunks. It's now ready to use!
- Serve & Store: Once you have your chocolate chunks or shards, store them in an airtight container in the fridge or freezer. It will become too soft at room temperature. Use in cookies, brownies, blondies, or scones. Use anywhere a recipe calls for chocolate chips, chocolate chunks, or white chocolate chips. In the blog post right above this recipe card, I've linked some recipes to use it in!
Nutrition
Nutrition information is automatically calculated, so should only be used as an approximation.