This post contains affiliate links. Please see our disclosure policy.
S’mores Pie has a luscious no-bake chocolate filling, nestled between a crisp graham cracker crust and a layer of toasted marshmallow. Add salted caramel sauce below the chocolate filling for a fun twist on a classic campfire treat!

Why you’ll love this easy S’mores Pie:
- Creamy Chocolate Filling – An easy no-bake chocolate filling makes up the base of this decadent pie. It’s so silky, and not too rich!
- Toasted Marshmallows – Gooey marshmallows are toasted & piled high on this pie!
- Crisp Graham Crust – A buttery graham cracker crust houses all the goodness in this pie!
- Salted Caramel Sauce – A layer of caramel sauce on the bottom adds extra depth of flavor to this treat.

Ingredient Overview:
As always, the full recipe with measurements & directions can be found at the bottom of this post.
- Graham Cracker Crumbs – You can pulse whole graham crackers in a food processor to make crumbs, or buy ready made graham cracker crumbs.
- Butter – I always use salted buter for the best flavor, but feel free to use unsalted butter if you prefer.
- Heavy Cream – This is the same as heavy whipping cream.
- Milk Chocolate & Semisweet Chocolate – Use good quality baking chocolate bars, rather than chocolate chips.
Ingredient Substitutions:
- Dairy-free – Use your favorite dairy-free heavy cream, butter, and chocolate to make this recipe dairy-free.
- Gluten-free – Use gluten-free graham crackers to make this pie gluten-free!
- Marshmallows – I used large marshmallows, but you could use mini as well. You could also use marshmallow creme or Swiss Meringue – it’s almost like homemade marshmallow topping! – instead of marshmallows, if desired. You could even make homemade marshmallows if you’re feeling ambitious!
How to Make S’mores Pie Step-by-Step:
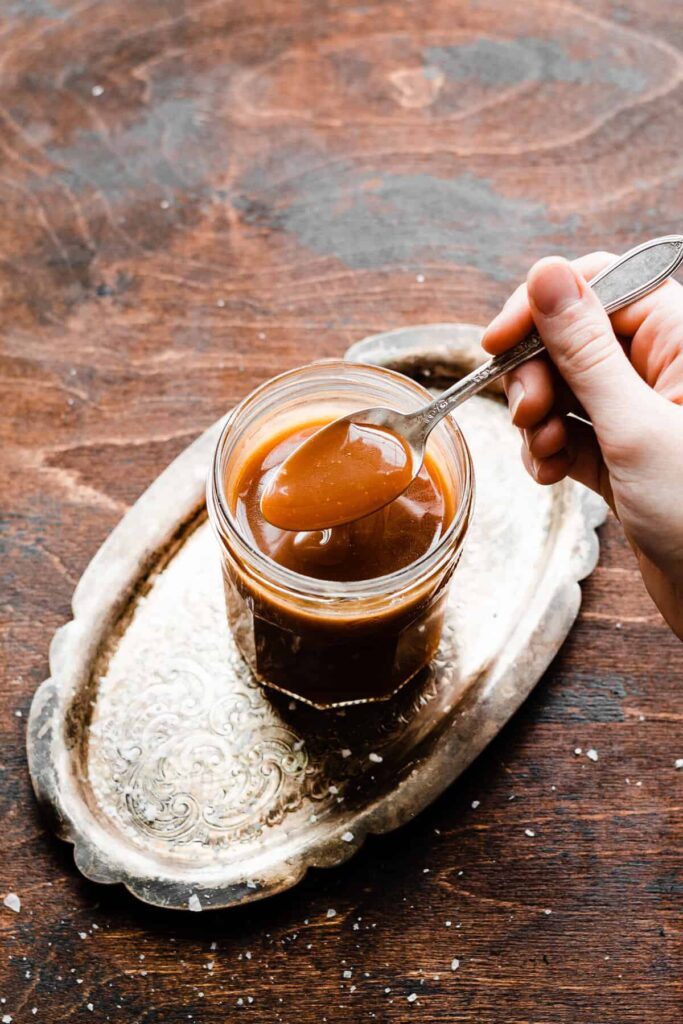
Step 1: Make the Salted Caramel Sauce. Make this using my easy, 10-minute Salted Caramel Sauce! This can be made up to 1 week ahead. Let cool, then store in the fridge in a jar.
Step 2: Make & Bake the Crust. Mix together graham cracker crumbs & butter, then press mixture into a 9-inch pie plate. Take a few minutes to pack them in firmly. Freeze or bake for an extra sturdy crust.

Step 3: Make the Chocolate Filling. Make a quick chocolate ganache by pouring simmering heavy cream over chopped chocolate. Stir until smooth.
Beat cold heavy cream, powdered sugar, and vanilla in a large bowl until stiff peaks form to make the whipped cream.

Now, fold the cooled chocolate ganache gently into the whipped cream, until fully combined. Spread into your baked and cooled pie crust and chill for at least 6 hours or up to 48 hours before topping and serving.

Step 4: Fill & Top the Pie. Add the filling to your crust. Make some pretty swirls with the back of a spoon!

Drizzle the chilled pie with caramel sauce and add toasted marshmallows just before serving! You can toast them over a flame or on a sheet pan under your oven’s broiler. I love going for a little char to add a campfire flair to this no-bake dessert.

Just look at this gorgeous pie! It’s as if your favorite campfire treat graduated and is all fancy and grown-up now. This treat tastes just like s’mores in pie form!
Serving + Storing:
Top the pie with your toasted marshmallows, and dig in! Store leftovers, covered or in an airtight container, in the refrigerator for 3-4 days.

Expert Success Tips:
- Oven Thermometer – An oven thermometer will tell you if your oven is actually running at the temperature you set it to. Your oven may not be accurate. Accurate oven temperature is crucial for most bakes, so I leave an oven thermometer in at all times to keep an eye on my oven’s calibration.
- Kitchen Scale – A food scale is the best way to make sure your ingredients are at the proper weight, since amounts will vary SO widely based on how you measure, as well as the measuring cup you use, as they are not standardized.
FAQs:
Yes! This is a great recipe to make-ahead because the pie filling needs to set up in the fridge for at least 6 hours, or up to 48 hours. Don’t toast the marshmallows or add them until you’re ready to serve.
I’m not sure that the texture of the filling would stay light and creamy if it’s frozen and thawed. I recommend making & serving this one fresh!
You likely didn’t pack the crust in super tightly. Spend 5 minutes or so really packing it in (use the bottom of a measuring cup or drinking glass). Baking the crust also helps keep it sturdy. If it seems dry when you’re packing it in, return the mixture to the bowl and add 1-2 additional tablespoons of melted butter.
Recipe Variations:
- Caramel – Use store-bought caramel sauce in a pinch (although nothing beats homemade when it comes to caramel!), or omit it if you don’t like caramel.
- Chocolate – I like a mix of milk and semi sweet chocolate here to keep things from being on the bittersweet side, but if you like dark chocolate, feel free to use 4 ounces semi-sweet to 2 ounces milk.

Special Tools:
Affiliate links.
- Metal Pie Plate – Use a 9-inch metal pie plate for this recipe.
- Blow Torch – If you want to, you can use a blow torch to get that nice char on your marshmallows. I use this one – you’ll just need to buy the small tank of gas that goes with this adapter piece. A regular kitchen torch that people often use has never worked well and the ones I had broke pretty quick, so I don’t recommend that option.

More S’mores Dessert Recipes to Love:
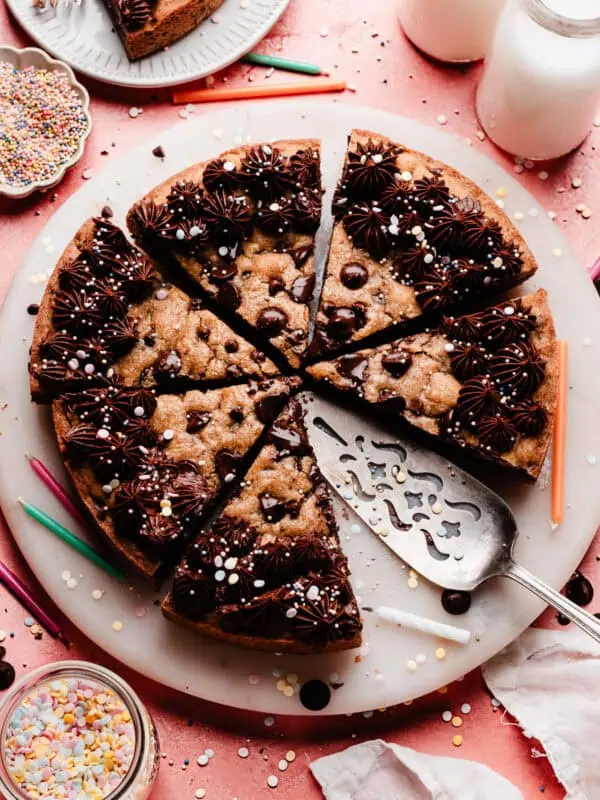
- Campfire S’mores Stuffed Skillet Cookie
- Gooey S’mores Brownies
- S’mores Tart
- S’mores Donuts
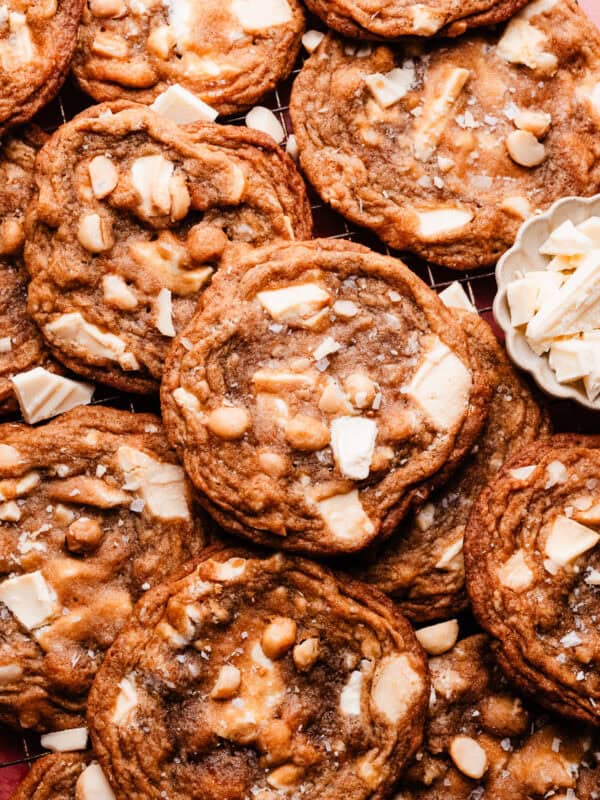
- S’mores Chocolate Chip Cookies
- Mini S’mores Cheesecakes
Did you make this recipe? Leave a comment & star rating!
Click the little stars in the header of the recipe card below to leave a comment & star rating, letting me know how you liked the recipe. I take all feedback seriously, & leaving a rating helps my small business immensely!

No-Bake S’mores Pie
Ingredients
For the Caramel Sauce
- 1 cup granulated sugar , 210 g
- 6 tbsp salted butter, cubed, 85 g
- 1/2 cup + 1 tbsp heavy cream, 135 g
- pinch of flaky sea salt
For the Crust
- 2 cups graham cracker crumbs, 280 g
- 1/2 cup salted butter, melted, 113 g
For the Filling
- 1/2 cup heavy cream, 120 g
- 2 ounces semi-sweet chocolate, finely chopped, 57 grams
- 4 ounces milk chocolate, finely chopped, 113 grams
- 1 cup heavy cream, cold, 240 g
- 3 tbsp powdered sugar, 22 g
- 1/2 tsp vanilla extract
For Topping
- 1 bag marshmallows, use as many as you like
Instructions
- Make Caramel Sauce: Make the caramel sauce by following my 10-minute salted caramel sauce recipe. This can be done up to a week ahead. Store in the fridge.1 cup granulated sugar , 6 tbsp salted butter, cubed, 1/2 cup + 1 tbsp heavy cream, pinch of flaky sea salt
- Make the Crust: Spray a 9-inch metal pie plate lightly with nonstick spray. Stir together melted butter and graham crumbs, then pack firmly into the pie dish. Spend 5 minutes or so here, making sure the crumbs are packed in really well. This will keep the crust sturdy, even if you don't bake it. Optional (but I usually do this to keep the crust extra sturdy): bake the crust at 350° F for 10 minutes. Let cool before filling. Otherwise, pop the crust in the fridge while you make the filling.2 cups graham cracker crumbs, 1/2 cup salted butter, melted
- Make the Filling: Add the finely chopped chocolates to a medium bowl. Heat 1/2 cup heavy cream in a small saucepan until just simmering. Pour hot cream over the chocolate, and let sit 5 minutes. Stir the mixture well until you have a creamy, smooth chocolate ganache. (Microwave in 15 second intervals, stirring between each, if any lumps remain.) Set aside to cool to room temperature. Add the 1 cup of cold heavy cream to a large mixing bowl with the vanilla and powdered sugar. Beat on medium high speed just until stiff peaks form. Add the cooled chocolate ganache and gently fold in until everything is incorporated and you have a smooth chocolate mousse. Spread 1/3 cup of salted caramel in the bottom of the crust. Then, spread chocolate mixture into the chilled crust. (If your caramel has been in the fridge, microwave it for 30-60 seconds to get it back to pourable consistently.)1/2 cup heavy cream, 2 ounces semi-sweet chocolate, finely chopped, 4 ounces milk chocolate, finely chopped, 1 cup heavy cream, cold, 3 tbsp powdered sugar, 1/2 tsp vanilla extract
- Chill the Pie: Chill in the fridge (no need to cover – plastic wrap will muss the top of your pie) for at least 6 hours, or overnight.
- Serve & Store: Just before serving, drizzle a little extra caramel over the top of the pie. Then, place desired amount of marshmallows on a sheet pan and toast under the broiler in your oven for 1-2 minutes. Keep an eye on this as it can burn quickly! Or, place them on a metal pan and carefully toast with a blow torch for more of that campfire char. Top the pie, slice, and serve! Store leftovers in the fridge for 3-4 days.1 bag marshmallows
- Make Ahead Tips: The pie crust filled with the chocolate filling can be made a day ahead and stored in the fridge, covered. The cherry sauce can be stored in the fridge for up to 3 days before using. Don't make the whipped cream ahead. Don't spread the cherry sauce over the filling until you're ready to serve the pie. Top with the whipped cream just before serving, as well.
Nutrition
Nutrition information is automatically calculated, so should only be used as an approximation.

This was delicious!
Thanks, Karol!
Easy to follow directions and well worth the wait time — we made the pie yesterday afternoon for enjoying today. Somehow it’s not overly sweet and tastes light (fluffy light not calories light 😂). The only thing I did differently was reduce the graham crackers and butter because I was using a small tart pan. Overall, a fantastic and fun recipe that I’ll definitely make again.
So glad you enjoyed this pie, Andrea I love the idea of putting it in the tart pan. Do you happen to remember the quantities you used for the crust, in case anyone else would find that helpful? 🙂