This post contains affiliate links. Please see our disclosure policy.
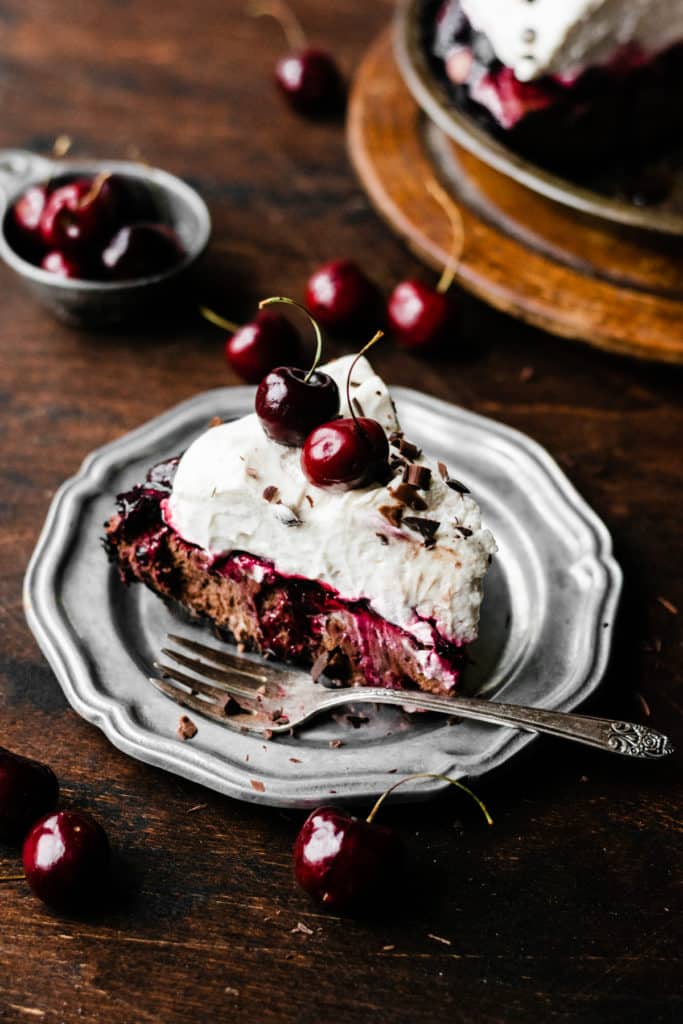
A Two-Ingredient Oreo Crust is the easiest crust you’ll ever make – and it works equally well for pies and cheesecakes! A press-in crust made from just melted butter and crushed oreos is the perfect base for so many desserts, like Black Forest Pie or Peanut Butter Cheesecake.

Why you’ll love an Oreo Crust:
- EASY – Not only is this crust delicious, but it’s incredibly simple to make! All you need is melted butter, crushed oreos, and a few minutes of time.
- Versatile – Use this crust for pies or cheesecakes of almost any flavor!

Ingredient Overview:
As always, the full recipe with measurements & directions can be found in the recipe card at the bottom of this post. Use the table of contents (back at the top, below the first image, to navigate).
- Oreos – Use whole oreos – yes, the white cream filling included!
- Butter – I always use salted butter because in my experience, it lends the best flavor, but feel free to use unsalted butter if that’s what you prefer.
Recipe Substitutions & Variations:
- Gluten-free – Use gluten-free oreos if needed. These may need a bit more butter to reach the right consistency – scrunch a handful of the crust mixture together. If it packs together well, you’re good. If not, add 1-2 additional tbsp of melted butter.
- Dairy-free – Oreo brand cookies are all dairy-free (double-check your labels, though)! Use dairy-free butter sticks to make the whole crust dairy-free .
How to Make an Oreo Pie Crust:
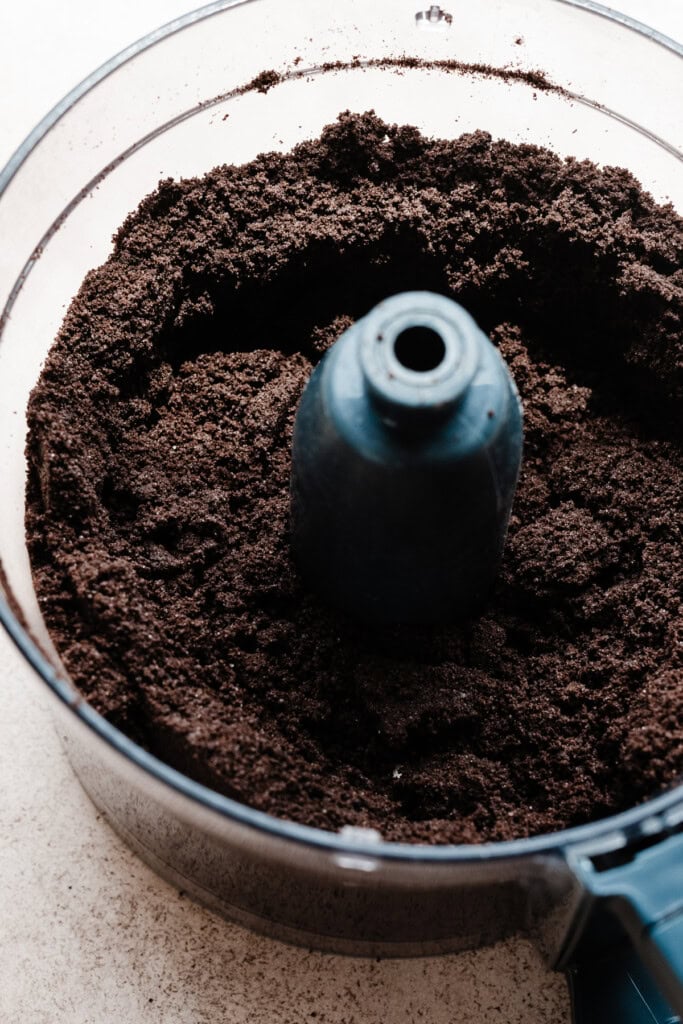
Step 1: Pulse your Oreos. Add whole oreos (yes, the filling too!) to a food processor and pulse until you have fine crumbs. Or, add to a ziploc bag and use a rolling pin & a little elbow grease to break them down as finely as possible.
Step 2: Add Butter. Stir in the melted butter until you have a sandy mixture.
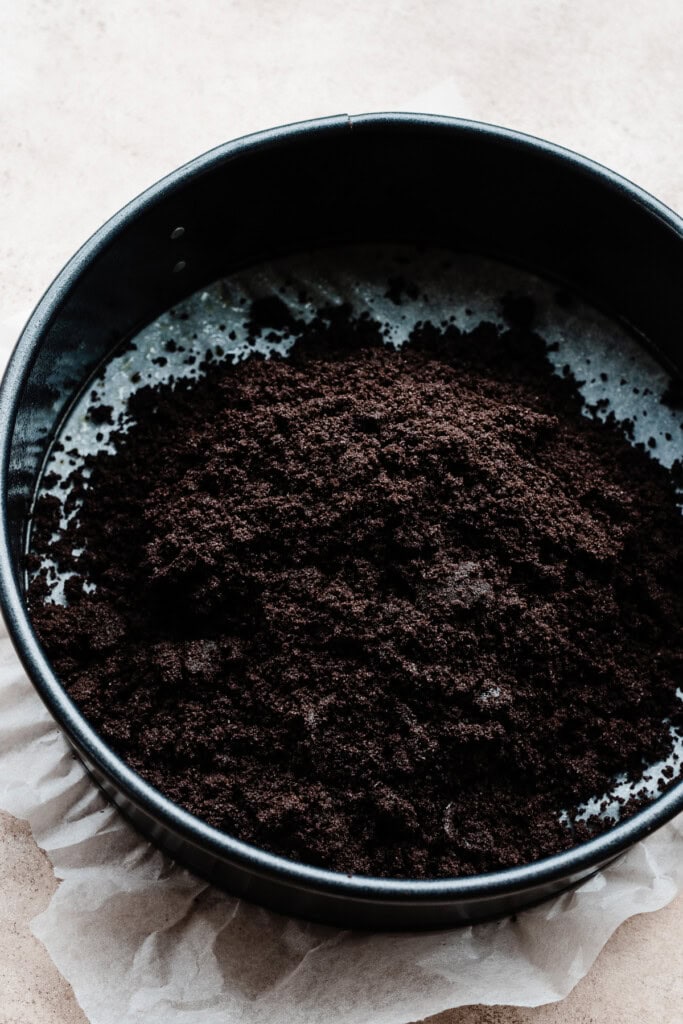
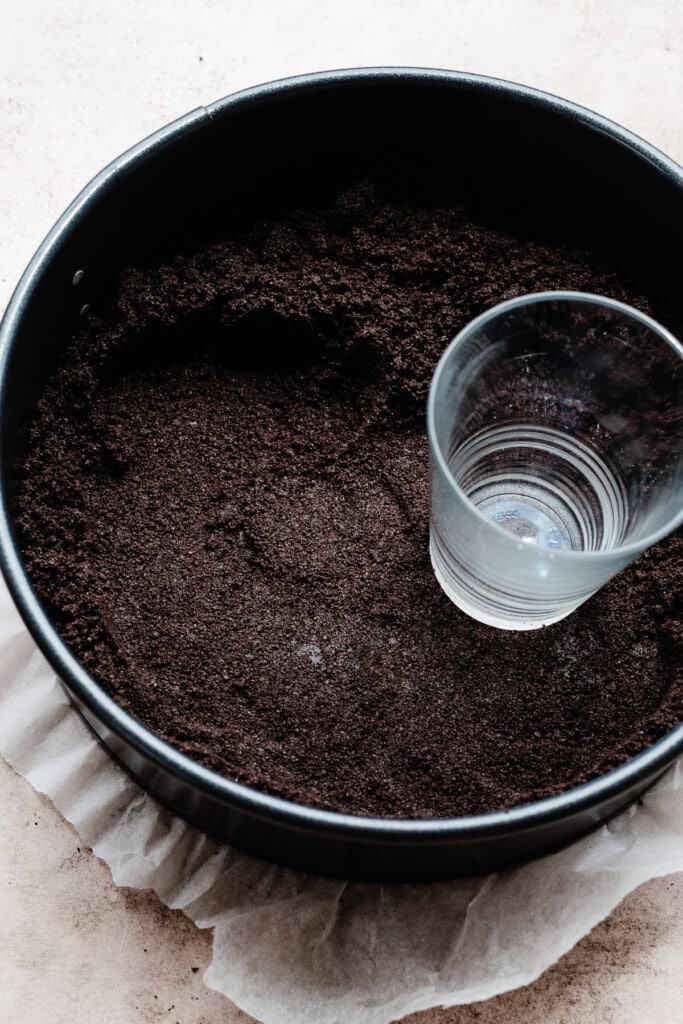
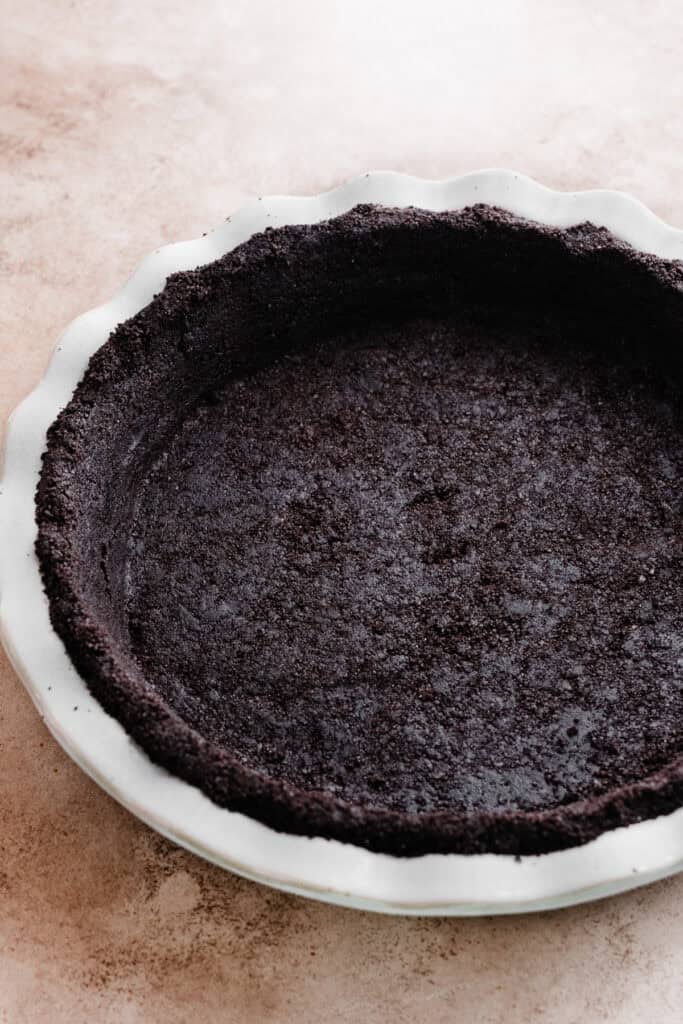
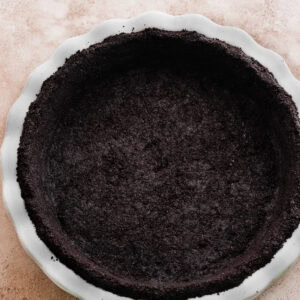
Step 3: Press In the Crust. Add the crust mixture to your pie plate or a springform pan (for cheesecake). Use a small juice glass or the back of a measuring cup to press and pack in the crust tightly. This will help prevent a crumbly crust!
Step 4: Bake (Optional). Once the crust is packed in tightly, bake the crust for 10 minutes at 350 degrees F. Even if a recipe is no-bake, I find that a quick 10-minute bake of the crust ensures that it will hold together well when you slice your dessert.

Desserts to use Oreo Pie Crust with:
Once your crust is packed in and baked (or un-baked, if desired), you’re ready to proceed with whatever filling you’re using! Try this crust with any of these desserts and more:
- Peanut Butter Cheesecake
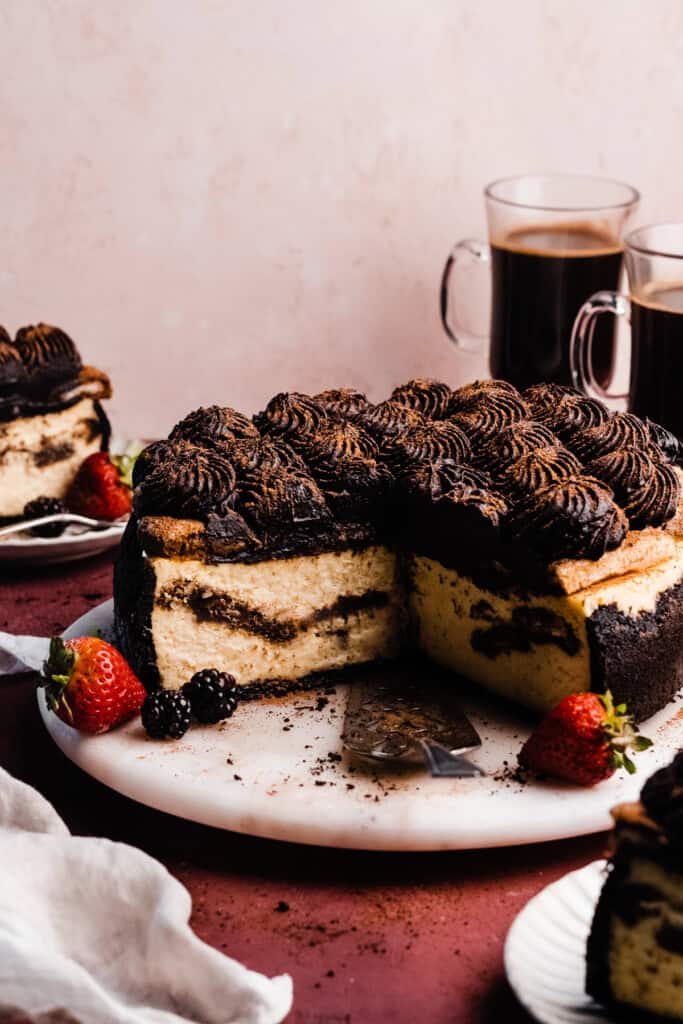
- Tiramisu Cheesecake
- No-Bake Peanut Butter Pie
- No-Bake Black Forest Pie
- French Silk Pie
Expert Baking Tips:
- Oven Thermometer – An oven thermometer will tell you if your oven is actually running at the temperature you set it to. Your oven may not be accurate. Accurate oven temperature is crucial for most bakes, so I leave an oven thermometer in at all times to keep an eye on my oven’s calibration.
FAQs:
Yes. Bake and cool the crust, and then wrap it well and freeze it for 1-2 months. Thaw in the fridge overnight before using.
Special Tools:
- Food Processor – You’ll need a food processor to easily crush the oreos.
Did you make this recipe? Leave a comment & star rating!
Click the little stars in the header of the recipe card below to leave a comment & star rating, letting me know how you liked the recipe. I take all feedback seriously, & leaving a rating helps my small business immensely!
2-Ingredient Oreo Crust (for Pie and Cheesecake!)
Ingredients
For a 9-inch Oreo Pie Crust
- 25 oreo cookies, whole, with the cream filling
- 1/4 cup salted butter, melted, 56 grams
For a 9-inch Springform Pan Cheesecake Crust
- 35 oreo cookies, whole, with the cream filling
- 4-5 tbsp salted butter, melted, 56 to 70 grams
Instructions
- Prep: Use one set of the ingredient quantities listed above, depending on whether you are making a pie or a cheesecake.
- Make the Crust: Pulse oreos in a food processor until you have fine crumbs. Stir together crumbs and melted butter.25 oreo cookies, 1/4 cup salted butter, melted, 35 oreo cookies, 4-5 tbsp salted butter, melted
- Press In the Crust Mixture: Press into prepared pan and up the sides a bit (for cheesecake) or up the sides all the way (for pie). (See photos above.)
- Bake the Crust: I almost always bake a crust like this, even though it can be used as a no-bake. Baking helps make it sturdier, so it won't crumble everywhere when you cut into the dessert later. Bake your crust at 350℉ for 10 minutes for both sizes.
- Serve: Let the baked crust cool before adding desired filling.
Notes
Nutrition
Nutrition information is automatically calculated, so should only be used as an approximation.